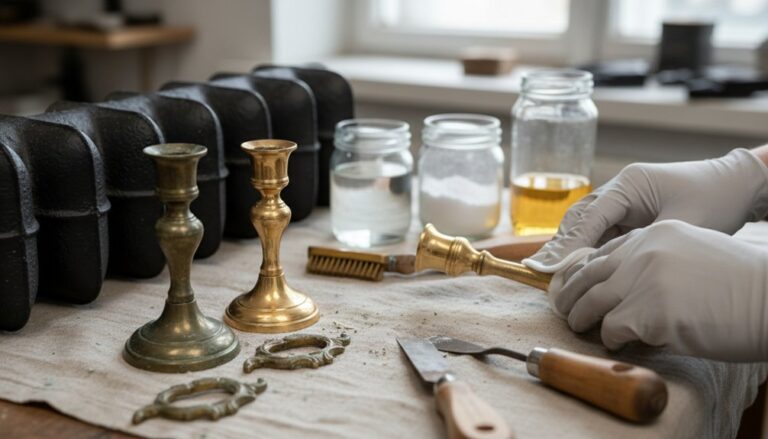
First, you inspect rails, cills, and mortice-and-tenon joints for sound timber and firm joinery, assuming lead paint and setting up safe tools and dust control. You carefully remove staff bead, lower sash, parting bead, then upper sash, labelling weights, cords, and glass. You strip paint that’s bridged seams, plane high spots, splice out rot, and tighten joints. You renew cords, service pulleys, re-glaze with primed rebates and fresh putty, then draught-proof, refit, and repaint for smooth travel—and there’s more to refine every step.
Key Takeaways
- Inspect timber, joints, cords, pulleys, and glass to decide whether full restoration or partial replacement is needed.
- Set up a safe workspace and tools, assuming lead paint, and label trays to keep every sash part organized.
- Remove staff bead, lower sash, parting bead, then upper sash, knotting cords and storing weights, pulleys, and beads by position.
- Strip paint buildup, repair decay with matching timber splices, replace cords, and plane high spots so sashes slide freely.
- Re-glaze with primed rebates and fresh putty, then rehang, balance weights, adjust clearances, and paint to seal edges for durability.
Check If Your Sash Windows Are Worth Restoring
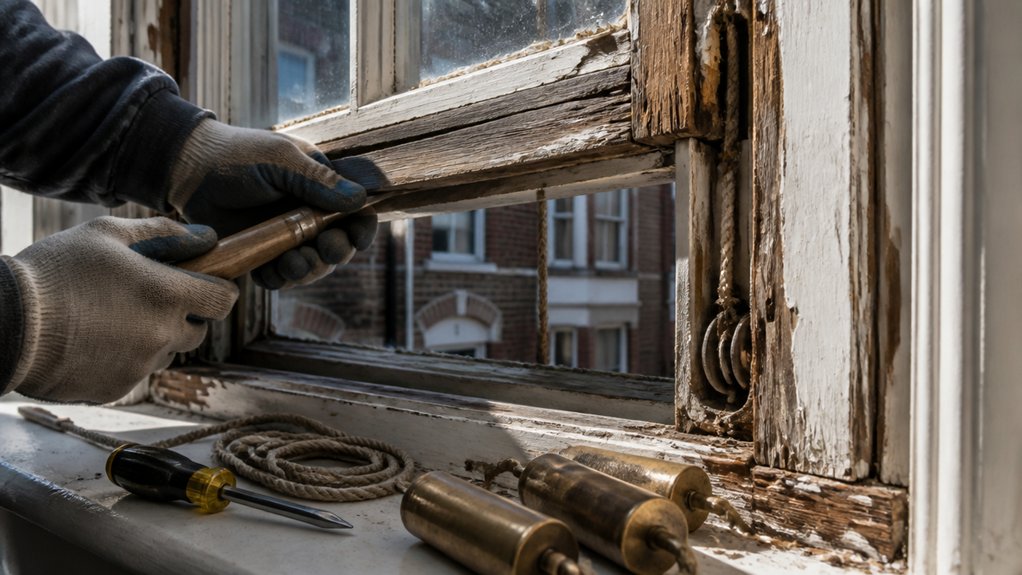
Before you strip paint or prise out a single staff bead, take a hard look at what you’ve actually got, because a sash worth restoring will still have sound timber, complete joinery, and only localised decay.
Probe the cills, lower rails, and meeting rails with a knife point; if you find firm fibres beyond a thin punky skin, you can consolidate and splice rather than rebuild.
Check mortice-and-tenon corners for movement and open joints, and confirm the glazing bars remain straight, not crushed by later overpainting.
Note crown or cylinder glass, hand-cut putty lines, and original pulleys: they signal Historical significance.
If rails are riddled through, box linings collapsed, or profiles lost to sanding, a Modern replacement may be wiser.
Sash Window Restoration Tools, Materials, and Safety

Once you’ve decided the sash is sound enough to save, set yourself up with the right kit and precautions so you don’t damage fragile mouldings—or yourself—while you work.
You’ll need sharp scrapers, a 25–38mm bevel-edge chisel, a nail punch, glazing hammer, glazing knife, and a small pry bar; keep stones for honing so you cut cleanly, not brutally.
For paint removal, use an infrared heater or steam plate—modern techniques that reduce scorching—plus dust extraction and HEPA vac.
Choose linseed-oil putty, shellac or knotting, and breathable primer for historical accuracy.
Wear P3 respirator, nitrile gloves, goggles, and disposable coveralls; assume lead paint.
Set up a stable bench, padded trestles, and labelled trays for screws, pulleys, and glass.
Remove Sash Windows and Stops Without Damage
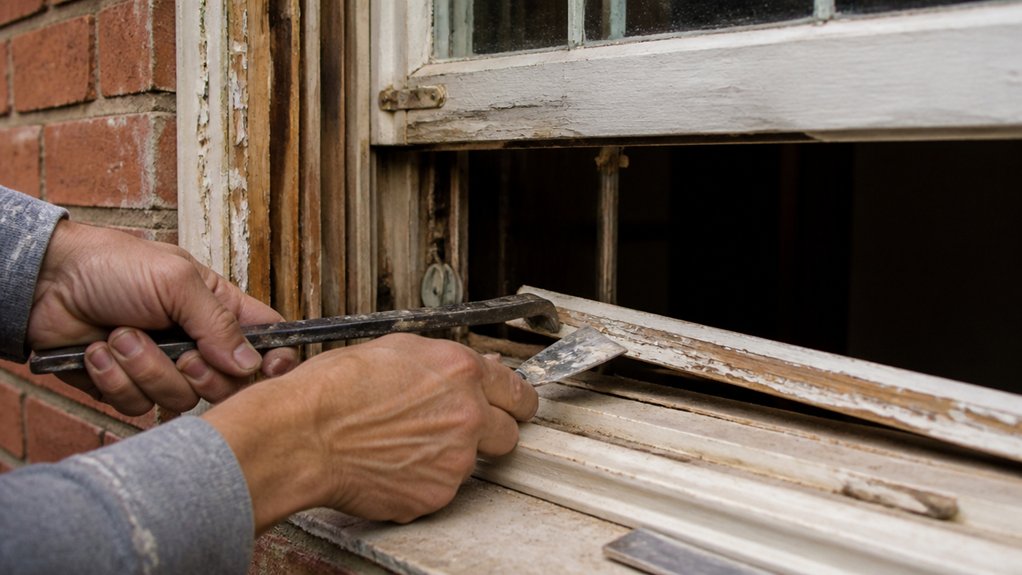
Although it’s tempting to lever straight at the timber, you’ll get a cleaner removal if you treat the staff bead, parting bead, and stops as reusable joinery and work them free by degrees. Score the junctions with a sharp knife, then tap a thin bolster into the line and follow with a wide pry bar over a shim to spread load. Pull nails through the bead’s back where possible, label each piece, and keep orientation for Historical accuracy.
Remove the lower sash first: cut the cords, knot them, and pin them to the box so the weights don’t crash. Lift the sash out square.
Then ease out the parting bead and repeat for the upper sash. Salvaging timber and hardware reduces environmental impact and preserves original fit.
Strip Paint and Fix Sticking Sash Windows
Now you’ll assess where paint has bridged the parting bead, staff bead, and meeting rails, noting ridges, runs, and tight burnish marks that show why the sash sticks.
You’ll strip the buildup with a scraper and controlled low-heat or a compatible chemical stripper, protecting old glass, putty, and crisp mouldings as you work.
Once the rails and channels are clean, you’ll ease the sliding surfaces with light planing or careful sanding, then wax the contact points so the sash runs true without loosening the fit.
Assess Paint Buildup
Before you reach for a plane or start forcing the sash, inspect the paint buildup that’s turned crisp clearances into tight, sticky seams. Work with the window partly open and note exactly where it binds: along the meeting rails, at the stile-to-parting bead, or at the lower rail on the sill.
Look for ridged “bridges” of old gloss spanning joints, especially where paint has lapped onto the staff bead or stop. Check for paint peeling that’s curling into the track and acting like a wedge.
Use a thin feeler gauge or card to trace the clearance; you’re mapping, not cutting. Mark high spots in pencil, then test again after lightly scoring paint lines with a sharp knife.
Good surface preparation starts with this diagnosis.
Strip Paint Safely
Where do you start when layers of old gloss have effectively glued the sash to the frame? Begin with safety precautions: lay dust sheets, seal the room, and wear gloves, goggles, and a P3 respirator; assume pre-1970 paint contains lead.
Score along staff bead and parting bead with a sharp knife to break the paint film without tearing fibres.
For paint removal, choose a low-temperature infrared plate or a chemical poultice stripper rather than an open-flame torch, which scorches oak and ignites dry putty.
Work in small sections, warming until the paint just dulls, then lift it with a shave hook and narrow scraper held flat.
Bag debris immediately and wipe surfaces with damp rags.
Allow the timber to cool and dry fully.
Fix Sash Sticking
With the worst of the paint film cut and softened, you can focus on the real cause of a stuck sash: swollen timber, paint ridges on the meeting rails, or distortion in the channels.
Ease the sash out, label it, then inspect the parting and staff beads for tight spots. Shave only the high points with a sharp cabinet scraper or block plane, working with the grain so you don’t round crisp arrises.
Knock back paint ridges on the meeting rails until they close square. Check the pulley stiles: clean the channels, remove old nails, and re-pin loose beads.
Dry-fit the sash; it should slide under its own weight. Wax the runners lightly for Historical accuracy and aesthetic preservation, not silicone.
Repair Rotten Timber and Tighten Sash Joints
Once you’ve stripped back the paint lines and can see the bare timber, you can judge what’s truly sound and what’s gone spongy at the joints. Probe with a bradawl; if fibres crumble or darken, you’re dealing with Timber decay and must cut back to firm wood.
Square the cavity with a sharp chisel, then treat the exposed end grain with a boron preservative and let it dry. Bed in a matching softwood splice, keeping the grain direction and profiles true to the original, and glue with a waterproof, gap-filling adhesive. Clamp tight.
For joint reinforcement, drill and peg loose mortice-and-tenon corners with hardwood dowels, or add discreet screws plugged with matching timber. Finish by sanding flush, ready for primer.
Replace Sash Cords, Pulleys, and Weights
Before you refit the sashes, renew the cord-and-weight system so it runs freely and balances the window correctly.
Remove the pocket covers and fish out the weights; label each pair so they return to their original channels.
Unpin and discard frayed cords, then clean the pulley stiles and spin each wheel—if it binds, pull the pulley, de-rust the axle, and lightly oil it, or replace with a matching brass unit for Sash window aesthetics.
Measure new braided cotton cord, pass it over the pulley, knot it to the weight, and test the drop.
Rehang the sash and mark cord length so it stops just shy of the meeting rail, preserving historical significance and smooth travel.
Re-Glaze Sash Windows and Renew Putty Neatly
You’ll ease out the glazing sprigs, lift the pane, and cut back the failed putty to clean timber, keeping the rebate square and the sightlines true.
You’ll scrape to sound wood, dust off, then prime the bare rebate with an oil-based primer so the new putty won’t dry out and crack.
You’ll bed the glass on a thin putty line, pin it neatly, then knife a smooth, even bevel that just laps the glass for a crisp, period-correct finish.
Remove Glass And Putty
Although the timberwork may be sound, you can’t re-glaze a sash properly until the old putty and glass come out cleanly and without tearing the glazing rebate.
Score paint lines with a sharp knife, then warm the putty gently with an infra-red lamp or heat gun kept moving; you’re softening it, not scorching the sash.
Use a narrow chisel or putty knife to lift putty in short runs, working toward the corner, and pick out glazing sprigs with pincers.
These glass removal techniques reduce edge stress: support the pane with one hand, tap from the putty side, and ease it free onto a padded board.
Keep a magnet handy for stray sprigs.
Note Putty application tips now: preserve the sightline and avoid bruising the rebate.
Prep Rebate And Prime
Once the glass is out and the rebate’s bare, clean and true up the glazing seat so the new putty bonds to sound timber rather than dust and old oil. Scrape to fresh wood with a sharp chisel, keeping the arris crisp and the depth consistent. Brush out debris, then wipe with white spirit to lift greasy residues, and let it flash off fully.
Check for soft fibres; pare back to firm timber and spot-fill defects with a compatible repair compound, sanded flush once cured. For paint preparation, lightly key the surrounding paint edge to prevent a visible step. Mask the sightline if needed.
Then carry out primer application to all bare rebate faces using traditional oil-based wood primer, worked thinly into end grain, avoiding pools. Allow full drying time.
Apply Putty And Glaze
With the rebate scraped back, degreased, and primed to a thin, dry film, you can start glazing while the timber still feels clean and sharp.
Warm linseed putty in your hands, then roll a thin bedding and press it into the rebate. Set the pane onto packers so the sightline stays true, and bed it with firm, even pressure until you see a faint squeeze-out.
Pin sprigs or glazing points at regular intervals, driving them just flush so they don’t twist the glass.
For applying putty, run a final bead, then strike it with a knife held at a consistent angle to form a neat, period bevel. These glazing techniques shed water and leave a crisp paint line.
Let it skin before painting over the edge.
Draught-Proof, Refit, and Paint the Sash Windows
Before you put the sashes back in the box, deal with the three things that decide whether they’ll run sweetly and stay tight: draught-proofing, accurate refitting, and a paint system that won’t gum up the beads and staff.
For Historical accuracy, rout narrow carrier grooves and fit brush pile to parting and staff beads, keeping sightlines unchanged. Leave meeting-rail gaps modest so you still get ventilation improvement without whistling.
Refit by planing high spots, then rehanging on sound cords, balancing weights so each sash holds at any stop. Check the staff bead clearance with a paper slip; it should pinch lightly, not bind.
Prime bare timber with oil primer, then two thin topcoats. Paint the sash edges last, wipe the running faces, and score beads before final closure.
Frequently Asked Questions
Do I Need Planning Permission or Listed Building Consent to Restore Sash Windows?
You might need planning permission or listed building consent, depending on your property’s status and the scope of work. If you’re in a conservation area or altering appearance, check Historic regulations and local Conservation guidelines first.
Like-for-like timber repairs, draught-proofing, cord renewal, and repainting usually count as maintenance.
Replacing sashes, changing glazing, or switching to uPVC often triggers consent. You should consult your council’s conservation officer before you start work.
How Much Does Professional Sash Window Restoration Typically Cost per Window?
You’ll typically pay £800–£2,000 per sash window for professional restoration, depending on window materials and condition. Softwood sashes with sound frames sit lower; hardwood, severe rot, or distorted boxes push costs up.
Expect traditional restoration techniques: splice-in timber repairs, draught-proofing with brush piles, re-cording with cotton sash cord, pulley servicing, putty-and-paint renewal, and careful glass retention.
Full strip-out, epoxy consolidation, or bespoke joinery increases labour and price.
Should I Choose Restoration or Full Replacement for Energy Efficiency?
Choose restoration if your timber and joinery stay sound and you want period accuracy; you’ll get strong energy savings by fitting brush piles, renewing parting beads, sealing staff beads, and adding slimline double glazing or secondary glazing.
Choose full replacement if stiles, rails, or box frames rot through or distortion defeats proper draught-proofing.
For cost comparison, restoration usually costs less, but replacement can win long-term when repairs snowball.
What Is the Best Time of Year to Restore Sash Windows?
Aim for late spring through early autumn, when mild, dry weather lets you strip paint, splice timber, and set glazing putty without slow curing or trapped moisture.
You’ll keep window materials stable, reduce swelling in stiles and rails, and get cleaner sash alignment.
Plan around a steady forecast so primers and linseed-oil putties skin properly.
If you need historical accuracy, schedule time for traditional repairs and hand-finishing.
How Long Will Restored Sash Windows Last With Regular Maintenance?
With regular maintenance, you’ll keep restored sash windows working 50–100 years, sometimes longer.
As rain taps the sill and a clockwork pulley glides, you’ll notice how good Window materials—sound old-growth timber, proper cords, and linseed putty—reward careful Restoration techniques.
You’ll repaint on schedule, oil pulleys, clear weep paths, and renew glazing compound before it cracks.
You’ll also tighten joints and replace worn parting beads.
Conclusion
Once you’ve rehung the sashes, renewed the putty, and painted with a breathable linseed-oil system, you’ll feel the difference every time you lift the meeting rail. Fit discreet brush seals, then check the reveal gaps with a thin card and test the weights for smooth travel. Here’s a useful figure: draught-proofing can cut heat loss through windows by around 86%, so your careful work pays back fast. Keep cords waxed and pulleys oiled.
About the Author