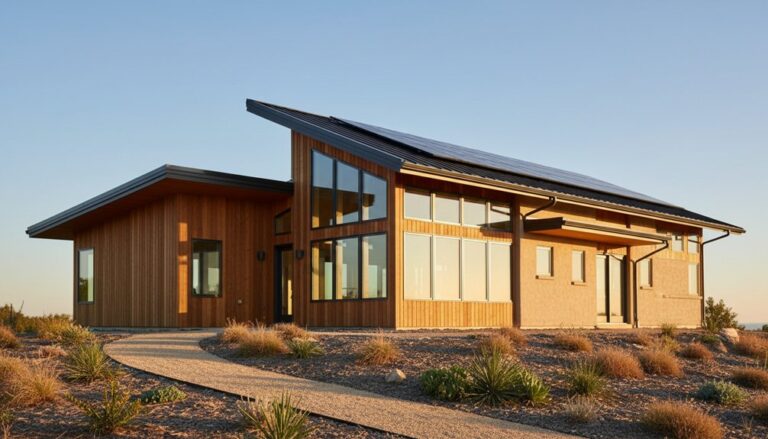
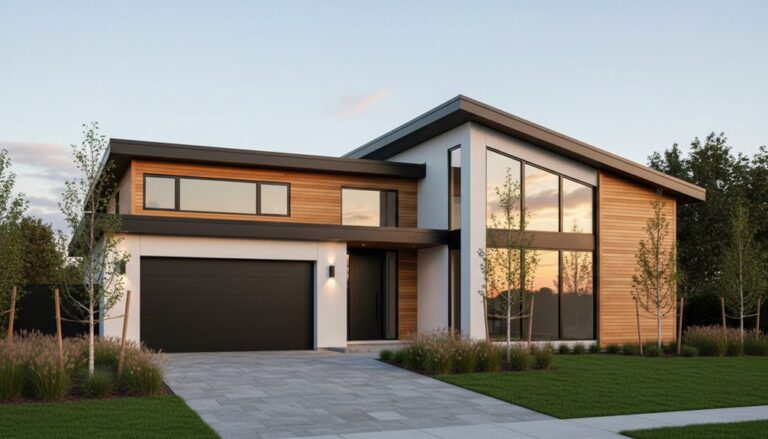
You’ll build a modern efficient new home by setting climate-based energy targets (IECC/ENERGY STAR, modeled EUI, carbon) using local TMY data, then capping peak loads for right-sized equipment. Design a continuous, well-insulated, airtight thermal envelope, minimize thermal bridges, and verify with rough-in and final blower-door tests. Specify low-U, climate-tuned SHGC windows and tight insulated doors. Cut internal loads with LEDs, ENERGY STAR appliances, and efficient hot water. Finish with variable-speed heat pumps, balanced ERV/HRV ventilation, MERV-13 filtration, and a HERS rating—next you’ll see how to verify each step.
Key Takeaways
- Set measurable energy targets (IECC/ENERGY STAR/EUI/carbon), model with local TMY data, and document requirements in the OPR.
- Build a continuous, well-insulated, airtight envelope; minimize thermal bridges and confirm performance with blower-door testing.
- Specify high-performance windows and doors with low U-factor/appropriate SHGC, and install them aligned to air, water, and thermal layers.
- Right-size variable-speed heat pumps, design low-leak ducts, and use balanced ERV/HRV ventilation with MERV 13 filtration for IAQ.
- Reduce internal loads using LEDs, ENERGY STAR appliances, low-flow fixtures, efficient hot water design, and submetering for verification and optimization.
Set New Build Energy Targets by Climate and Budget

Before you lock in wall assemblies, glazing ratios, or HVAC specs, you’ll want to set explicit energy targets that match your climate zone and what your budget can realistically support.
Start by choosing a benchmark: IECC compliance, ENERGY STAR, or a modeled EUI (kBtu/ft²·yr) and annual carbon intensity.
Use local TMY weather data to run early energy models and set peak heating/cooling load caps that inform equipment sizing later.
Then map costs to impact: prioritize measures with the best $/kWh saved, and reserve capital for Renewable energy integration sized to your utility rates and net-metering rules.
Add Smart home automation requirements—submetering, load scheduling, and demand-response readiness—so you can verify performance and shift consumption to cleaner grid hours.
Document targets in the owner’s project requirements.
Design the New Build Envelope: Insulation and Airtightness

Once you’ve set energy and load targets, design the thermal envelope to hit them by controlling heat flow and air leakage as a single system.
Prioritize continuous insulation at roof, walls, and slab edges, and specify R-values that match your climate and assemblies’ moisture behavior.
Limit Thermal bridging by wrapping rim joists, insulating foundation connections, and using thermally broken connectors or exterior insulation where structure penetrates.
Define a continuous air barrier on drawings, then detail every seam, penetration, and service chase so trades can execute it.
Air sealing should rely on durable materials—taped sheathing, membranes, gaskets, and liquid flash—rather than foam-only fixes.
Verify performance with blower-door testing, and set a target ACH50 that aligns with ventilation design and long-term durability goals.
Choose Efficient New Build Windows and Exterior Doors
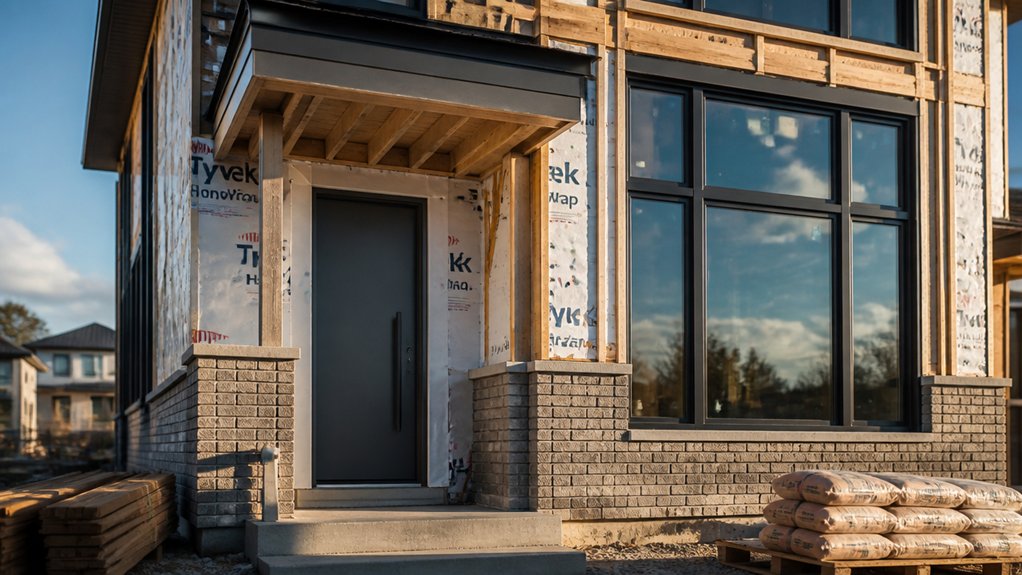
Because windows and exterior doors interrupt even the best-insulated, airtight enclosure, you need to treat them as high-impact components rather than finish selections. Specify low U-factors, appropriate SHGC for your climate, and airtight units with tested air-infiltration ratings.
Prioritize high-performance glazing (double or triple, low-e, argon/krypton) and durable warm-edge spacers to cut conductive losses and condensation risk. For window framing, choose thermally broken fiberglass, well-designed vinyl, or insulated wood/alu-clad options, and avoid unbroken aluminum.
Detail installation: align with the thermal layer, use sloped sills, back dams, and continuous air/water tapes tied into your WRB.
For exterior door materials, favor insulated fiberglass or steel slabs with robust gaskets, adjustable thresholds, and multipoint locks for sustained airtightness.
Reduce New Build Loads: Lighting, Appliances, Hot Water
After you’ve tightened the envelope with efficient windows and doors, you’ll cut operational energy further by shrinking your internal loads from lighting, appliances, and domestic hot water.
Specify high-efficacy LED fixtures with appropriate lumen output and controls. Plan appliance circuits around low standby power and right-sized equipment.
Reduce hot-water energy with low-flow fixtures, short pipe runs, and high-efficiency water heating. These decisions lower peak demand, simplify HVAC sizing, and improve long-term carbon performance.
High-Efficacy Lighting Choices
While you’re finalizing electrical plans for a new build, specify high-efficacy lighting up front to lock in lower lighting loads and reduce downstream HVAC demand from internal heat gains. Choose LED technology with high lumens per watt, low standby power, and long L70 lifetimes to cut replacement and embodied impacts. Target warm-dim or 2700–3000K, high-CRI (90+) sources where color quality matters, and use tighter beam optics to avoid overlighting.
Layer Smart lighting controls: occupancy/vacancy sensors in utility spaces, daylight dimming near glazing, and scheduled shutoff for exterior circuits. Specify dimmable drivers compatible with your control protocol, and require flicker and power-factor performance in submittals. Use dedicated task lighting to lower ambient setpoints and watts.
Efficient Appliance Load Planning
High-efficacy lighting cuts one slice of your electrical load, but plug-in and built-in appliances often drive the rest of the annual kWh and peak demand, so plan them with the same rigor. Start with a room-by-room schedule of loads, nameplate watts, duty cycles, and standby draw, then specify ENERGY STAR or equivalent units with low idle power.
Optimize appliance placement to shorten dedicated circuit runs, reduce voltage drop, and enable efficient ventilation paths for refrigerators and dryers. Use load balancing across panel legs to limit neutral current and avoid nuisance trips, especially with induction ranges, EVSEs, and heat-pump dryers.
Choose right-sized refrigerators, variable-speed laundry, and smart power strips for office clusters. Add submetering or circuit-level monitoring so you can verify real-world usage post-occupancy.
Low-Energy Hot Water
Because domestic hot water can rival space conditioning in annual energy use, you’ll want to treat it as a primary load to shrink, not a fixed utility to accept. Start by cutting demand: specify 1.5 gpm showerheads, low-volume faucets, and ENERGY STAR dishwashers; insulate all hot-water lines, minimize pipe runs with a compact “wet wall,” and use a demand-controlled recirculation loop only if you can’t avoid long draws.
Then raise production efficiency. A heat pump water heater delivers high COP, especially in conditioned or semi-conditioned space with adequate airflow; duct it if you must manage cooling or dehumidification effects. In sunny climates, pair it with solar thermal to preheat storage, reducing compressor runtime.
Finally, set temperature to 120°F and verify distribution losses with commissioning.
Size HVAC for Your New Build Heating and Cooling Load
Before you pick equipment models or duct sizes, you’ll need to size your HVAC system to the new build’s actual heating and cooling loads using a room-by-room Manual J (or equivalent) calculation that reflects insulation levels, air sealing targets, glazing U-factor/SHGC, orientation and shading, ventilation rates, and internal gains.
Use the results to avoid oversizing, which short-cycles, wastes energy, and undermines dehumidification. Match capacity to design temps and select variable-speed heat pumps that can modulate near your typical load.
Translate room loads into supply airflow targets, then lay out ducts for low static pressure and minimal leakage. If you’re considering diy installation, don’t guess—commission the load model and verify duct sizing.
Apply zoning strategies only when loads diverge; keep zones balanced and use bypass-free control.
Add New Build Ventilation and Filtration for IAQ
Once you’ve sized the heating and cooling equipment to match real loads, you need to control what that system breathes by designing dedicated ventilation and effective filtration for indoor air quality (IAQ).
Specify balanced ventilation systems—ERVs in most climates, HRVs where latent load is low—to deliver continuous, measured outdoor air while recovering energy. Place intakes away from driveways and exhausts, and duct fresh air to bedrooms and main living zones with quiet, low-static runs.
Add spot exhaust in baths and kitchens with backdraft dampers. For filtration, require a sealed media cabinet and at least MERV 13 (or MERV 11 if pressure limits) to capture fine particulates; seal bypass paths and maintain design airflow.
Include CO2 or humidity-based controls to modulate rates efficiently year-round.
Test and Verify New Build Efficiency (Blower Door, HERS)
After you’ve detailed the enclosure, HVAC, and IAQ strategy on paper, you need field testing to prove the home actually performs to those targets.
Start with blower door testing at rough-in and again at final to quantify airtightness (ACH50) and catch leakage paths at top plates, rim joists, and penetrations.
Use smoke, infrared, and pressure diagnostics so you can seal strategically, not blindly.
Confirm duct tightness under pressure, then verify ventilation flows and filtration pressure drop to protect fan efficiency and IAQ energy use.
Finally, document outcomes in a HERS rating: it integrates insulation levels, windows, HVAC performance, and infiltration into a comparable index.
You’ll use the score to validate design assumptions, qualify for incentives, and lock in durable, low-carbon operation over time.
Frequently Asked Questions
What Permits and Inspections Are Required for an Energy-Efficient New Build?
You’ll need a building permit plus approvals confirming compliance with Building codes and Zoning regulations.
You’ll schedule inspections for footing/foundation, framing, rough-in electrical/plumbing/HVAC, insulation and air-sealing, and final occupancy.
You’ll often complete blower-door testing, duct-leakage testing, and window/door U-factor verification for energy targets.
Depending on jurisdiction, you’ll submit energy-modeling reports (IECC/ASHRAE) and commission high-efficiency HVAC and ventilation systems.
Fire, septic, and stormwater permits may apply.
How Do I Choose a Builder Experienced in High-Performance Construction Methods?
Choose a builder by verifying Builder credentials like Passive House, HERS, or LEED experience, and request project data (blower-door results, ACH50, duct leakage).
You’ll want a portfolio showing continuous insulation, airtight detailing, and thermal-bridge control.
Ask how they select construction materials for low embodied carbon, moisture durability, and VOC limits.
Interview past clients, review sub trade training, and require quality-control checklists and third-party testing.
What Is the Typical Payback Period for Efficiency Upgrades in New Homes?
You’ll typically see efficiency upgrades pay back in 5–12 years, though the range swings with utility rates, incentives, and load profiles—think Odysseus steering shifting winds.
High-impact Home insulation often returns in 3–7 years by cutting heating/cooling demand and peak loads.
Solar panel installation commonly lands around 7–15 years, faster with net metering and tax credits.
You can tighten payback by commissioning, right-sizing HVAC, and tracking kWh/therm savings.
Which Incentives, Rebates, or Tax Credits Apply to Modern Efficient New Builds?
You can tap federal, state, utility, and local incentives: the U.S. Clean Energy Credit (30%) for Renewable energy systems like solar PV, solar thermal, and battery storage; IRA-backed utility rebates for heat pumps, panels, and wiring; Energy Star or Zero Energy Ready Home builder credits (where eligible); plus municipal permits or impact-fee reductions. For Water conservation, look for rebates on WaterSense fixtures, efficient irrigation, rainwater harvesting, and greywater systems.
How Do Smart-Home Systems Integrate With Efficient Mechanical and Electrical Designs?
You integrate smart-home systems by linking HVAC, heat pumps, ERVs, and lighting to sensors, smart meters, and variable-speed drives for Smart integration.
You run centralized controls that coordinate thermostats, occupancy, and CO₂/humidity data, so equipment stages efficiently and avoids short-cycling.
You enable Energy optimization through demand response, load shifting, and real-time monitoring of circuits, PV, and batteries.
You also commission control sequences, verify setpoints, and tune schedules.
Conclusion
You’ll hit modern efficiency when you set climate-based targets, then build a tight, well-insulated envelope that works like a thermos—holding comfort in, pushing losses out. You’ll choose low-U, low-SHGC windows and sealed doors, cut loads with LEDs, efficient appliances, and heat-pump water heating, then size HVAC to the actual design load. You’ll add balanced ventilation with filtration for IAQ, and you’ll confirm performance with blower-door and HERS verification.
About the Author