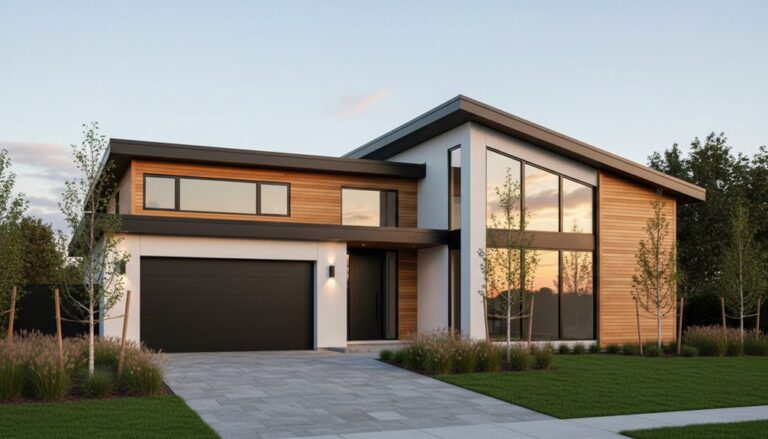
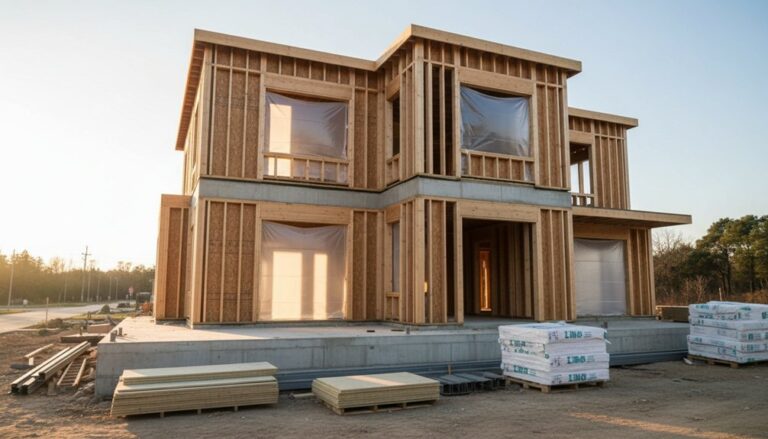
You’ll get a modern eco‑home that performs like a system if you start with a solar access study, set the long axis near true east–west, and protect the equator-facing façade from winter shading. Concentrate higher‑SHGC, low‑U glazing on that side, keep sills low, and use fewer, larger windows to cut frame losses. Block peak summer sun with latitude‑tuned overhangs and exterior blinds on east/west glass. Place exposed slab or masonry in the sun path, then lock it in with ≤0.6 ACH50 airtightness, continuous insulation, and an HRV/ERV—next you’ll see how to size each component.
Key Takeaways
- Complete a solar access study, then orient the long axis east–west to protect the main façade from winter shading and winds.
- Concentrate higher-SHGC glazing on the equator-facing side, limit other orientations, and use low‑U frames/spacers to cut heat loss.
- Design exterior shading by latitude: fixed overhangs for summer, operable devices for shoulder seasons, and vertical shading for east/west windows.
- Place exposed thermal mass (slab, tile, masonry) in direct winter sun to store heat by day and re‑radiate warmth at night.
- Build an airtight, well-insulated envelope with continuous exterior insulation, then add right-sized HRV/ERV ventilation with ducts inside conditioned space.
Choose a Site and Orient for Passive Solar

Where you place the house on the lot—and how you rotate it—will determine how much free winter heat you can capture and how easily you can reject summer gains. Start with a solar access study: map horizon angles, existing vegetation, and neighboring obstructions, then position the footprint to protect the primary façade from winter shading.
Align the long axis near true east–west to stabilize seasonal exposure, and set grade to support slab insulation continuity and controlled drainage.
Use landscape integration strategically: place deciduous trees and berms to block low winter winds without causing midwinter shadows.
In wildfire or hurricane zones, orient for defensible space and reduced pressure differentials.
Specify renewable materials suited to the microclimate to cut embodied carbon and moisture risk.
Size and Place Passive Solar Windows (Winter Heat)

Once you’ve locked in orientation, you can tune winter heat capture by sizing and placing glazing to admit low-angle sun without driving up nighttime losses.
Prioritize Window placement on the equator-facing façade and limit glazing on other sides where it yields little Solar gain but raises heat loss.
Set target glazing area using climate and load calculations: estimate incident winter insolation, multiply by SHGC, then subtract U-factor losses over the heating season to confirm net benefit.
Specify higher-SHGC units for dedicated collector windows, and lower-U frames and spacers to cut edge losses.
Keep sill heights low to project sun onto interior thermal mass, and align glass with occupied zones rather than circulation.
Reduce window count; enlarge fewer units to improve frame-to-glass ratio.
Control Summer Sun With Shading and Glazing Choices
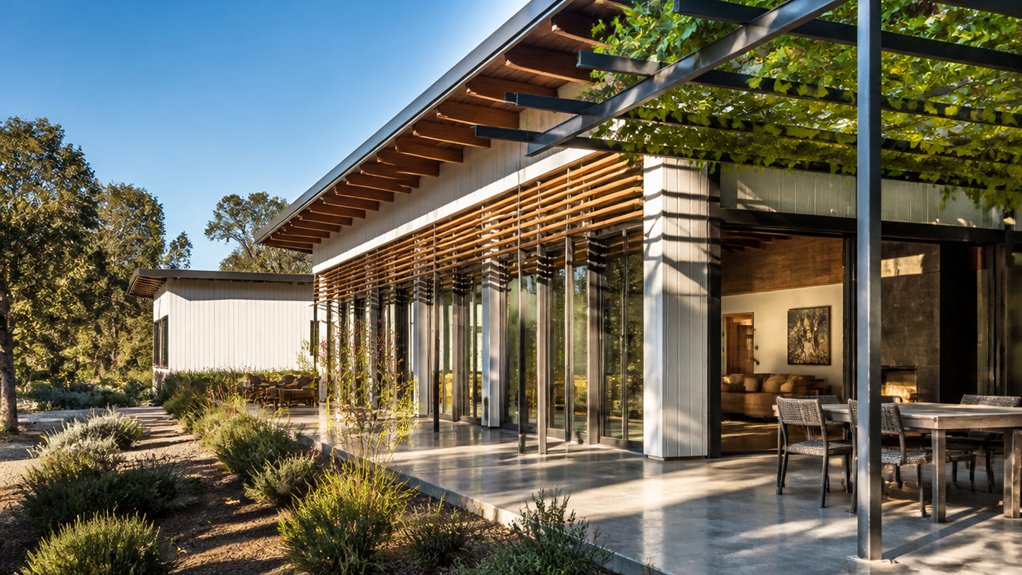
Even if your equator-facing glazing pays for itself in winter, you’ll lose the performance gains if you let high-angle summer sun overheat the same rooms. Control it with exterior-first shading devices sized to your latitude: fixed overhangs that fully block peak-summer noon sun yet admit low winter angles, plus operable awnings or louvers for shoulder seasons.
Treat east and west glazing aggressively, because low-angle sun drives large cooling loads; use vertical fins, screens, or exterior blinds with tight side channels.
Specify glazing by solar heat gain coefficient, not just U-value. Choose Window coatings that cut SHGC while maintaining visible transmittance to reduce glare and AC runtime.
Pair coatings with warm-edge spacers and airtight frames so shading gains aren’t lost.
Put Thermal Mass Where the Sun Can Charge It
Because passive solar only works when you can bank heat instead of spiking indoor temps, you should place thermal mass directly in the sun’s path—think a slab-on-grade floor, masonry interior wall, or tiled hearth that receives several hours of winter sun through your equator-facing glazing.
Optimize thermal mass placement by keeping sunlit surfaces dark, durable, and conductive (stone, concrete, dense tile) and by avoiding rugs or thick finishes that insulate the mass.
Size it for the glazing: too little mass causes overheating; too much delays comfort gains.
For effective solar charging, expose mass to direct beam sun, not just diffuse light, and distribute it near the primary living zone so stored heat re-radiates where you need it at night.
Use interior partitions to spread gains without blocking sun.
Build Airtight, Insulate Well, and Ventilate Right (Eco-Home Comfort)
Thermal mass only pays off if your home can hold onto the heat it stores, so you’ll get better passive-solar comfort by tightening the envelope, increasing insulation, and controlling fresh air with a balanced ventilation system.
Target ≤0.6 ACH50 with taped sheathing, gasketed service cavities, and airtight window installs; verify with blower-door testing.
Specify continuous exterior insulation to cut thermal bridges, then dense-pack or batt the cavities to hit your climate’s R-value targets.
Use Renewable materials like cellulose or wood-fiber where they meet moisture and fire requirements.
Pair airtightness with an HRV/ERV sized for your floor area and ducts kept inside the conditioned zone.
Add smart technology: CO₂- and humidity-based boost modes, filter-change alerts, and commissioning data logs.
Frequently Asked Questions
How Much Extra Does Passive Solar Design Add to Build Costs?
You’ll typically add 0–5% to build costs, and sometimes save money, depending on orientation and glazing.
Costs rise when you increase south-facing window area, specify higher-performance glass, and add dedicated thermal mass (e.g., thicker slabs, masonry).
You’ll also budget for shading strategies like overhangs, louvers, or exterior blinds.
If you integrate these early, you’ll avoid structural redesigns and HVAC oversizing, reducing net cost.
Do Passive Solar Homes Qualify for Green Grants or Tax Credits?
You bet—there’s light at the end of the tunnel. You can qualify for green grants or tax credits, but you must meet program criteria: verified energy modeling, airtightness targets, and certified insulation/U‑values.
You’ll often stack incentives when you add Renewable integration like PV, solar thermal, or heat pumps.
Your permitting package should document Architectural aesthetics changes (glazing ratios, shading) alongside performance specs.
Check federal, state, and utility databases.
What Maintenance Do High-Performance Windows and Shading Systems Require?
You’ll do minimal but regular upkeep: schedule window cleaning to preserve low‑e coatings and visible transmittance, using non-abrasive tools and pH-neutral soap.
Inspect gaskets, seals, and weep holes quarterly, and verify hardware torque and smooth operation.
For exterior shades, perform Shading adjustment seasonally to maintain solar control; clean tracks, lubricate pivots with silicone, and recalibrate sensors or limit switches annually.
Replace worn brushes and tension cords.
Can Passive Solar Design Work in Humid or Cloudy Climates?
Yes, it can—if you test the theory that “no sun means no gains.”
In humid climates and cloudy conditions, you’ll still capture diffuse radiation, then reduce losses with low‑U glazing, airtight detailing, and high‑R insulation.
You’ll prioritize south-facing glazing only where overheating risk stays low, add exterior shading for summer peaks, and rely on controlled ventilation and dehumidification to keep latent loads from eroding comfort.
How Do I Model and Verify Energy Savings Before Construction?
You’ll model and verify savings by building a baseline and proposed model using thermal modeling and energy simulation. You’ll input local weather files, envelope U-values, glazing SHGC, airtightness targets, internal gains, and occupancy schedules.
You’ll calibrate assumptions against utility benchmarks for similar homes. You’ll run parametric sweeps for shading, mass, and ventilation.
You’ll validate with sensitivity analysis, then specify metering points to compare post-occupancy measured data.
Conclusion
You’re not just building a house—you’re engineering a sun‑powered machine. Nail site orientation and you’ll harvest winter gains like a furnace you don’t pay for. Place and size glazing with ruthless precision, then slam summer overheating with tuned overhangs and low‑SHGC glass. Set thermal mass where sunlight can “charge” it all day. Lock the shell airtight, over‑insulate, and run balanced HRV/ERV ventilation. Do this, and comfort won’t just improve—it’ll feel unreal.
About the Author