Yes—you can use a sculpted driveway to strengthen symmetry by locking its centerline to the front door and aligning edges with façade sightlines, window mullions, and porch columns. You’ll map slope and grade breaks early, confirm cross-slope drainage and inlets, and test turning radii so curves track cleanly. Add stable geometric inlays, control light-dark contrasts, and match texture to slope. Frame edges with planting and step lighting to sharpen hierarchy—more refinement comes next.
Key Takeaways
- Sculpted driveways create an eye-catching entrance that boosts curb appeal and supports a more symmetrical, intentional property composition.
- Align driveway edges and centerlines with façade sightlines, window mullions, and porch columns to visually reinforce symmetry.
- Use stable geometric patterns, centered inlays, or braided borders to add structured artistry without disrupting the approach.
- Control color and material contrast, like light fields with darker edges, to sharpen legibility and create a squared, balanced appearance.
- Add step lighting and highlight sculpted edges to strengthen nighttime symmetry, improve safety, and increase overall security.
Use These Symmetry Cues in a Sculpted Driveway
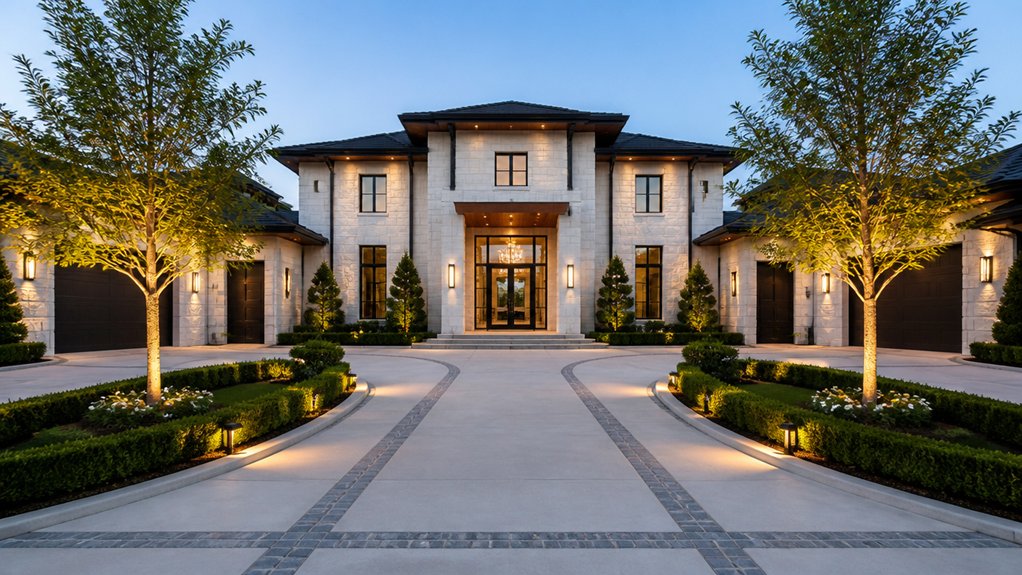
While a sculpted driveway can follow complex topography, you’ll get the cleanest, most intentional read when you anchor it with symmetry cues that respond to the site’s strongest lines. Start by extending the home’s primary axis—front door, ridge, or central bay—into the approach, then mirror edge offsets to keep reveal widths consistent.
Use paired flanking bands to frame the drive like a datum, and align joints to facade modules so cuts look deliberate, not incidental. Introduce Artistic patterns only where geometry is stable: a centered inlay, a braided border, or a repeating coursing that reinforces the axis.
Control Color contrasts with restraint—light field, darker edges—to sharpen legibility and visually “square” the arrival court. Finish with matched curb radii at both sides.
Check Driveway Layout Constraints (Slope, Drainage, Radius)
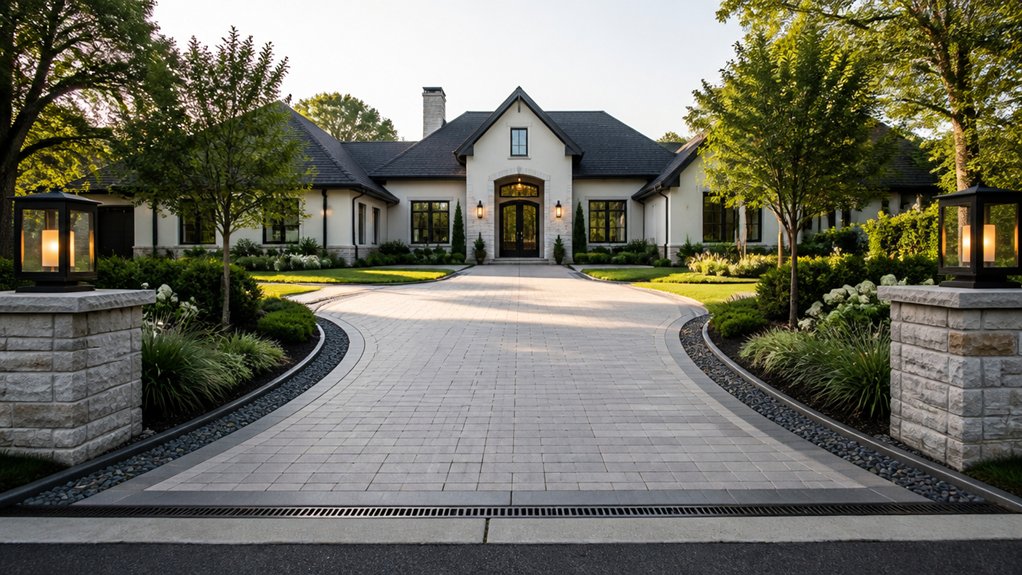
Before you lock in the sculpted geometry, you’ll map the driveway’s slope and grade breaks to keep progressions smooth and code-compliant.
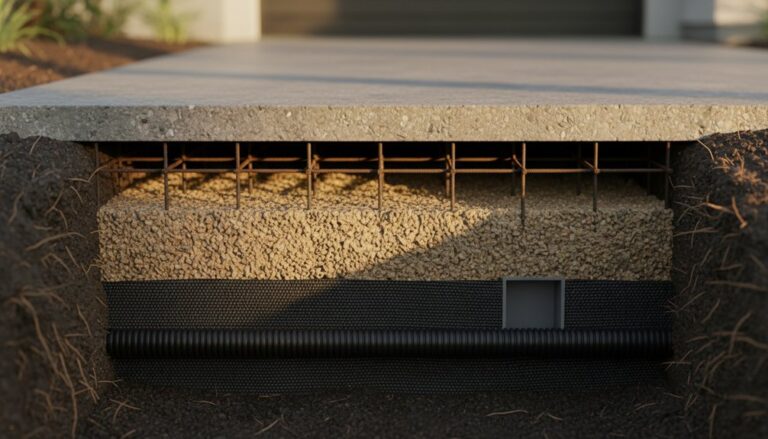
You’ll also confirm drainage paths—cross-slope, swales, and inlet placement—so water sheds away from slabs, garage thresholds, and planting beds.
Finally, you’ll test the turning radius and approach angles against your vehicle set, ensuring the curve reads clean while staying fully drivable.
Evaluate Slope And Grades
Because the driveway’s geometry dictates both performance and curb appeal, you need to evaluate slope and grade early to confirm the layout can shed water, meet vehicle capabilities, and fit the site without awkward *shifts*. Start with a precise slope assessment from curb to garage, and along the centerline, so you can balance approach comfort with a clean, intentional profile.
Check breakover and departure angles against your typical vehicles, then map high and low points to avoid abrupt grade changes that read as accidental. Use grading techniques like gentle vertical curves, controlled cut-and-fill, and consistent crossfall to keep the sculpted form legible.
If the site’s topography forces steep *gradations*, you’ll need to recompose the alignment or terrace subtly for a more coherent, symmetric drive composition.
Confirm Drainage And Turning Radius
Once you’ve set the driveway’s grades, confirm that water has a clear, controlled path and that vehicles can navigate the geometry without tire scrub or awkward steering corrections. Establish cross-slope to a swale, slot drain, or trench drain, and keep flow lines away from the garage slab and pedestrian entries.
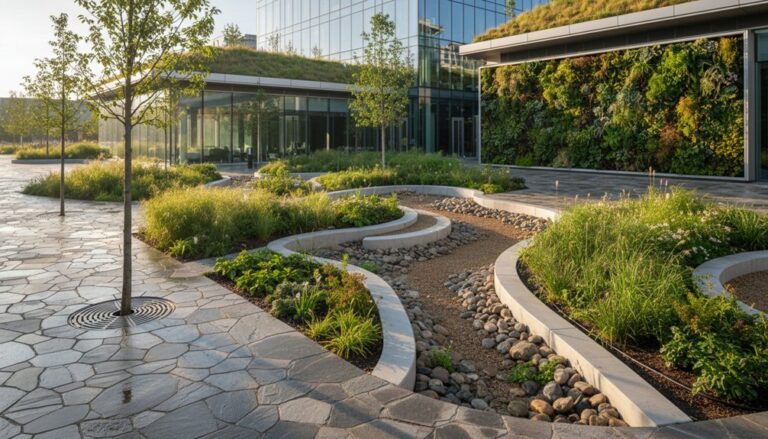
Tie in roof leaders and edge drains so runoff doesn’t undercut base courses or stain paving. Use landscape integration to dissipate discharge into rain gardens, permeable shoulders, or armored outfalls matched to soil infiltration.
Next, verify turning templates for your typical vehicle and service trucks; widen at pinch points, increase curve radii, or add a subtle flare at the apron. Let material selection support traction, freeze-thaw durability, and clean jointing near drains.
Align the Sculpted Driveway With Façade Sightlines
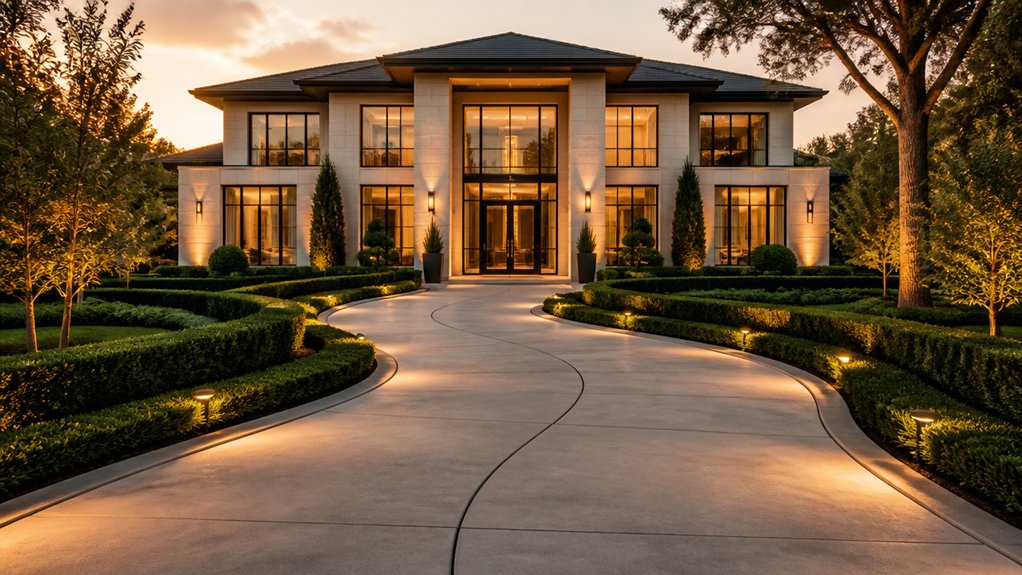
You’ll want to lock the sculpted driveway’s primary curve to the home’s entry axis so your approach reads intentional and directs the eye to the front door.
Set the centerline and arrival pad to reinforce key façade datums—cornice, bay projections, and column grids—so the pavement geometry frames those architectural lines.
Use graded berms, edge radii, and planting setbacks to preserve clean sightlines from the street while keeping the composition site-responsive.
Match Entry Axis
Even if the driveway’s geometry feels sculptural, it still needs to read as an extension of the home’s primary entry axis. Set your centerline from the curb to the front door landing, then control curvature so the approach never “hunts” for the entry. Use radii that preserve clear sightlines while meeting turning templates and grades, especially where cross-slope transitions occur.
Treat Garage integration as a secondary vector: split the drive subtly so the main leg privileges the entry axis, while the garage spur peels off with a tighter radius and flatter pitch. Reinforce hierarchy through Material contrast—shift texture or joint pattern at the bifurcation and at the apron to cue movement without adding objects.
Align lighting and drainage runs to the axis so function supports symmetry.
Frame Architectural Lines
Because the façade already establishes dominant horizontals, vertical bays, and roofline breaks, you should draft the driveway’s sculpted edges to echo those sightlines rather than compete with them. Pull tangent curves off window mullion alignments, then extend straight runs to land on porch columns or garage jambs.
Keep the inside radius consistent where the elevation steps, so the drive reads as an intentional datum, not leftover paving. Use Garden integration to mirror façade modules: set planting bands parallel to cladding courses, and terminate them at bay projections to reinforce rhythm.
Create Material contrast at key visual anchors—switch from dark asphalt to light unit pavers at the entry plinth—so the pavement frames the architecture and sharpens symmetry from the approach. Avoid skewed joints near thresholds.
Use Curves to Fix an Imbalanced Front Approach
When the front approach feels lopsided—one side visually heavier, one edge too tight, or the garage pull dominating the façade—introducing a controlled curve in the driveway realigns the composition without forcing a full regrade.
You can pull the entry axis back to center by bending the drive’s leading edge toward the front door sightline, then easing it away to restore clear vehicle tracking. Keep radii generous to avoid tire scrub and plow conflict, and verify turning templates for your longest vehicle.
Use landscape integration to balance mass: widen planting shoulders where the curve opens and tighten them where it closes. Let material selection support the geometry through consistent joint alignment and clean edge control throughout.
Choose Sculpted Driveway Materials, Edging, and Patterns
Although the curve sets the gesture, your material, edging, and pattern choices determine whether a sculpted driveway reads intentional and performs under load.
Evaluate Material options by climate and subgrade: permeable pavers for drainage, broom-finished concrete for freeze-thaw stability, asphalt for flexible soils, or setts for high-end detailing.
Match surface texture to slope so tires don’t polish it slick.
Define the arc with edging styles that resist creep—steel or aluminum restraints for pavers, granite curb for crisp geometry, or poured concrete bands for monolithic strength.
Use patterns to steer the eye: running bond elongates approach, herringbone stiffens curves, and radial fan layouts reinforce turning radii.
Keep joint lines consistent through progressions, and align scoring with garage bays for symmetry.
Frame the Sculpted Driveway With Plants and Lighting
To make a sculpted driveway feel deliberate, frame its curve with planting masses and lighting that track the edge geometry and respond to sun, drainage, and sightlines. Set planting bands wide enough to read from the street, and keep corners open to preserve turning visibility.
Let swales and high points dictate plant selection: use deep-rooted grasses or sedges in runoff zones, and drought-tolerant shrubs on crowns. Repeat a limited palette to reinforce symmetry, then vary height to guide the eye toward the entry.
Integrate garden lighting at consistent offsets from the pavement, aiming fixtures across texture, not into drivers’ eyes. Use low bollards on straights, shielded uplights at specimen trees, and step lighting near grade changes to mark edges at night.
Frequently Asked Questions
What Permits or HOA Approvals Are Needed for a Sculpted Driveway Project?
You’ll typically need Landscaping permits for grading, curb cuts, drainage changes, and any retaining walls or permeable paving.
If your driveway alters stormwater flow, expect civil drawings and possibly an erosion-control permit.
For HOAs, follow the HOA approval process: submit a site plan, material samples, edge details, lighting specs, and a drainage narrative.
You’ll also need utility locates and, on slopes, geotech sign-off for structural stability.
How Long Does a Sculpted Driveway Installation Typically Take From Start to Finish?
Most sculpted driveway installs take 2–6 weeks start to finish, depending on complexity. Roughly 60% of the schedule goes to curing and weather windows, not active labor.
You’ll spend 2–5 days on layout, grading, and base compaction; 1–3 days forming and placing; then 7–28 days curing.
If you integrate Landscaping design and conduit for driveway lighting, add 2–5 days for trenching, sleeves, and testing.
What Is the Average Cost Range for Sculpted Driveway Construction or Resurfacing?
You’ll typically spend $12–$35 per sq ft for sculpted driveway construction and $6–$18 per sq ft for resurfacing, depending on base prep, drainage detailing, and form complexity.
Costs rise when you prioritize Landscape integration—grading for sightlines, edging, planting interfaces, and permeable zones.
Choose mixes and sealers for Material durability; freeze-thaw exposure, de-icing salts, and traffic loads dictate reinforcement, thickness, and finish system.
How Do I Maintain a Sculpted Driveway Through Freeze-Thaw Cycles and Snow Removal?
Treat freeze-thaw like a diva: you’ll win by managing water and tools. Seal joints and microcracks before winter, keep surfaces clean, and avoid deicers that chew concrete.
Prioritize drainage considerations—maintain slopes, clear channels, and keep snow berms from blocking melt paths.
Use a rubber-edged plow or plastic shovel, lift blades over high points, and plan landscaping integration so planting beds don’t trap runoff.
Inspect every spring.
Will a Sculpted Driveway Increase Property Value or Complicate Future Resale?
Yes, a sculpted driveway can raise your property value, and it usually won’t complicate resale if you execute it well.
You’ll attract buyers when the form supports site grading, drainage, and access, and when Landscaping design ties into hardscape and planting.
You’ll avoid objections by proving Material durability with documented base prep, edge restraint, and seal schedules, plus plow-friendly radii and turnaround geometry.
Conclusion
When you sculpt your driveway with intention, you don’t just park—you compose. You check slope, manage drainage, and set turning radius; you align curves with façade sightlines and correct an off-center approach; you specify pavers, edging, and patterns for crisp geometry and durable performance; you frame the run with layered planting and calibrated lighting for night symmetry. Done right, your driveway reads as structure, guides movement, and locks your site into a balanced, finished view.
About the Author