Start by inspecting and mapping cracks, hollow “drummy” plaster, salts, staining, and crumbling, then tap-test bond and record textures for matching. Track moisture at gutters, flashings, ground levels, and drainage, and monitor crack widths to separate damp, salts, or movement. Fix external defects first, or repairs won’t last. Choose lime putty for softer historic fabric, NHL for exposed damp areas. Rake out loose joints, dampen, repoint in thin lifts, tool, patch plaster, and cure slowly under damp hessian—there’s more to refine each step.
Key Takeaways
- Inspect and map cracks, hollow plaster, salts, and staining, linking defects to moisture sources, movement patterns, and recent building changes.
- Diagnose root causes by checking gutters, flashings, ground levels, drainage, and structural movement; monitor crack widths before starting repairs.
- Select compatible lime materials: lime putty for softer historic fabric, NHL for exposed or damp areas, matching vapour permeability and stiffness.
- Prepare surfaces by hand-raking joints to sound depth, removing cement and salts, vacuuming dust, and lightly damping to control suction.
- Apply and cure carefully: pack mortar in thin lifts, tool to original profile, patch plaster in layers, and protect with damp coverings 3–7 days.
Diagnose Lime Plaster and Brickwork Failures

Before you reach for a trowel, diagnose what’s failing by reading the surface like evidence: map where cracks, hollow-sounding areas, salts, staining, and crumbling appear.
Then note how they relate to moisture sources (gutters, ground levels, leaking pipes, condensation) and recent changes (cement repairs, impermeable paints, repointing).
Next, test the plaster’s bond: tap in a grid, mark drummy zones, and probe edges with a thin spatula to find delamination lines.
Check profiles and corners for impact damage versus shrinkage.
Examine brick faces for spalls, soft arrises, and failed joints, then compare sheltered and exposed elevations.
Record lime texture, aggregate size, and finish coats so your repairs match for Lime preservation and historic authenticity.
Photograph, sketch, and label each defect clearly.
Find the Cause: Damp, Salts, or Movement
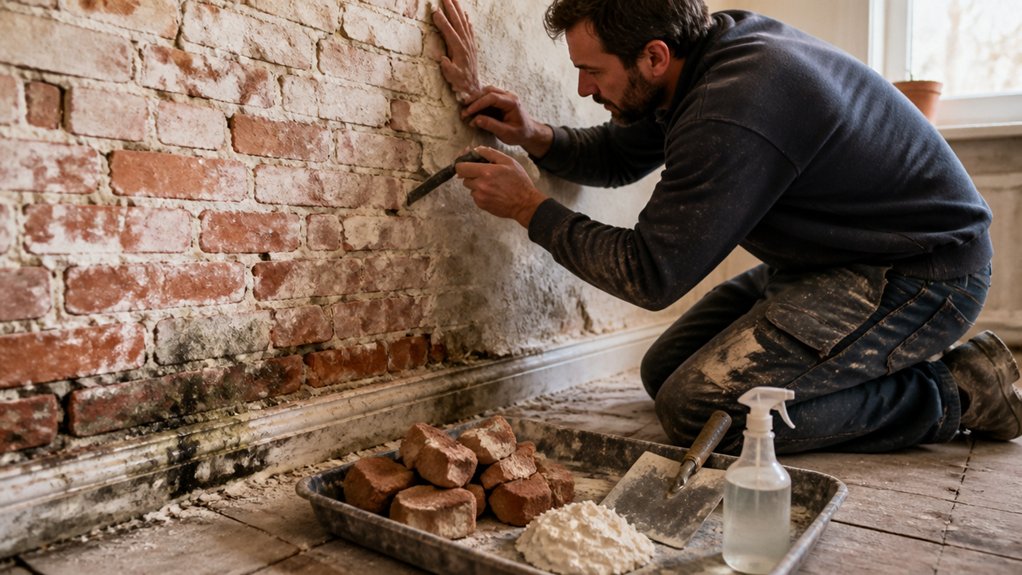
Although cracks and crumbling can look alike on the surface, you’ll repair them successfully only if you separate three root causes—damp, salts, and movement—by tracing how water enters, how it dries, and what the building does under load.
Start outside: check gutters, flashings, coping stones, and ground levels for Water infiltration. Follow staining patterns, algae, and soft mortar to their highest point, then confirm with moisture readings taken at consistent depths.
Next, test for salts: look for fluffy efflorescence, blistered paint, and friable plaster; sample scrapings and note whether crystals reappear after drying.
Finally, map structural movement: mark crack ends, measure widths, and track changes over weeks; step cracks and slipped bricks point to load paths, not just moisture.
When Lime Repairs Won’t Be Enough
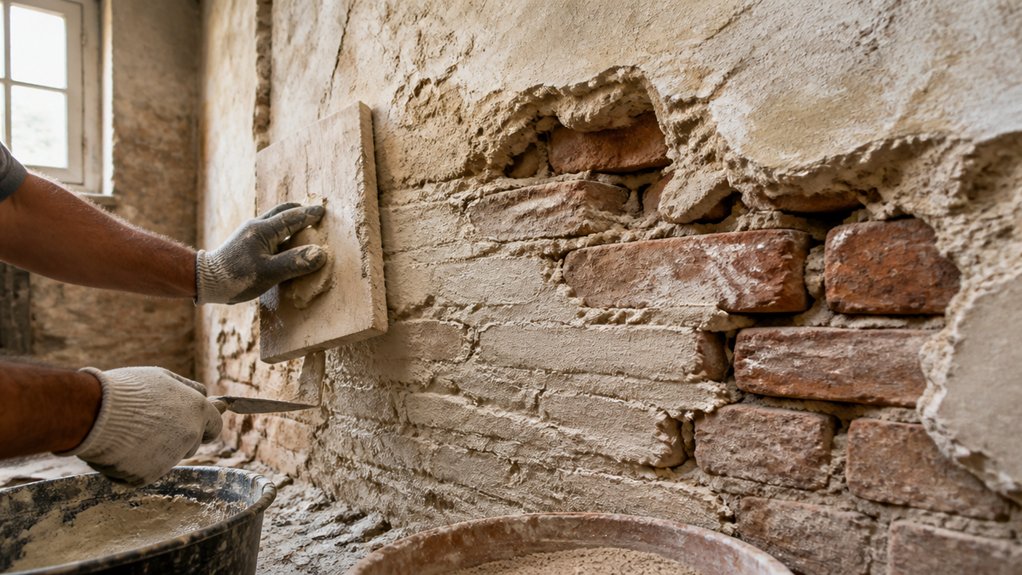
When the wall keeps failing in the same place after careful lime repointing or replastering, you’re no longer dealing with a “better mortar” problem—you’re facing conditions lime can’t compensate for. Repeated cracks, hollow areas, and persistent damp staining usually mean an external defect or structural issue is driving decay.
Check roofs, gutters, and flashings for leaks that soak masonry faster than it can dry. Verify ground levels, drainage, and bridging at the base; capillary rise won’t stop without correction.
If salts keep blooming, identify the source (de-icing, contaminated fill, cement repairs) and remove it. For movement, you may need crack monitoring, lintel repair, or tying.
Use Modern techniques for diagnosis, but plan repairs that preserve Historical accuracy and breathable performance overall.
Choose a Lime Plaster (NHL vs Lime Putty)
When you’re choosing between NHL and lime putty plaster, start by matching the material to the wall’s needs and the site conditions.
You’ll weigh set time and strength—NHL sets faster and harder, while lime putty cures slower and stays more forgiving.
You also need to confirm breathability and compatibility so the new plaster moves moisture and responds to the brickwork without trapping damp or causing stress.
NHL Vs Lime Putty
Before you mix a batch, choose between Natural Hydraulic Lime (NHL) and lime putty because each cures differently and that difference controls strength, breathability, and how forgiving the plaster will be on old brickwork.
Use NHL when you’re working in exposed, damp, or externally weathered areas where the wall needs a more resilient binder, and match the NHL grade to the substrate’s hardness.
Choose lime putty when you’re repairing softer, earlier fabric and you want maximum vapour openness and easy workability for fine finishes.
Check the existing mortar and plaster: if it powders easily, favour putty; if it’s denser and slightly gritty, NHL may align better.
For Lime preservation and Historic authenticity, match what’s already there, not what’s convenient.
Set Time And Strength
Although both binders rely on carbonation in the long run, set time and early strength differ enough that they should drive your choice. If you need a quicker grab and earlier resistance to handling damage, you’ll usually reach for NHL: it begins to firm up sooner, lets you build coats on a tighter schedule, and supports prompt Wall stabilization around loose arrises or repaired brick joints.
If you can protect the work from knocks and drying winds, lime putty gives you longer open time to rule, close, and blend edges, but it stays vulnerable for longer. Plan curing accordingly: dampen the background, control suction, and keep coats protected while they gain strength.
Delay Lime paint until the plaster won’t mark under light fingernail pressure.
Breathability And Compatibility
Because moisture movement drives most lime failures, you should choose between NHL and lime putty by matching the plaster’s vapour permeability and stiffness to the wall you’re repairing.
Start by evaluating the substrate: soft, porous historic brick and earlier lime beds need a highly breathable, flexible coat, so you’ll usually favour lime putty. Putty-based mixes carbonate slowly, remain forgiving, and better support historical accuracy on pre‑1900 fabric.
If your wall is denser, more exposed, or you need earlier resistance to rain, a weaker NHL (often NHL2) can work, but don’t outgun the masonry; excessive stiffness traps salts and promotes spalling.
Check suction, salt loading, and existing mortar type before you commit.
You’ll also cut environmental impact by choosing local lime, low cement content, and minimal additives.
Choose a Lime Mortar for Repointing Brickwork
How do you pick a lime mortar that protects your brickwork instead of slowly breaking it down? Start by matching the mortar’s strength to the brick, not the other way around.
For soft, porous bricks, choose a high-lime, low-strength mix (often lime putty with well-graded sand). For harder brickwork in exposed locations, consider a weaker NHL, but avoid anything stronger than the masonry can tolerate.
Check the existing joints: colour, texture, aggregate size, and binder type. Replicate these so your repair disappears and performs the same.
Use proven Lime mortar techniques: correct sand grading, minimal cement-free additives, and workable consistency. In historic preservation, compatibility beats convenience—test small panels, then commit.
Prep: Remove Cement, Salts, and Loose Material
Before you touch new lime mortar, strip the wall back to sound masonry: rake out any hard cement pointing, brush off loose lime and friable brick faces, and deal with salts that will keep pushing repairs off.
Use a plugging chisel and hand tools first, so you don’t shatter brick arrises; only use a grinder where access is safe and controlled.
Vacuum and stiff-brush joints to remove dust that weakens bond. If you see white bloom or damp tide marks, dry-brush and repeat over several days; don’t trap moisture.
Where salts persist, poultice with clay or paper pulp and replace until it stops.
Lightly mist dusty masonry before work to control suction. This Lime preservation stage protects historic accuracy and long-term adhesion.
Repoint Brickwork With Lime Mortar (Step-by-Step)
Next, you’ll repoint the brickwork with lime mortar by prepping clean, sound joints and mixing mortar to the right consistency for your lime and sand.
You’ll pack the mortar firmly in thin lifts, then tool the joint to match the original profile and close the surface without smearing the brick faces.
Finally, you’ll cure it slowly by protecting it from sun, wind, and frost and keeping it lightly damp until it hardens.
Prepare Joints And Mortar
Where you start matters: prepare the joints and mortar with care, and your lime repointing will bond properly and cure evenly.
Rake out failed mortar to a sound depth (often 2–2.5× joint width) using hand tools where possible, and avoid widening arrises. Brush and vacuum dust, then check for salts or loose brick faces that need stabilising.
Lightly dampen the joints so they’re cool and evenly moist, not dripping.
For Color matching and historical accuracy, sample the original mortar: note binder type, aggregate size, and any pigments. Sieve washed sand to match grading and tone.
Mix lime and sand thoroughly, then rest (fatten) as required for your lime type. Keep tools, water, and mix clean.
Pack, Tool, And Cure
Once the joints sit evenly damp and your mortar’s at a workable stiffness, you can start packing it in: press small amounts firmly into the back of the joint with a pointing trowel or jointer, building up in thin lifts so you don’t trap voids. Keep the face slightly proud, then wait until it “thumbprints” without smearing before you tool it.
Strike to match the original profile—flush, slightly recessed, or weather-struck—for historical accuracy, and brush lightly to open the texture without dragging sand. Don’t smear mortar over brick arrises; cut it clean.
Mist the work if it flashes dry, then cover with damp hessian and a breathable sheet. Cure slowly for lime preservation, protecting from sun, wind, and frost for 3–7 days.
Patch and Cure Lime Plaster for a Lasting Finish
Although lime plaster looks forgiving, you’ll get a lasting finish only if you patch with compatible material and control the cure. Match your binder and aggregate to the original so Lime plaster aesthetics stay consistent and historic preservation standards are met.
Rake back loose edges to sound plaster, undercut slightly, and dampen the substrate until it’s matte, not dripping.
Apply in thin lifts. Press the first coat firmly to key into the scratch, then comb it lightly for grip. Let it “green up” before the next lift, keeping edges feathered.
Close the final coat with a wood float, not steel, to avoid glazing. Cure slowly: mist lightly, cover with damp hessian, and shield from sun, heat, and drafts for at least a week.
Frequently Asked Questions
What Maintenance Schedule Helps Lime Plaster and Mortar Last Decades?
Inspect lime plaster and mortar every spring and fall, then act fast on hairline cracks, damp spots, and salt blooms.
Clean gutters quarterly and keep ground levels and splashback controlled year-round.
Repoint only when joints powder or recess; check annually and use Historic mortar matching to avoid hard, incompatible mixes.
Wash gently each summer; don’t seal.
Every 5–10 years, renew sacrificial limewash to boost Lime plaster durability and breathability.
How Do I Match Historic Plaster Textures and Decorative Details?
You’ll match historic plaster textures by taking small, discreet samples, then replicating aggregate size, binder ratio, and trowel timing on test panels.
You should photograph raking-light shadows to read tool marks and build layers accordingly.
You’ll confirm historic color palettes with limewash swatches, not modern paint chips.
For decorative details, you’ll copy profiles using templates and run molds, applying traditional decorative techniques with consistent moisture control and curing.
Which Paints or Finishes Are Compatible With Lime Plaster Surfaces?
You’ll get the best results with Lime wash, silicate mineral paint, and other breathable paints; they let lime plaster exchange moisture without blistering.
Around 70% of damp problems in older buildings trace back to trapped moisture, so finish choice matters.
Avoid vinyl, acrylic “sealers,” and high-gloss emulsions.
Test a small patch first, confirm it stays matte and powder-free, and apply thin coats over a fully cured, lightly misted surface.
What Permissions or Heritage Approvals Are Needed Before Starting Restoration Work?
You’ll need planning consent if you alter structure or appearance, plus listed-building consent if the property’s protected. Check local Heritage regulations early and ask the conservation officer what’s classed as like-for-like repair versus alteration.
If the building sits in a conservation area, you may need additional approval for external changes. Prepare a clear Permit application with photos, method statements, and material specs, then wait for written sign-off.
How Much Time and Cost Should I Budget for a Typical Room and Wall?
You should budget 1–3 weeks for a typical room and 2–5 days per wall, depending on drying and access.
For Budget planning, allow roughly $1,500–$5,000 per room and $300–$1,200 per wall, plus contingencies.
Material costs usually run 20–40% (lime, sand, lath, brick replacements, finishes); labor and drying time drive the rest.
Get quotes after test patches confirm scope.
Include skip, scaffolds.
Conclusion
You’ve diagnosed the failure, traced the cause, and chosen the right lime. Now work in order: remove cement, brush out salts, and repoint with a compatible mortar, packing joints firmly and finishing flush. Patch plaster onto a sound, dampened background, then cure slowly—mist, cover, and protect from sun and frost. Measure twice, repair once: that’s your refrain. If cracks keep returning or masonry shifts, stop and address movement before finishing.
About the Author