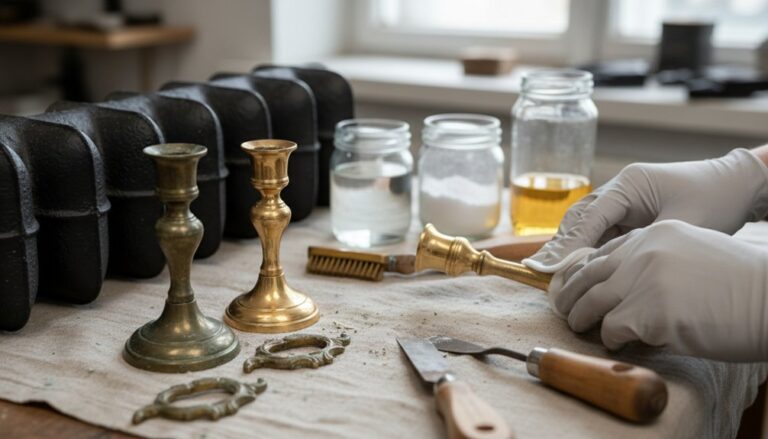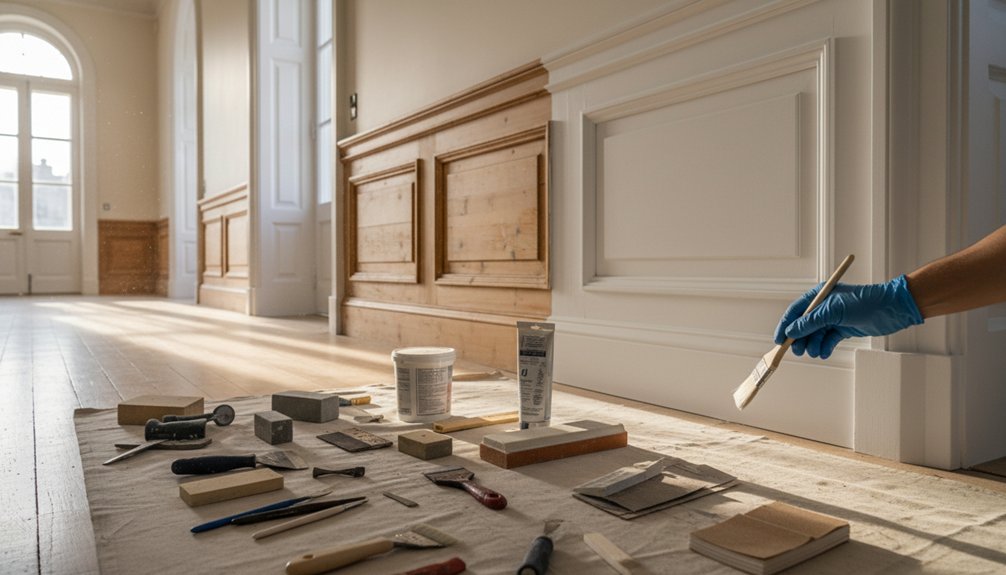
Start by inspecting in raking light for cracks, cupping, open mitres, popped nails, and moisture clues (tide marks, salt, mould, rusted fixings), then document and fix the cause. Protect floors with rosin paper and runners, score edges, and clean gently with a soft-brush vacuum and mild soap. Identify the existing finish with small solvent tests, then degloss or strip as needed. Stabilize dents, loose panels, and punky edges with hide glue, sand lightly, prime, caulk sparingly, and finish in thin coats—there’s more to learn about matching historic sheen and repairs.
Key Takeaways
- Inspect in raking light for cracks, loose joints, popped nails, rot, and moisture clues; photograph and label all defects before touching anything.
- Protect floors and adjacent plaster, then clean gently with brush vacuum and mild soap; avoid soaking joints and dry carved recesses immediately.
- Identify the existing finish with discreet solvent tests, then choose cleaning, deglossing, or stripping only where coatings are failing or incompatible.
- Stabilize and repair: raise dents, re-glue loose fragments with hide glue, consolidate punky edges, and fill small losses with reversible fillers or tinted wax.
- Prep and refinish: scuff-sand 180–220 grit, spot-prime stains with shellac or oil primer, caulk sparingly, then apply thin enamel or compatible topcoats.
Figure Out What’s Damaged (and Why)

Before you pick up a scraper or reach for filler, take time to identify exactly what’s failed—finish, substrate, joinery, or the wall behind it—and what set it in motion.
Start with close, raking-light inspection: map cracks, cupping, open mitres, popped nails, and paint blisters, then note where damage repeats at skirtings, corners, and radiator bays.
Probe gently for punky timber, but don’t enlarge losses; you’re documenting, not dismantling.
Check moisture first: look for tide marks, salt bloom, mould, and rusting fixings that point to leaks, damp masonry, or trapped condensation behind panelling.
Listen for hollow sounds that suggest delamination or failed lath.
Date alterations by tool marks and fasteners; it protects Historical accuracy and Cultural significance.
Photograph, measure, label everything.
Identify the Existing Finish and Choose a Path
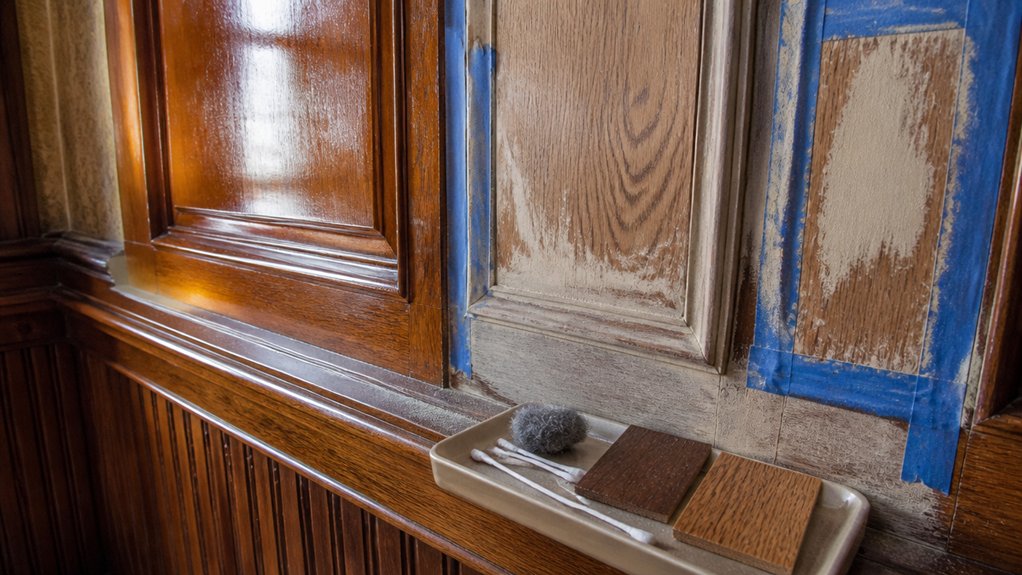
Start by identifying what you’re looking at: shellac, oil varnish, wax, paint, or a later polyurethane film, using careful cleaning and small, discreet test spots.
Once you’ve confirmed the finish type and its condition, you can choose between cleaning and re-waxing, consolidating and touching in, or stripping only where failure demands it.
Your goal is to keep as much original material as possible while matching the period sheen and color.
Determine Finish Type
How can you tell what you’re really dealing with when the woodwork’s been coated and recoated for decades? Start with raking light and your fingertips: Surface textures reveal brush marks, alligatoring, or a glassy film. Check edges and moulding quirks for build-up that can signal repeated varnish or paint.
Test discreetly in a closet corner. Denatured alcohol softens shellac; lacquer thinner affects lacquer; water may dull casein or distemper. If nothing budges, you’re likely facing oil paint, varnish, or a modern acrylic. Note color in scratches: amber suggests aged shellac or varnish; chalky white points to calcimine.
Record your findings and map rooms, since Finish options often vary by era, repair, or sunlight exposure.
Select Restoration Method
Your solvent tests and close-up observations now need to turn into a restoration plan that respects the age of the panelling and the realities of the coating on it.
If you’ve confirmed shellac, you’ll often clean, re-amalgamate with alcohol, and pad on fresh shellac rather than strip.
If it’s oil varnish, choose gentle cleaning, then abrade lightly and recoat with a compatible varnish; avoid modern polyurethane that can look plasticky and hinder future work.
For paint, decide whether you’re preserving an early layer, stabilizing edges, and touching in, or removing later overpaint with the mildest effective stripper and hand tools.
Protect Decorative accents by working with grain, using swabs, and stopping at sound film.
Prioritize Historical accuracy in sheen, color, and tooling marks.
Tools and Materials for Panelling Restoration
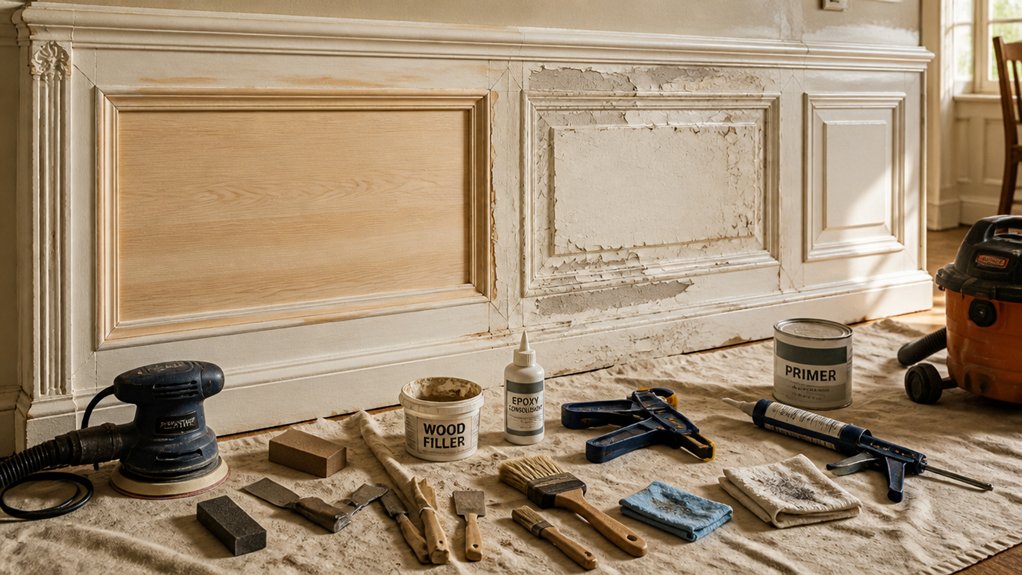
Before you lift a single board, assemble tools and materials that let you repair panelling with minimal loss of original fabric and a clean, reversible finish. Start with sharp cabinet scrapers, a block plane, and fine chisels for controlled trimming; add a tack lifter, nail punch, and small pry bar to ease fixings without bruising edges.
Use a moisture meter, straightedge, and feeler gauges to diagnose movement and gaps.
Choose hide glue granules (or liquid hide) for Historical authenticity and future reversibility, plus reversible fillers like shellac sticks or whiting-and-glue putty for minor losses.
Keep matching timber offcuts, veneer, and moulding planes for profile repairs and Decorative accents.
Finish with dewaxed shellac, soft wax, and natural-bristle brushes.
Protect Floors and Walls Before Restoring Wainscoting
Although wainscoting repairs happen at eye level, most irreversible damage occurs underfoot and along adjacent plaster, so lay protection first: tape down rosin paper or breathable builder’s paper, then add hardboard or plywood runners where ladders and trestles will stand, keeping seams staggered and edges weighted rather than aggressively taped to historic floors.
For floor protection at thresholds, bridge with thin plywood and avoid snagging original carpet gripper or hearth tiles.
Turn to wall preparation next: score a neat line at the top rail with a sharp knife, then mask adjoining plaster with low-tack tape and a paper skirt so you don’t pull friable limewash.
Remove pictures, radiator covers, and skirtings only if necessary, and bag fixings to prevent losses.
Keep ventilation gentle to limit dust migration.
Clean, Degloss, or Strip Old Panelling Finish
You’ll start by lifting decades of soot, wax, and kitchen grime with a mild cleaner and soft brushes so you don’t grind dirt into the grain or soften old hide-glue joints.
Once the surface is clean and dry, you’ll degloss the existing varnish or shellac with a careful scuff or appropriate solvent so new coats can key without erasing tool marks and patina.
If the finish is failing or incompatible, you’ll strip it in controlled sections, keeping moisture and harsh chemicals off end grain, joints, and adjacent plaster.
Remove Dirt And Grime
Once you’ve assessed the wood species and finish, start by removing loose dirt and greasy grime with the gentlest method that will work: vacuum the mouldings with a soft brush, then wipe with warm water and a small amount of mild soap on a well-wrung cloth, keeping moisture off seams and end grain so it doesn’t swell the boards.
Work top to bottom, following the grain, and change cloth faces often to avoid redepositing soil. For carved details, use cotton swabs dampened—not dripping—to lift grime from recesses.
Rinse with a second barely damp cloth, then dry immediately with a soft towel. Test any cleaner in an inconspicuous spot, and stop if color transfers; you’re doing careful Dirt removal, not altering the surface.
These Cleaning techniques respect aged patina.
Degloss Or Strip Finish
Before you reach for stripper or sandpaper, determine whether the existing finish simply needs cleaning and a light deglossing to accept a new coat, or whether it’s truly failing and must come off.
Check for alligatoring, flaking, crazing, and bare patches at moulded edges; those usually call for removal. If the film is sound but glossy, dull it with a liquid deglosser or fine abrasive pads, working with the grain and keeping profiles crisp. Don’t round over beads or ogees—preserve the tool marks that signal age.
Wipe residue with mineral spirits and let it flash off fully. For stripping, use a low-odor, paste-type remover, scrape gently with a plastic putty knife, then neutralize per directions.
Consistent surface preparation controls finish sheen.
Fix Dents, Chips, and Loose Wainscoting Panels
Although dents and chips in wainscoting can look severe in raking light, most are best treated with minimal, reversible repairs that preserve as much original material—and crisp moulding profiles—as possible. Start by photographing each defect so you can restore decorative details with historical accuracy.
For shallow dents, raise compressed fibers with a barely damp cloth and a warm iron, keeping heat brief and controlled. Consolidate punky edges with a reversible hide-glue size, then fill losses with a compatible wood filler or tinted wax, stopping shy of surrounding bead and ovolo lines.
For chips at corners, glue back saved fragments with hide glue and clamp with padded cauls. If panels are loose, locate failed nails, re-secure into studs, and add discreet shims behind gaps.
Sand, Prime, Caulk, Then Paint or Stain for Durability
After you’ve stabilized dents, chips, and loose panels, bring the surface to an even, paint-ready condition with the least abrasion you can get away with. For Surface preparation, start with a vacuum and tack cloth, then scuff-sand only the sheen using 180–220 grit, following the grain.
Preserve crisp moulding edges by hand-sanding, not aggressive power tools.
Prime next for Material compatibility: use shellac or an oil-based stain-blocking primer on resinous knots, smoke, or waxy old finishes; choose a bonding acrylic primer where lead-safe, sound paint remains.
Caulk sparingly with paintable acrylic-latex at open seams, but don’t seal historic panel joints meant to float.
Finally, paint with a breathable, high-quality enamel in thin coats, or stain and topcoat with dewaxed shellac or varnish for durable protection.
Frequently Asked Questions
How Do I Match New Trim Profiles to Historic Panelling Styles?
You match new trim profiles to historic panelling styles by documenting what’s there first. You’ll take full-scale rubbings or profile gauges, measure height, projection, and bead/cove radii, and photograph joints.
You should identify the period’s typical matching trim and species, then source reclaimed stock or have knives ground to the exact profile. You’ll test-fit a short run, keep reveals consistent, and avoid over-sharp machine edges.
Is It Better to Repair Wainscoting in Place or Remove It First?
You’re usually better off repairing wainscoting in place; you remove it only when rot, failed plaster keys, or hidden fasteners demand it. Like a shipwright caulking a hull, you keep sound boards seated to preserve patina and tight reveals.
For wall panel maintenance, stabilize loose rails, inject hide glue, and clamp gently.
For decorative trim repair, splice matching species, use period mouldings, and finish with reversible shellac.
What’s the Typical Cost Range for Professional Panelling Restoration?
You’ll typically pay $75–$200 per linear foot, or $1,500–$8,000+ per room, depending on detailing, species, and damage.
Gentle stripping, dutchman patches, and matching historic profiles raise costs; simple crack fill and repaint sit lower.
If you change paint color, expect added prep and sample matching.
A period-appropriate hardware upgrade (brass screws, latches) adds $50–$500, plus careful installation and touch-up.
Can I Restore Panelling Without Creating Significant Dust in Occupied Rooms?
Yes, you can, but you’ll need strict Dust control techniques and careful sequencing.
You’ll work wet whenever possible: damp-sponge cleaning, solvent gels, and hand-scraping instead of power sanding.
You’ll isolate the bay with plastic sheeting, seal HVAC registers, and run a HEPA air scrubber plus a HEPA vac at the tool.
You’ll remove or wrap textiles for Furniture preservation, and schedule touch-ups during low occupancy.
How Do I Comply With Lead-Paint Rules When Restoring Pre-1978 Wainscoting?
You’ll comply with lead-paint rules by assuming pre-1978 finishes contain lead, then confirming with Historic paint analysis or an EPA-recognized test.
You’ll hire an RRP-certified firm if you disturb more than minor areas, post warning signs, isolate the room with 6-mil poly, and use HEPA vacuums.
You won’t dry-sand or use open-flame heat.
For Lead paint removal, you’ll favor chemical strippers and wet methods.
Conclusion
Step back and let the panelling catch the light again—crisp rails, tight mitres, and a sheen that suits its age. You’ve traced the cause of damage, matched the historic finish, and worked with care: floors covered, grime lifted, loose boards pinned, dents filled, and edges faired. After sanding, priming, and a thin caulk line, your paint or stain settles smooth, protective, and respectful. The room feels quietly restored, not remade.
About the Author