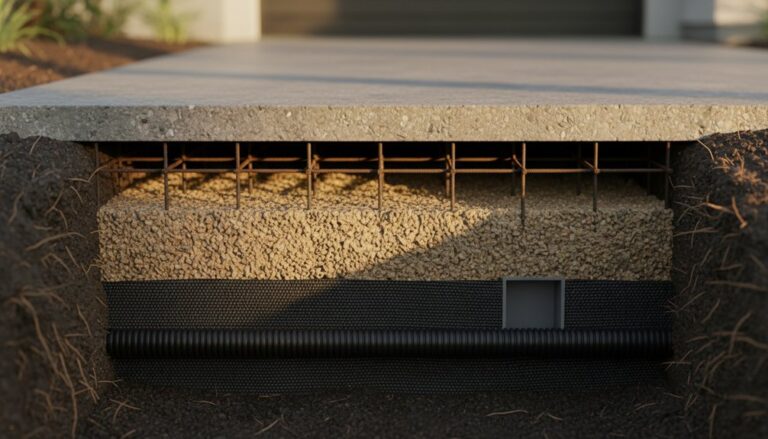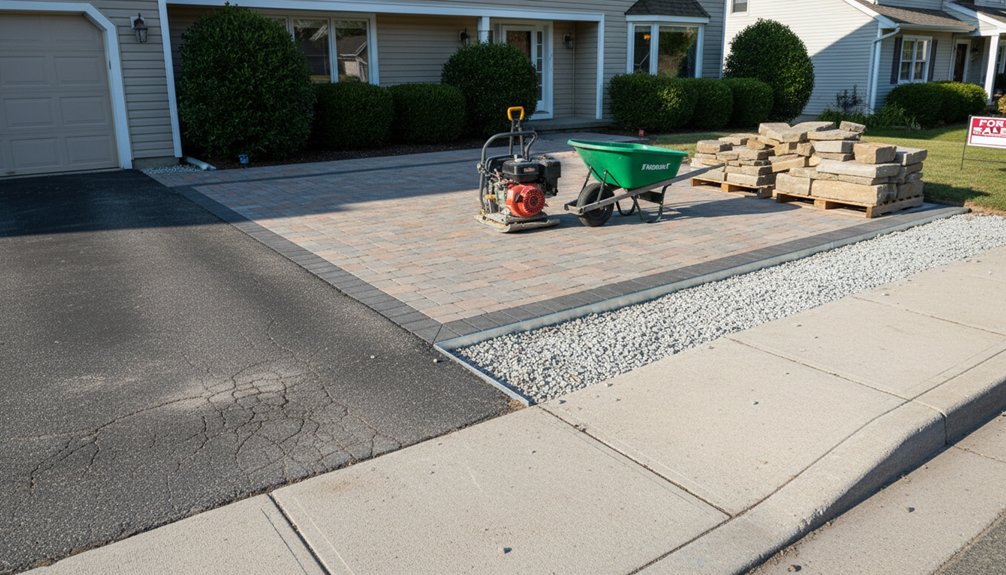
Start by evaluating whether your driveway needs targeted crack sealing and patching or full replacement due to raveling, heaving, failed edges, or repeated repairs. Fix grading first, keeping at least a 2% slope away from the house, and add swales, trench drains, or permeable edges to meet local stormwater rules. Then choose a surface—gravel, asphalt, concrete, permeable pavers, or stone—based on soil, loads, climate, and recycled content. Keep going to see style and maintenance tips.
Key Takeaways
- Assess whether resurfacing or full replacement is needed by checking for widespread raveling, heaving, failed edges, or repeated patching.
- Fix grading and drainage first, maintaining at least a 2% slope away from the house and addressing low spots to prevent water damage.
- Choose materials by budget, climate, and use: gravel, asphalt, concrete, permeable pavers, or natural stone for higher-end curb appeal.
- Match driveway style to the home and local rules, ensuring safe slip resistance, smooth transitions, and accessibility-compliant slopes.
- Plan long-term care: seal asphalt every 2–4 years, reseal cured concrete, repair cracks early, and keep joints and drains clear.
Decide If Your Driveway Needs Replacement
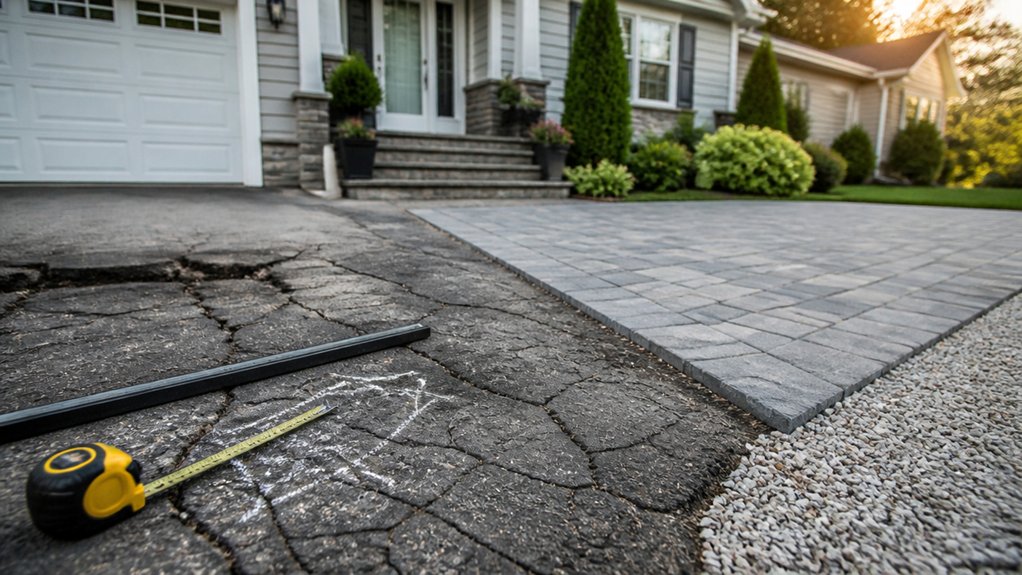
Although a driveway can look “fine” from the street, you should confirm it still performs safely and drains correctly before you commit to new materials. Check whether the surface meets local slip-resistance expectations, provides an accessible route to entries, and maintains clear widths at sidewalks, gates, and garages per local code.
Decide on replacement when the pavement has widespread raveling, heaving that creates trip hazards, failed edges that won’t hold a clean joint, or repeated patching that compromises durability.
Verify your site’s loads: daily parking, delivery trucks, and snowplow impacts may exceed what your current section supports. Choose lower-impact materials sized to your climate and maintenance plan, and coordinate landscaping options and lighting enhancements so new work won’t require re-cutting or trenching later.
Fix Grading, Cracks, and Drainage First

Before you install new driveway materials, you’ll correct slope and grading so runoff flows away from the foundation and meets local code for drainage.
You’ll patch and seal surface cracks to keep water from undermining the base, extending service life and reducing waste.
You’ll also upgrade drainage paths—such as swales, trench drains, or permeable edges—so stormwater moves safely to an approved discharge area on your site.
Correct Slope And Grading
Once you’ve chosen a new driveway material, verify the slope and grading so water sheds away from the house and doesn’t undermine the base. Walk the site after a rain, map low spots, and flag any grading issues near the foundation, garage slab, and walkways.
Set a consistent pitch toward the street or an approved on-site collection point, and keep runoff off neighboring lots per local code. Use slope adjustments that maintain accessible gradual changes at the garage and sidewalks while preventing ponding.
Tie the driveway edge into stabilized shoulders, swales, or a trench drain where needed, and compact subgrade in lifts to design density. Choose permeable base layers or infiltration zones where soils and setbacks allow, and protect existing trees by limiting cut-and-fill in root zones.
Repair Driveway Surface Cracks
After you’ve corrected slope and drainage, tackle surface cracks so water can’t migrate into the base and trigger frost heave, pumping, or settlement. Map cracks by width and movement, then choose the least-toxic, climate-appropriate fix: hot-pour rubberized crack filler for asphalt, epoxy/polyurea injection for stable concrete, and flexible joint sealant where slabs meet.
Rout and clean to manufacturer depth, dry the substrate, and keep repairs within temperature and cure limits to meet local specs.
For pothole repair, square the edges, remove loose aggregate, apply tack, place mix in lifts, and compact to refusal. Finish with seal coating only after patches cure; use low-VOC products, protect adjacent soil, and capture rinse water.
Improve Water Drainage Paths
Crack repairs only hold up if you also control where water goes, so improve drainage paths to keep runoff from saturating the base and undermining your new surface.
Recheck driveway slope with a level and maintain at least 2% fall away from the house and garage, consistent with local code and your site soils.
Address low spots by regrading the subbase, not by piling thin patch on top.
Seal joints at the apron and along edges so surface runoff can’t pump fines out of the base.
Add rainwater diversion: extend downspouts to daylight, install a swale or trench drain at the high side, and keep discharge off neighboring lots.
Use permeable shoulders or stabilized gravel strips to slow flow and reduce erosion.
Recompact after adjustments.
Compare Driveway Materials by Cost and Curb Appeal
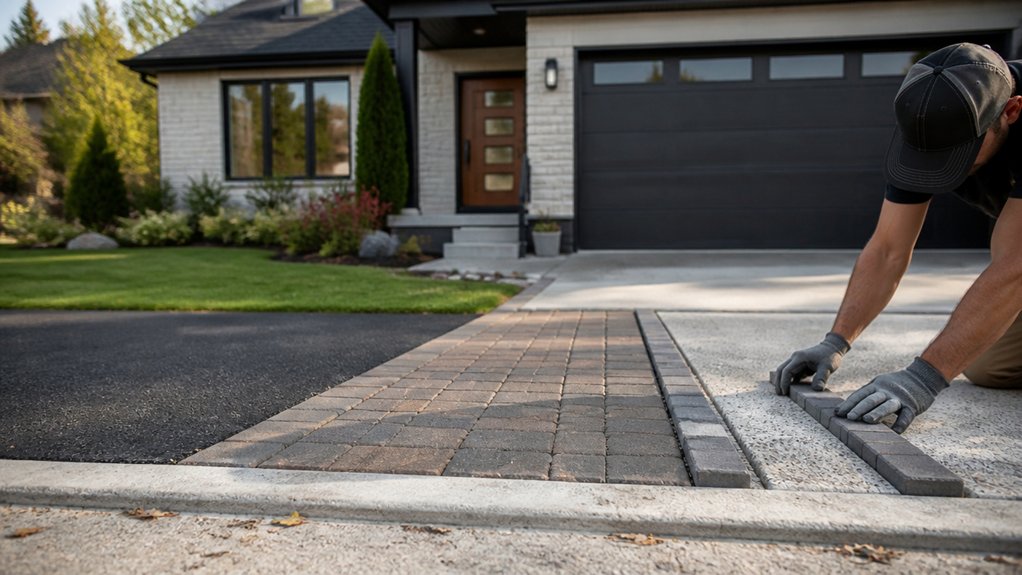
Now that you’ve corrected grading, cracks, and drainage, you can compare driveway materials by installed cost, maintenance needs, and local code requirements for stormwater and frost.
You’ll weigh curb appeal—texture, color, and edge detail—against site conditions like soil, slope, and heat gain.
You can prioritize permeable or recycled-content options where they’re allowed.
Finally, you’ll balance your upfront budget with longevity by estimating lifecycle costs, repair frequency, and end-of-life recyclability.
Material Costs At A Glance
Where do the dollars—and the curb appeal—go when you switch driveway materials? Start with your site: soil stability, drainage path, frost depth, and slope determine base thickness and runoff controls, keeping you aligned with local codes and reducing repairs.
Budget tiers typically run: compacted gravel lowest; asphalt low-to-mid; broom-finish concrete mid; permeable pavers and permeable concrete higher; natural stone highest. Material durability shifts lifecycle cost—gravel needs periodic top-ups, asphalt wants sealing, and concrete rewards proper joints and curing.
Installation complexity also drives labor: edging and geotextile for gravel, hot-mix timing for asphalt, reinforcement for slabs, and meticulous bedding plus polymeric sand for pavers. To lower impact, price reclaimed aggregate, recycled asphalt, and locally quarried stone, and factor hauling distance.
Curb Appeal Comparisons
Although the price tag sets your starting point, curb appeal depends on how well a driveway material fits your home’s architecture, your site’s drainage plan, and local code requirements for slope and runoff.
For a tight budget, broom-finished concrete reads clean and modern, especially with crisp edging and consistent jointing aligned to façade lines.
Asphalt looks understated on traditional homes, but you’ll want defined borders for landscape integration.
Midrange pavers deliver the most design flexibility: choose permeable units where runoff limits apply, and match color blends to roof and trim.
Gravel can suit rural lots, yet specify stabilized grids to keep stones out of sidewalks and swales.
To elevate any option, add lighting enhancements at turns, aprons, and steps for safer nighttime wayfinding.
Budget Versus Longevity
Curb appeal gets you noticed, but you’ll live with the performance and upkeep costs for decades, so compare driveway materials by total installed cost, expected service life, and how they manage runoff on your site.
Asphalt often costs less upfront, yet you’ll budget for sealing and heat-related rutting.
Concrete costs more to install, but it can deliver longer service life with proper joints and base prep.
For premium looks, pavers raise initial cost, but you can repair sections and add decorative accents without full replacement.
Gravel stays economical and permeable, though snow removal and edging add labor.
Whatever you choose, meet local slope, setback, and stormwater rules, size the base for your soil, and prioritize recycled content and material durability.
Pick a Driveway Material That Fits Your Climate
Since your driveway takes the brunt of heat, freeze–thaw cycles, rain, and snowmelt, you should match the material to your local climate—and verify it meets your site’s grading, drainage, and stormwater rules.
In hot, high-UV regions, choose light-colored concrete, stabilized gravel, or permeable pavers to cut heat gain and reduce rutting.
In freeze–thaw zones, specify air-entrained concrete, well-compacted base, and sealed joints; avoid poorly drained asphalt that heaves.
For heavy rain, use permeable systems over an open-graded reservoir, with edge restraints and overflow tied to approved discharge points.
Near trees, pick flexible surfaces and root-friendly detailing.
Prioritize recycled content, low-VOC sealers, and locally sourced aggregate for climate adaptability and seasonal durability.
Match Your Driveway to Your Home’s Style
When you match your driveway material and layout to your home’s architecture, you’ll get a cohesive exterior upgrade without compromising drainage, setbacks, or accessibility.
For Style coordination, echo rooflines and façade rhythm: crisp saw-cut joints suit modern homes, while tumbled pavers complement traditional brick.
Prioritize Material compatibility with existing hardscape and local ordinances; some HOAs restrict color, sheen, or apron width.
Keep grades within typical accessibility targets and direct runoff to approved swales or infiltration zones, not the street, to meet stormwater rules.
Use permeable pavers or porous concrete where soils allow, and specify recycled aggregate to lower embodied carbon.
Match edging and apron details to your curb cut and garage threshold so progression stay smooth and code-friendly.
Maintain and Clean Your New Driveway Material
After you’ve matched the driveway to your home’s style and met local drainage and setback rules, protect that investment with a maintenance plan that fits your material and site conditions. Set cleaning schedules based on shade, tree cover, and freeze-thaw exposure: sweep monthly, rinse seasonally with low-pressure water, and spot-treat oil with biodegradable absorbents to keep runoff compliant.
Use sealing techniques only when the product and timing match your surface and climate. Seal asphalt every 2–4 years in dry weather; reseal concrete only after full cure and confirm it won’t reduce required slip resistance.
Keep pavers permeable by vacuuming joints, topping up aggregate, and avoiding polymeric sand where infiltration is required. Manage deicing with sand or CMA, not rock salt, and repair cracks early to prevent base saturation.
Frequently Asked Questions
Do I Need a Permit to Replace or Widen My Driveway?
You might need a permit to replace or widen your driveway, depending on Driveway permits and Local regulations in your city or county.
You’ll usually need one if you change width, add a curb cut, alter drainage, or work in the public right-of-way.
Call your building department and public works to confirm setbacks, stormwater controls, and ADA access.
Choose permeable paving to reduce runoff and meet site requirements.
How Long Will My Driveway Replacement Project Take From Start to Finish?
Most driveway replacements take 3–10 days on-site, plus 7–28 days curing, depending on your Driveway design and Material durability.
Saw-cut, scoop, and subgrade set the scene. You’ll schedule utility locates, inspections, and erosion control to stay code-compliant and site-specific.
Base prep and drainage fixes often take 1–3 days; paving takes 1 day.
Choose recycled aggregate, permeable options, and proper runoff capture to reduce impacts.
Can Delivery Trucks and Moving Vans Use the Driveway During Installation?
You typically can’t let delivery trucks or moving vans use the driveway during installation, because fresh base and surface won’t meet load requirements. You’ll schedule deliveries before demolition or after cure times, per your contractor and local code.
If you must allow access, you’ll need plated protection and controlled routing to preserve driveway durability.
You’ll also plan material maintenance: keep runoff contained, prevent soil compaction, and reuse aggregates where possible.
Will Replacing the Driveway Affect My Property Taxes or Appraisal Value?
Replacing your driveway usually won’t trigger a reassessment by itself, but Property tax impact can occur if your jurisdiction treats it as a capital improvement or if permits prompt a review.
Appraisal value often rises modestly when you add curb appeal, drainage control, and durable, code-compliant materials.
You’ll boost results by documenting permits, base thickness, and stormwater features, and by choosing permeable, low-heat, recycled-content options suited to your site.
How Do I Choose a Contractor and What Warranties Should I Expect?
Sure, hire the cheapest bidder—if you enjoy rework.
You should vet contractor credentials: verify licensing, insurance, bonding, local code compliance, and references on similar sites and soils.
Require a written scope, permits, inspections, and a sustainability plan (recycled aggregates, low-VOC sealers, runoff control).
Expect warranty coverage in writing: workmanship 1–2 years minimum, manufacturer material warranties, exclusions, maintenance duties, and clear claim procedures.
Conclusion
Your driveway isn’t just access—it’s performance. In many U.S. markets, curb appeal can drive up to 7% more in resale value, so you’ll want yours to read clean, safe, and intentional. You’ve checked grading, cracks, and drainage first, so you’re set up for code-compliant slope, runoff control, and fewer freeze-thaw failures. Now choose a site-fit, climate-ready surface—ideally permeable or recycled-content—to cut stormwater loads, reduce heat, and simplify long-term maintenance.
About the Author