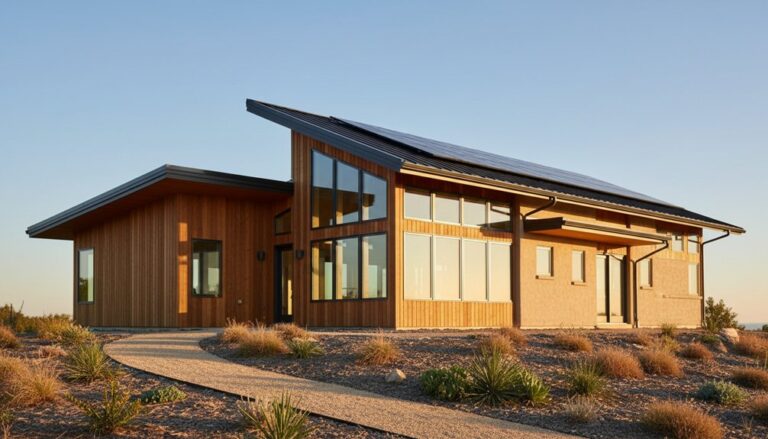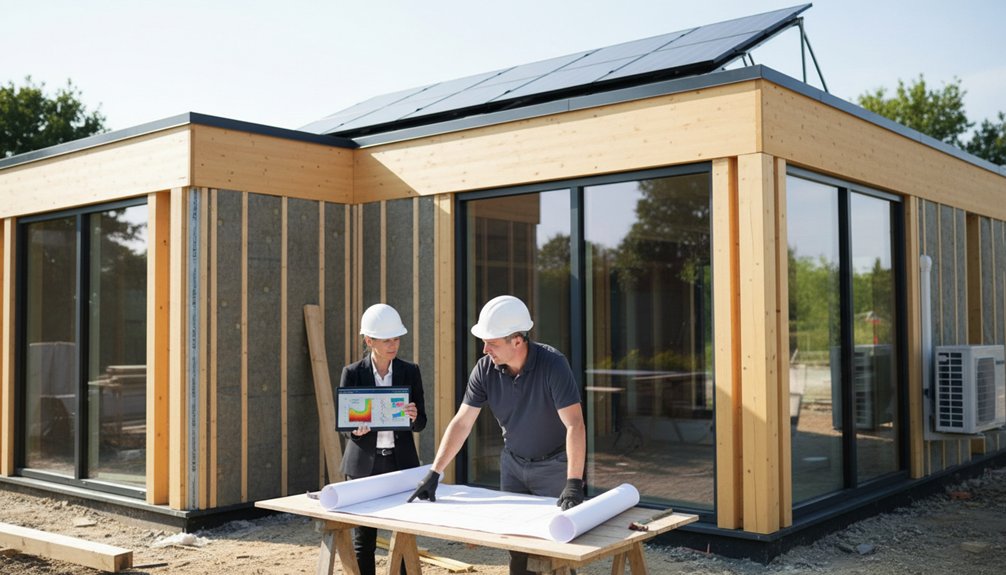
You’ll design a high‑energy‑efficiency new build by setting measurable targets (EUI, peak loads, airtightness, comfort) and verifying them with modeling and metering. Orient the plan for controlled south solar gain, limit east/west glazing, and size fixed shading to prevent summer overheating. Build a continuous, thermal‑bridge‑free insulated envelope with a single air barrier and blower‑door testing. Specify MVHR matched to airtightness, then size a low‑temperature heat pump and commission everything properly. Next, you’ll see how to lock performance in.
Key Takeaways
- Set measurable energy targets (EUI, airtightness, comfort) and verify with modeling plus metering, commissioning, and occupancy-adjusted performance tracking.
- Optimize site layout: orient for winter solar gain, limit east/west glazing, and use fixed shading, blinds, and landscaping to prevent summer overheating.
- Build a high-performance envelope: continuous insulation, minimal thermal bridging, robust moisture control, and a continuous air barrier verified by blower-door testing.
- Select glazing by orientation: compare whole-window U-values and SHGC, use triple glazing selectively, and validate overheating risk with dynamic simulation.
- Specify efficient systems: balanced MVHR with low SFP, heat pumps sized to low-temperature emitters, and low-load lighting/hot water with smart controls.
Set Measurable Energy Targets for a New Build

Before you draw plans or specify equipment, you should define quantifiable energy performance targets that the design team can model, price, and verify. Set an annual EUI target (kWh/m²·yr), a peak heating and cooling load limit (W/m²), and airtightness (m³/h·m² @ 50 Pa).
Specify ventilation effectiveness and fan power (W/L·s) to control auxiliary energy. Add indoor criteria—operative temperature bands, humidity limits, CO₂ thresholds, and maximum noise levels—as occupant comfort strategies that can be checked during commissioning.
For Renewable energy integration, define a minimum on-site generation fraction or net annual balance, and cap exported/imported power to match grid constraints.
Require measurement and verification: submeters, logging intervals, calibration, and acceptance tests tied to occupancy-adjusted baselines.
Plan Site Layout, Solar Gain, and Summer Shading
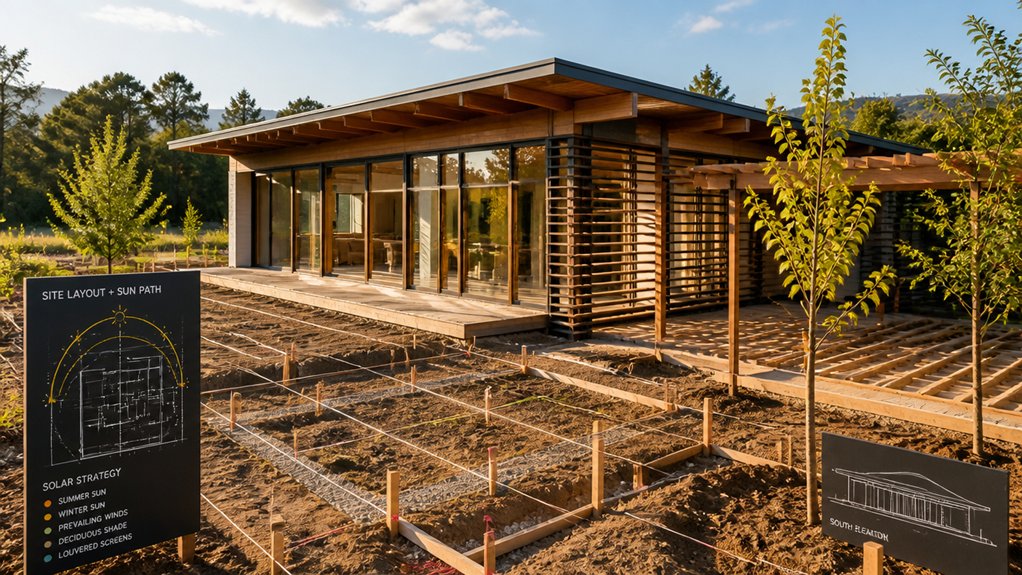
How you place the building on the site largely determines whether you harvest useful winter solar gain or fight overheating all summer. Orient the long axis east–west so you can prioritise south-facing glazing and limit east/west glass that drives morning and late-day peaks.
Use a simple shading analysis (solar altitude and azimuth for your latitude) to size fixed overhangs that admit low winter sun but block high summer sun; add external blinds where geometry can’t solve it.
Keep high-occupancy rooms on the sun-facing side and buffer spaces to the north.
Apply Landscaping strategies—deciduous trees for seasonal shade, evergreen windbreaks—to cut cooling loads.
Balance solar access with privacy considerations by offsetting windows, using courtyards, and positioning fences to avoid shading your collectors.
Build an Airtight, Well-Insulated New Build Envelope

Although high-performance glazing and smart orientation help, you won’t hit low heating and cooling demand unless you build an envelope that’s both highly insulated and demonstrably airtight.
Specify continuous insulation at walls, roof, and slab edges, and design junctions to avoid thermal bridges (e.g., balconies, rim joists, service penetrations).
Choose a single, continuous air-control layer and detail it on drawings; then verify it with blower-door testing, targeting ≤1.0 ACH50 or better where feasible.
Manage moisture with a robust water-resistive barrier, ventilated rainscreen, and correct vapour control for your climate to protect Material durability.
Lock in quality through construction sequencing: install and inspect the air barrier before services, coordinate trades, and photo-document critical seals and tapes.
Choose New Build Glazing for Heat Loss and Overheating
You’ll specify glazing by balancing low U-values (to cut conductive heat loss) against solar gain (g-value) to manage overheating risk.
Triple glazing typically improves whole-window U-values versus double, but it can reduce solar gains and may not outperform a high-spec double-glazed unit in warmer, high-sun exposures.
You’ll compare certified whole-window U-values, g-values, and frame/spacer performance for your orientation and shading strategy before you commit.
U-Values And Solar Gain
Two glazing metrics drive most of the heating-and-overheating trade-off in a new build: U-value (conductive heat loss) and solar gain, usually expressed as g-value or SHGC (admitted solar energy).
You’ll target low whole-window U (glass+frame+spacer) to cut peak heat loss and downsize heating, but you must check installation effects: edge spacers, frame fraction, and thermal bridging at reveals can raise effective losses versus certified values.
For U values optimization, compare declared Uw at your window size, not centre-pane numbers.
For Solar gain maximization, use higher g on winter-sun elevations to offset heating, but cap g where summer insolation is high, especially on west.
Validate choices with dynamic overheating modelling (CIBSE TM59/TM52) and annual energy simulation.
Triple Glazing Vs Double
Where does triple glazing actually outperform a good double-glazed unit in a new build? You’ll see the biggest gains in heat loss control when your design targets very low U-values, especially on large north-facing openings and exposed sites.
Typical whole-window U-values can drop from ~1.2–1.4 W/m²K (double) to ~0.7–0.9 W/m²K (triple), but only if window framing uses warm-edge spacers and thermally broken profiles; otherwise the frame dominates losses.
Triple glazing can also improve acoustic performance by adding mass and allowing asymmetric pane thickness, but cavity tuning matters more than “three panes.”
For overheating, note triple glazing often lowers g-value, reducing summer solar gains; specify selectively, not everywhere.
Design Healthy New Build Ventilation (MVHR and Airtightness)
How do you keep indoor air consistently fresh in a near‑sealed new build without bleeding heat and inviting damp? You design MVHR around verified airtightness. Start by targeting ≤3 m³/(h·m²)@50 Pa (or better) and confirm with a blower-door test; uncontrolled leakage short-circuits heat recovery and drives condensation at cold bridges.
Size the unit to meet whole-dwelling rates and room extracts, then balance supply and extract to maintain neutral pressure. Commissioning must measure ventilation airflow at terminals, not just fan settings.
Specify high-efficiency heat exchangers (typically 80–90% sensible recovery) and low SFP fans to cut electrical load. Add filters (ePM1) and ensure accessible duct runs, smooth bends, and condensate drainage. This protects Indoor air quality year-round.
Choose Low-Carbon Heating Sized for a New Build
MVHR and airtightness cut the heating load to a predictable baseline, so you can specify low‑carbon heat that matches the new build’s measured heat loss rather than legacy boiler rules of thumb.
Base sizing on room-by-room heat loss (W/K) from U-values, thermal bridges, and design air change, then select an emitter flow temperature that keeps heat pump COP high. You’ll typically target 30–45°C flow with oversized radiators or UFH, and you’ll verify capacity at your local design outdoor temperature.
If you choose Low carbon fuel options like heat pumps, specify weather compensation, buffer strategy only if hydraulically required, and low-loss headers sparingly.
Commission controls with renewable thermostats zoned by occupancy, and tune setpoints using monitored run-hours to avoid short-cycling.
Cut New Build Hot Water and Lighting Loads
Because your space-heating demand drops sharply in an airtight, well-insulated new build, domestic hot water and lighting can dominate the remaining delivered energy, so you should treat them as primary design loads rather than afterthoughts.
Cut Water heating first: specify low-flow taps and showers (e.g., 6–8 L/min showers), short insulated distribution runs, and demand-controlled recirculation or none at all. Choose a heat-pump water heater or a high-COP DHW cylinder with low standby losses, and set sensible store temperatures with anti-legionella cycles rather than continuous high setpoints.
For lighting, use high-efficacy LEDs (≥120 lm/W), layer task lighting to reduce ambient levels, and minimize over-illumination via correct lux targets. Add Smart lighting with occupancy/daylight sensors and dimming to avoid wasted runtime.
Test Airtightness and Commission the New Build Systems
You’ll confirm envelope performance with blower door tests, targeting a specified ACH50 and tracing leakage paths with smoke or infrared to prioritize sealing.
Then you’ll commission HVAC and ventilation by verifying design airflow rates, static pressure, filtration, and outdoor-air delivery against submittals and measured data.
Finally, you’ll validate controls and balancing by checking sensor calibration, setpoints, sequences of operation, and room-by-room supply/return flows so the systems meet comfort and efficiency targets.
Conduct Blower Door Tests
Once the structure is weather-tight and penetrations are sealed, schedule a blower door test to quantify airtightness and expose leakage paths before finishes lock them in. You’ll depressurize the building to 50 Pa and measure airflow (CFM50), then normalize results as ACH50 using conditioned volume.
Follow standardized test procedures: close exterior openings, open interior doors, disable combustion appliances, and document outdoor temperature and wind. Use smoke pencils, infrared imaging, or ultrasonic tools during the pressure difference to pinpoint air leakage at rim joists, top plates, window bucks, and service chases.
Record locations, then air-seal with tapes, gaskets, or sealants appropriate to substrates and movement. Retest after corrections to verify performance and keep a traceable report for QA.
Commission HVAC And Ventilation
How do you know the building’s tight shell and the mechanical systems actually work together as designed? You commission HVAC and ventilation with measured performance, not assumptions.
After verifying airtightness, you run functional tests under typical operating modes and document results. You confirm outdoor-air delivery at terminals and compare it to design rates, then check that exhaust paths don’t depressurize critical zones.
You verify filtration is installed correctly and that ductwork is clean, sealed, and insulated where specified, reducing bypass and condensation risk.
You measure supply and return temperatures across coils to confirm heat transfer and confirm refrigerant charge or hydronic ΔT falls within tolerances.
You log CO₂ and humidity trends to validate Indoor air quality and ventilation effectiveness.
Verify Controls And Balancing
Where do efficiency gains disappear fastest in a tight new build? In unverified controls and unbalanced air and water flows.
Start with an airtightness test to confirm leakage meets your design target; document ACH50 and trace leaks with smoke or IR so you fix causes, not symptoms.
Then commission systems: verify sensor placement, calibrate thermostats, CO₂, humidity, and flow meters, and confirm sequences of operation match drawings.
Balance ventilation by measuring supply/extract at each grille and setting dampers to design rates; repeat after filters and doors are installed.
Balance hydronic loops by measuring differential pressure and setting valves to specified GPM.
Finally, validate smart controls and user interfaces: check setpoint limits, schedules, deadbands, and override behavior so occupants don’t defeat efficiency.
Frequently Asked Questions
What Planning Permissions and Building Regulations Affect High-Efficiency New Builds?
You’ll need Construction permits and planning consent that satisfy local Zoning restrictions, site access, flood risk, heritage constraints, and drainage.
You must comply with Building Regulations: Part L (energy/CO₂), Part F (ventilation/IAQ), Part O (overheating), Part G (water efficiency), Part S (EV charging), Part B (fire), Part A (structure), Part E (sound), and Part M (access).
Expect SAP/energy modelling, airtightness tests, and commissioning evidence.
How Much Extra Does High Energy Efficiency Add to Build Costs?
You’ll typically pay ~5–15% more upfront for high energy efficiency. Like adding an extra thermos sleeve, I once saw a build cut heat loss after upgrading insulation materials; the “sleeve” cost ~£8k but reduced annual heating by ~£500.
Costs rise from thicker insulation, airtightness detailing, triple glazing, MVHR, and solar panels. In the UK, solar panels often add £4k–£8k, while enhanced insulation adds 1–3% overall.
Which Grants or Incentives Are Available for Energy-Efficient New Homes?
You can access grants and incentives via national retrofit schemes, local authority programs, and utility rebates that cover insulation, heat pumps, and Renewable energy systems like solar PV.
You’ll often qualify through EPC targets, approved installers, and post-install verification.
Look for VAT relief or tax credits on low-carbon materials, plus feed-in or export tariffs where available.
Some regions subsidize smart home technology that proves measured demand reduction and peak-shifting.
How Long Is the Typical Payback Period for Energy-Efficiency Upgrades?
You’ll typically see a payback period of 5–15 years for energy-efficiency upgrades, depending on energy prices, climate, and installation quality.
High-performing insulation materials (e.g., mineral wool, PIR, cellulose) often pay back in 3–10 years by cutting heating/cooling loads.
Renewable energy systems like solar PV commonly pay back in 6–12 years, while heat pumps trend 7–15 years, especially without incentives.
Airtightness measures can return faster.
What Warranties and Maintenance Schedules Apply to High-Efficiency Systems?
You’ll typically get 10–12 years on heat pumps (compressor 5–10), 10 years on boilers, 20–25 on PV modules (80–90% output), and 5–12 on inverters; workmanship often 1–2.
You should service HVAC annually, clean filters monthly, flush hydronics yearly, and inspect controls seasonally.
For renewable energy, schedule PV cleaning/inspection yearly.
Verify insulation standards and airtightness; recheck seals every 3–5 years.
Conclusion
You’re not just finishing a build—you’re tuning a machine for decades of comfort. When you lock in kWh/m² targets, orient glazing to winter sun, and size shading for peak July angles, you control gains like a dimmer switch. An airtight, insulated envelope and right-spec glazing cut heat flux to a trickle. MVHR turns stale air into recovered watts. With right-sized low‑carbon heat, lean DHW and LEDs, and verified airtightness, performance matches drawings.
About the Author