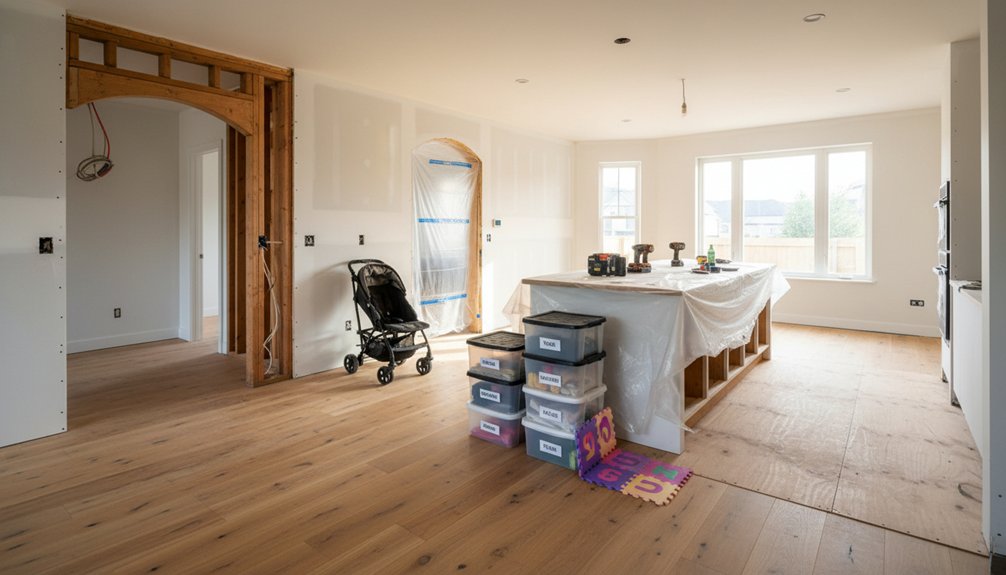
You’ll get better family functionality by mapping your routines from wake-up to bedtime, then turning bottlenecks into clear goals (like two kids brushing teeth without collisions). Tackle code and safety first—electrical, moisture, egress, alarms—then set Must/Should/Nice tiers with a 10–20% contingency. Fix chokepoints in entries, halls, and the kitchen work triangle, and add built-in drop zones where clutter lands. Upgrade durable, non-slip finishes, kid-safe fixtures, and bathroom zones. Next, you’ll see how to sequence upgrades for maximum impact.
Key Takeaways
- Map daily routines to pinpoint bottlenecks, noise conflicts, and privacy gaps, then convert findings into measurable family-function goals.
- Prioritize code, safety, and durability fixes first, using Must/Should/Nice tiers and a 10–20% contingency to control budget.
- Fix layout chokepoints by improving entry, hallway, and kitchen circulation, adjusting doors and lighting to reduce collisions and increase safety.
- Add built-in storage like drop zones, mudroom lockers, and laundry cabinets to contain clutter without compromising clearances or door swings.
- Renovate for flexibility with child-safe fixtures, non-slip finishes, zoned bathrooms, and multi-purpose rooms that adapt as kids grow.
Map Routines and Define Your Family Functionality Goals

Before you pick finishes or move a wall, map how your family actually uses the house from wake-up to bedtime. Walk each path: bedrooms to bath, kitchen to backpacks, laundry to closets, homework to charging stations. Note bottlenecks, noise conflicts, and privacy gaps.
Track where you need sightlines for safety, where you need doors for quiet, and where circulation must stay clear to meet egress and accessibility basics.
Turn observations into goals you can test: “two kids can brush teeth without collisions,” “meals don’t block entry,” “mud stays contained.” Use routine scheduling to log peak loads by hour and day, then validate with family communication so everyone agrees on pain points.
You’ll define what “functional” means before design starts.
Set Renovation Priorities and a Realistic Family Budget
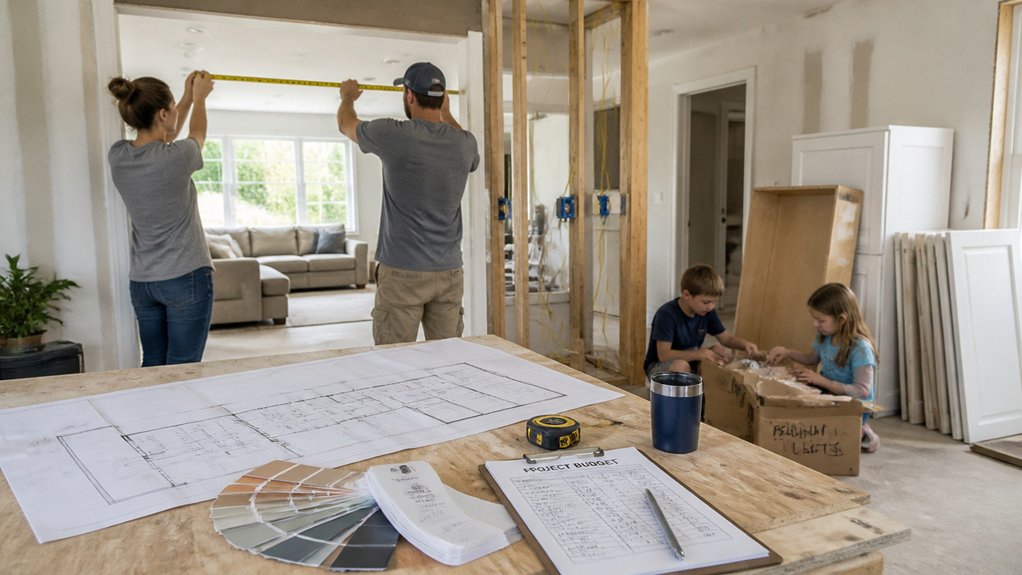
Once you’ve defined what “functional” means for your family day-to-day, rank the fixes that remove the biggest bottlenecks and safety issues first, then align them with a budget you can actually carry.
Start with code-required items: electrical hazards, moisture intrusion, structural repairs, stair/guardrail compliance, egress, and smoke/CO alarms.
Next, prioritize durability upgrades that reduce maintenance and protect kids and pets.
Use simple tiers: Must-do, Should-do, Nice-to-have, and defer anything that doesn’t change daily outcomes.
For financial planning, price projects with written scopes, permits, and labor assumptions, then add a 10–20% contingency.
Lock selections early to prevent change orders.
For timeline management, sequence trades, order long-lead materials up front, and schedule inspections so you don’t stall mid-renovation.
Fix Layout Chokepoints (Entry, Halls, Kitchen Flow)
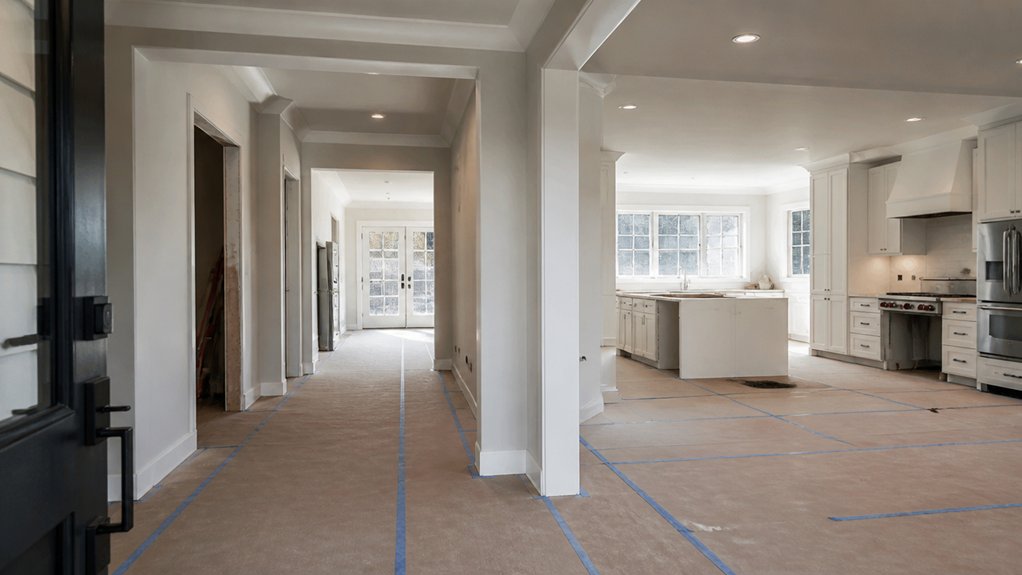
Although finishes draw the eye, daily friction usually starts at layout chokepoints—your entry, hallways, and kitchen work zones—so target these first to improve traffic flow without expanding the footprint.
Start at the door: widen tight swings, relocate a stop wall, or swap to a code-approved outswing or pocket door where allowed, so gear and guests don’t collide.
Strengthen entryway organization by defining a clear drop zone that doesn’t pinch the path of travel.
In halls, trim protruding casing, rehang doors to reduce conflicts, and upgrade hallway lighting with glare-free, dimmable fixtures and properly spaced switches at entries.
In the kitchen, protect the work triangle, keep aisles at comfortable clearances, and move appliances so the fridge and oven don’t block through-traffic during busy meals.
Add Built-In Storage Where Clutter Actually Happens
You’ll reduce daily mess fastest by adding built-in storage right where clutter lands: the entry and the work zones.
Plan an entryway drop zone with benches, hooks, and closed cubbies sized for shoes, bags, and keys, keeping egress paths clear and finishes easy to clean.
Then add mudroom and laundry built-ins—lockers, hampers, and tall cabinets—so coats, cleaning supplies, and baskets stay contained and off the floor.
Entryway Drop Zone Storage
Because the entryway absorbs the daily rush—keys, backpacks, shoes, mail—it’s also where clutter multiplies fastest. You’ll tame it by building storage exactly at the point of impact, sized to your family’s habits and the home’s clearances.
Install a shallow bench with ventilated cubbies for Shoe organization, keeping walk paths free and reducing slip hazards. Add a continuous rail of sturdy Coat hooks at kid and adult heights, anchored into blocking, so loads don’t tear out of drywall. Include a small, labeled drawer for keys and chargers, plus a lidded bin for incoming mail.
Keep projections within code-friendly egress widths, and use durable, wipeable finishes. With a defined drop zone, you’ll stop clutter from migrating past the front door daily.
Mudroom And Laundry Built-Ins
When backpacks, wet boots, and detergent land in the same corridor every day, built-ins turn that choke point into controlled storage. Plan Mudroom organization with a bench, cubbies, and closed cabinets sized to your family’s gear, plus a durable, cleanable floor. Add hooks at kid height, boot trays, and vented lockers to reduce odor. Keep pathways code-compliant by preserving clear widths and avoiding door swings that block egress.
For Laundry station design, stack machines or use front-loaders under a counter to gain folding space. Include a pull-out hamper, a tall broom closet, and a dedicated shelf for chemicals in a latching cabinet. Add task lighting and a GFCI-protected outlet near the counter for irons or steamers. Your daily reset gets faster.
Renovate the Kitchen for Kid-Proof Daily Cooking
As your kids start roaming the house at full speed, the kitchen quickly becomes the daily pressure test for safety, durability, and workflow. Start with an efficient triangle and clear, code-compliant aisles so you’re not cooking in a traffic jam.
Specify Childproof fixtures: lever handles, anti-scald valves at the sink, and soft-close hinges to cut pinches. Add non slip surfaces with textured, cleanable flooring and eased passages to limit trips.
Put heavy drawers low, lock the chemical pull-out, and place trash in a pull-out with a latch. Choose rounded countertop edges, durable quartz, and wipeable backsplash tile.
Bright, glare-controlled lighting and GFCI-protected outlets keep prep safe and inspections smooth daily.
Make Bathrooms Faster With Shared-Family Layouts
If your household stacks up in the hallway every morning, a shared-family bathroom layout can cut conflict and speed routines without expanding the footprint.
Split the room into zones: a private toilet compartment, a separate shower/tub alcove, and an open vanity area with two sinks so brushing and hair can happen while others shower.
Dial in fixture placement so doors clear, circulation stays 30–36 inches, and grab-bar blocking and GFCI outlets land where you’ll actually use them.
Keep the wet zone behind a door or glass panel to contain splash and noise.
Don’t skip Bathroom ventilation: size the fan for the room, duct it outdoors, and add a timer or humidity sensor to meet code and protect finishes.
Design Flexible Rooms for Work, Play, and Guests
Although most homes can’t dedicate a separate office, playroom, and guest suite, you can make one room do all three by planning for quick-change functions and code-clear circulation. Keep a 36-inch clear path to the door and closet, and don’t block egress windows.
Use multi purpose furniture: a wall bed with a sofa, a lift-top desk, and toy storage that locks. Place outlets on two walls, add data, and mount a fold-down work surface at ADA-friendly heights if needed.
Layer adaptable lighting: bright, glare-controlled task light for work, dimmable ambient for calm play, and a bedside sconce mode for guests.
Add a sliding door or acoustic panel to control sound without stealing floor area.
Frequently Asked Questions
Do I Need Building Permits for Family-Focused Interior Renovations?
You’ll often need permits for interior renovations when you change walls, plumbing, electrical, HVAC, or add egress; cosmetic updates usually don’t. You must check local building codes because requirements vary by city and scope.
Start the permit process early: submit plans, get reviews, schedule inspections, and keep approvals on site.
If you skip permits, you risk fines, forced removals, insurance issues, and problems during resale later.
How Long Will a Renovation Disrupt School and Bedtime Routines?
You’ll likely face disruption for 2–8 weeks, depending on scope; kitchens and baths hit hardest.
Funny thing—you’ll notice noise peaks right when homework starts. Plan for temporary inconvenience by sequencing loud work daytime, keeping one quiet room, and using dust barriers.
Make routine adjustments: shift bedtime earlier, prep grab‑and‑go dinners, and set a weekly schedule with your contractor.
You’ll reduce surprises and stay code‑compliant throughout.
Should We Live in the Home or Move Out During Construction?
You should move out if work hits kitchens, baths, or HVAC, or if you can’t separate a safe, dust-controlled zone.
Otherwise, you can stay with tight phasing. Temporary living often saves time by giving crews full access and reducing daily cleanup, but it adds cost.
If you stay, you’ll face noise, limited utilities, and higher safety oversight.
Either choice can trigger construction delays if access changes daily.
How Do I Choose a Contractor Experienced With Family-Friendly Remodels?
By the gaslight of good due diligence, you’ll choose a family-friendly contractor by vetting relevant portfolios, references, and systems.
Ask for examples of Childproofing essentials (stair gates, outlet specs, rounded edges) and Open floor plans that preserve egress, fire separation, and structural loads.
Require licensing, insurance, and permit history.
Interview on scheduling, dust control, and site safety.
Confirm they’ll document changes, coordinate inspections, and communicate daily.
Which Renovation Upgrades Add the Most Resale Value for Families?
You’ll add the most resale value for families by prioritizing a modern kitchen refresh, updated baths, and safe, durable finishes. Create open floorplans where structurally feasible and permitted, and add practical storage (mudroom, pantry, closets).
Boost energy efficiency with insulation, high-performance windows, efficient HVAC, and smart thermostats—buyers track utility costs.
Improve curb appeal and lighting, and upgrade electrical to current code. Keep permits, inspections, and documentation tight.
Conclusion
You’ve mapped your routines, set priorities, cleared the pinch points, and tucked storage where life tends to “settle.” Now your kitchen can handle little helpers, your bathrooms won’t feel like a morning “conference,” and your flexible rooms can quietly change jobs without a full reset. Keep finishes durable, clearances compliant, and budgets honest. With each upgrade, you’re not chasing perfection—you’re simply making home run smoother, safer, and easier to live in.
About the Author