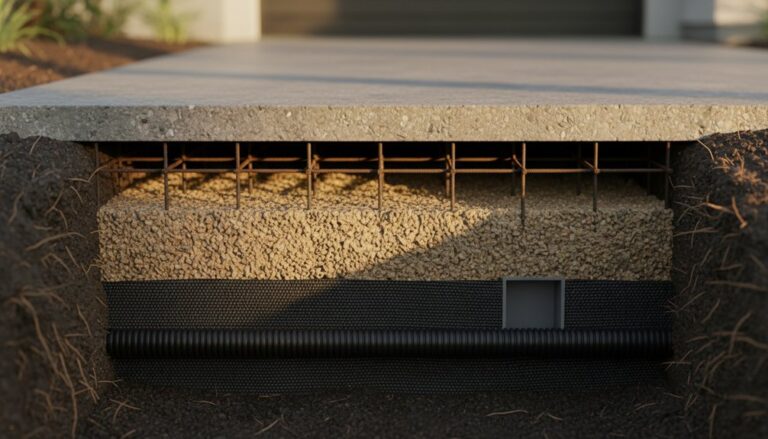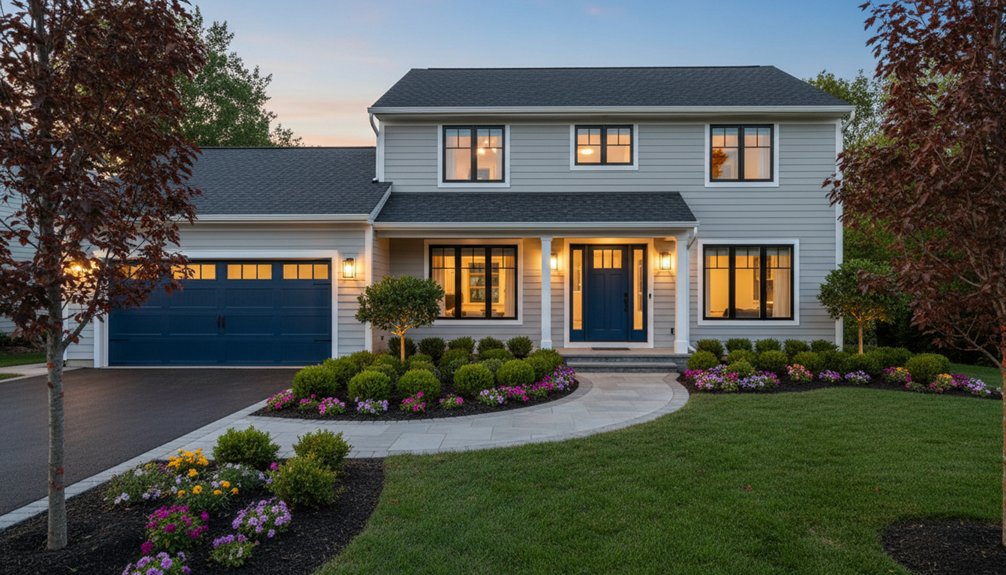
Start at the top: scan for missing or curled shingles, replace small sections, and remove moss or streaks with roof-safe cleaner. Wash siding with a hose and soft brush, then caulk gaps and spot-prime and touch up paint. Straighten sagging gutters, reseal seams, and add downspout extensions that drain 4–6 feet away. Paint your front door, upgrade matched hardware, and add warm LED lighting. Edge beds, refresh mulch, swap house numbers and mailbox, patch walkway cracks, tighten steps, and resurface the driveway for a clean finish. Keep going to see the quickest wins first.
Key Takeaways
- Inspect and repair roof shingles, flashing, and moss stains; clean and straighten gutters to prevent leaks and improve appearance.
- Realign sagging gutters, reseal seams, and add downspout extensions that drain water 4–6 feet from the foundation.
- Refresh curb appeal with a bold, well-prepped front door paint job and matching upgraded hardware, house numbers, and mailbox.
- Add warm, layered exterior lighting and sharpen landscaping with crisp bed edging and a fresh 2–3 inch mulch layer.
- Repair walkway and driveway cracks, stabilize loose steps or pavers, and resurface or seal concrete/asphalt for a clean, safe finish.
Fix Roof Lines: Replace Shingles and Remove Stains
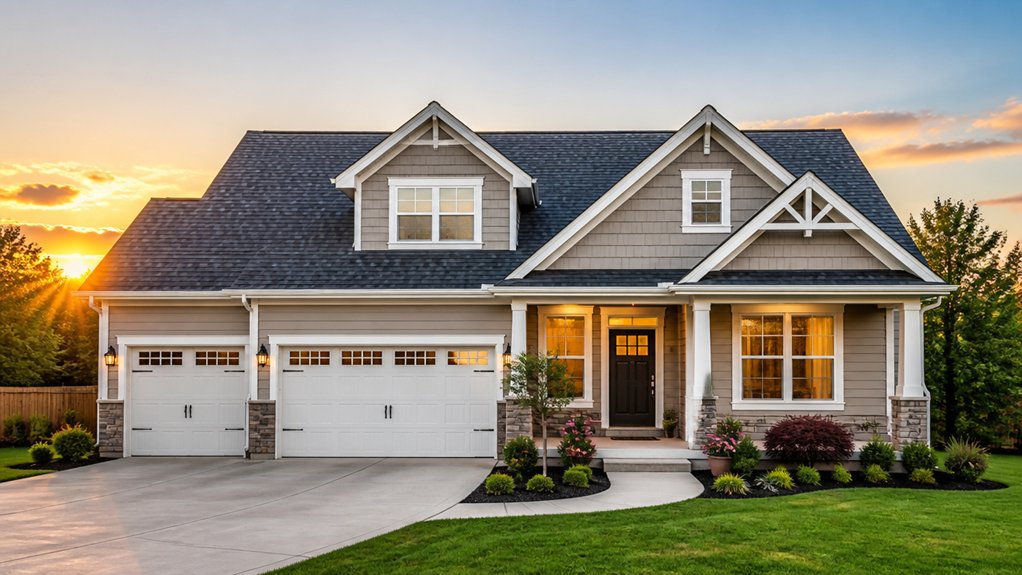
Why let a tired roofline drag down your whole exterior? Start with roof maintenance that you can see from the street: scan for curled, cracked, or missing shingles, popped nails, and exposed underlayment along ridges and valleys.
Schedule shingle replacement in small sections if the rest of the roof is sound; patching beats a full tear-off when you’re budget-minded.
Next, remove dark streaks and moss that make the roof look older. Use a roof-safe cleaner and a soft application method; avoid high pressure that can strip granules and shorten shingle life.
Replace damaged flashing boots and reseal around vents to prevent leaks.
Finish by clearing gutters so water doesn’t stain eaves or shingles again.
Wash and Touch Up Siding (Paint Where Needed)
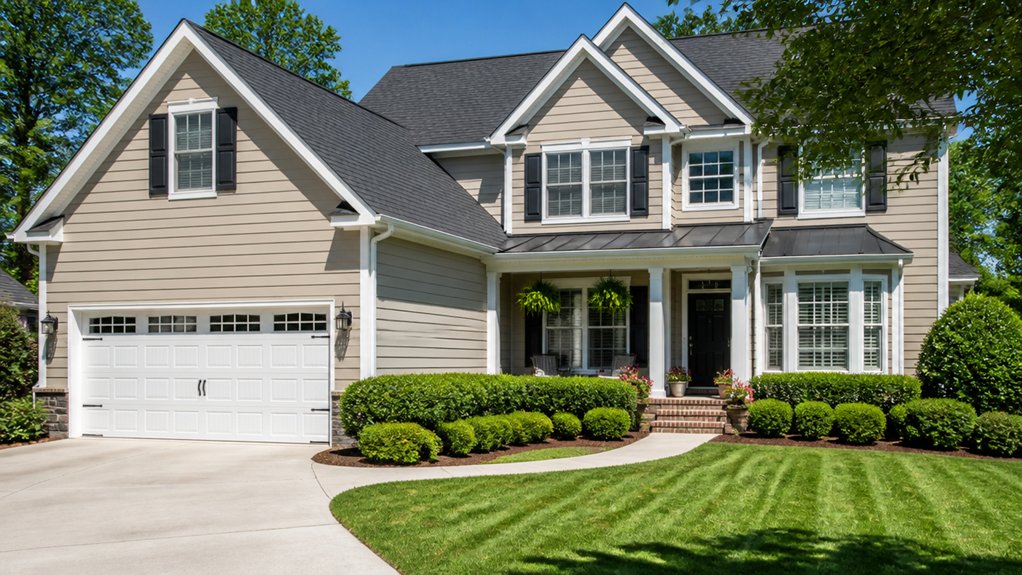
Even if your siding looks “fine” up close, road dust, mildew, and chalky oxidation can dull it from the street, so start with a thorough wash before you spend a dime on paint. Use a garden hose and soft brush for light grime; rent a pressure washer only if you can keep pressure low and stay off seams to avoid forcing water behind panels.
After it dries, do targeted siding maintenance: scrape loose paint, sand rough edges, and caulk small gaps around trim. Spot-prime bare wood or fiber cement, then do small touch-ups with color-matched paint to stop flashing “patches.”
Save full exterior painting for widespread failure—peeling, fading, or many repairs—so you’re not paying to coat solid siding. Always check weather, and follow cure times.
Straighten Gutters and Add Clean Downspout Extensions
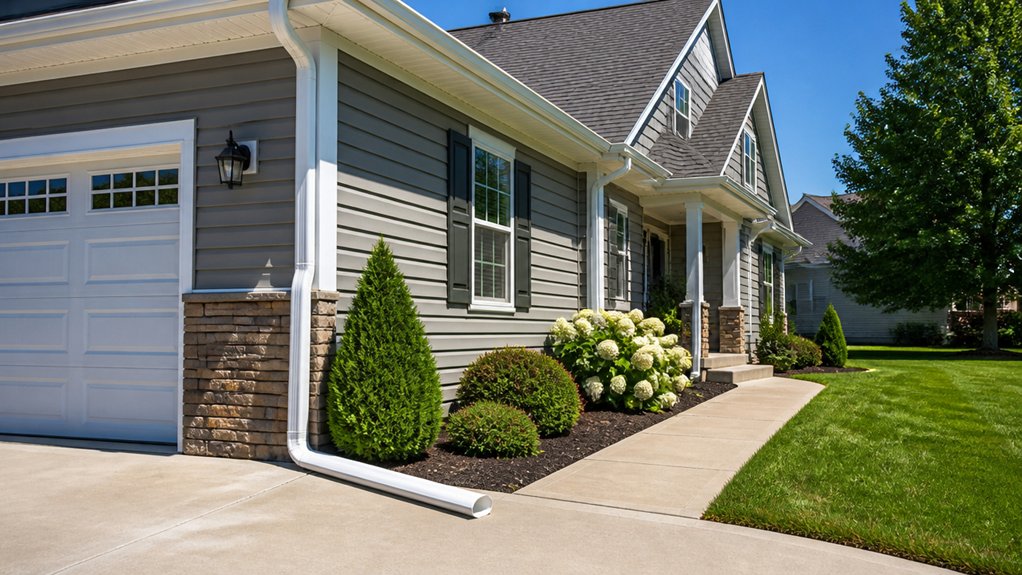
Next, sight down your gutters and straighten any sagging runs, then tighten loose hangers and reseal small leaks so everything sits flush.
You’ll save money by fixing alignment now instead of paying for fascia rot or foundation splashback later.
Finish by adding clean, low-profile downspout extensions that direct water a few feet away from the house and keep the look tidy.
Align And Secure Gutters
A few quick gutter fixes can instantly sharpen your roofline and prevent messy runoff. Start by sighting along the run; if it sags or waves, loosen the hangers, realign the channel, and re-tighten so water flows to the outlet.
Replace missing spikes with screw-in hangers; they’re cheap, hold better, and stop the “droop” that screams neglect. Check the fascia board for rot before you fasten anything—soft wood won’t hold hardware.
During routine gutter maintenance, clean joints, then reseal leaky seams with gutter sealant. Add end caps where needed and tighten downspout straps so everything looks straight.
If sections are crushed or pulling away repeatedly, price targeted gutter replacement instead of constant patching.
Install Neat Downspout Extensions
Once your gutters run straight, finish the job with neat downspout extensions that push water 4–6 feet away from the foundation without looking like an afterthought. Choose extensions that match your downspout color, then cut them to length and keep the slope continuous so water doesn’t pool.
For tight spaces, use hinged or roll‑out styles you can tuck away after storms. Anchor the end with a small stake or splash block so it won’t kick up or twist in wind.
Aim discharge toward a mulched bed, swale, or pop‑up emitter tied to a drain line for cleaner drainage solutions. Check joints for leaks, add a screw at each connection, and clear debris seasonally.
You’ll protect siding and landscaping too.
Make the Front Door Pop With Paint or Hardware
One quick upgrade can make your entry look brand-new: give the front door a bold paint color or swap in modern hardware. Start by choosing a front door color that complements your siding and trim; deep navy, charcoal, or classic red adds contrast without looking trendy.
Prep matters more than price: clean, degloss, sand rough spots, and tape edges for crisp lines. Use an exterior-grade primer and paint, and you’ll get better coverage with fewer coats.
If painting feels like too much, focus on hardware upgrades instead. Replace a faded knob with a matching handle set, updated deadbolt, and sturdy hinges in satin nickel or matte black. Keep finishes consistent, and you’ll elevate the whole facade on a small budget.
Add Layered Exterior Lighting for Safety and Warmth
You’ll get a safer, more welcoming entry when you set up layered lighting zones—porch, path, and accents—so every area has the right amount of light.
Add low-watt pathway and step lights to prevent trips without jacking up your electric bill.
Finish with warm accent uplighting on a tree, column, or textured wall to create depth and curb appeal without expensive fixtures.
Layered Lighting Zones
Three lighting layers can make your home look welcoming while also cutting down on trips, slips, and dark corners: start with ambient light (a porch fixture or soffit lights). Add task lighting where you walk (step lights, path lights, or motion-sensor floods at the driveway). Then finish with accent lighting to highlight features like a tree, address numbers, or stonework.
Keep each zone on its own switch or smart timer so you don’t waste power lighting everything at once. Choose warm LEDs (2700–3000K) for a consistent glow from the entry to garden pathways and outdoor seating.
Use dusk-to-dawn bulbs at the front door for hands-free reliability, and set motion lights to low sensitivity to avoid constant triggering. Stick with matching finishes and shielded fixtures to reduce glare and keep neighbors happy.
Pathway And Step Illumination
Where do missteps happen most often after dark—at the change in grade? Light those passages first. Install outdoor step lighting on every riser edge or sidewall, aiming beams down so you don’t get glare. Low-voltage LED kits are affordable, sip power, and often let you add fixtures over time.
For garden pathways, place path lights 6–8 feet apart and stagger them to define the route without runway brightness. Choose warm white (2700–3000K) for a welcoming look, and match fixture finishes to your hardware for a tidy, intentional feel.
Add a simple photocell timer so lights turn on at dusk automatically. Use weather-rated, direct-burial cable and secure connectors to avoid costly troubleshooting later.
Warm Accent Uplighting
A few well-placed uplights can make your home look finished after dark without turning the yard into a spotlight. Use warm-white LEDs (2700–3000K) to soften brick, siding, and stone, and aim fixtures upward at a 30–45° angle to avoid glare.
Start with two to four low-voltage uplights at key features: a front entry column, a signature tree, or textured walls. Keep beams narrow for taller elements and wider for shrubs and garden accents.
Add a separate switch or timer so you’re not wasting power overnight. For cost control, choose plug-and-play transformer kits and expand later.
Pair uplighting with subtle downlighting for safer walkways and cohesive exterior decor.
Trim Shrubs, Prune Trees, and Clear Weeds
Even if you haven’t planted a single new flower, you can make your yard look instantly sharper by trimming overgrown shrubs, pruning low or dead tree branches, and pulling weeds. Start with a quick walk-around and note what blocks windows, lights, or walkways.
Use hand pruners for small stems and loppers for thicker branches, cutting just above a node to encourage tidy regrowth. Keep shrubs slightly narrower at the top so sunlight reaches lower leaves.
Rake out fallen debris and bag it to prevent rot and mess. Pull weeds after rain or watering to remove roots, then spot-treat stubborn growth with an inexpensive vinegar-based spray.
This garden maintenance also supports pest control by removing hiding spots and reducing damp, shaded areas near your foundation.
Edge Beds and Refresh Mulch for Crisp Contrast
Cut in sharp bed edging lines with a flat spade or edger so your lawn and planting beds look intentional and tidy.
Then top off with a thin layer of fresh mulch to restore rich color and create crisp contrast against greenery and siding.
You’ll get a cleaner, higher-end look for a low cost, especially if you buy mulch in bulk or on sale.
Sharp Bed Edging Lines
Where does your eye go first when you pull up to the house? Usually it follows the lines, so make them clean. Sharp edging instantly upgrades garden borders and plant bed borders without buying new plants.
Start by defining the curve with a hose or string, then cut a 2–3 inch trench using a half-moon edger or flat spade. Keep the edge vertical on the lawn side and slightly undercut the bed side so turf can’t creep back.
Remove loose sod, tamp the soil, and rake the bed surface level so the border reads as a crisp outline. For long runs, rent a manual bed edger for a few hours; it’s cheap and faster than struggling with a shovel.
Maintain monthly.
Fresh Mulch Color Contrast
One fresh layer of mulch can make your beds look newly landscaped in an afternoon, especially after you’ve sharpened the edging. Pick a color that supports color harmony with your siding and hardscapes: dark brown grounds bright flowers, while black makes stone and brick pop; avoid red if it clashes with warm-toned brick.
Buy in bulk bags only if you can store them dry; otherwise, a small delivery often costs less per yard and saves trips.
Spread 2–3 inches, keeping mulch 2 inches away from stems and tree trunks to prevent rot. Rake it smooth along the edge line for crisp contrast.
For mulch maintenance, top-dress yearly and spot-fill bare patches after heavy rain.
Swap in Modern House Numbers and a Matching Mailbox
Even if you’re not ready for bigger upgrades, swapping in modern house numbers and a matching mailbox gives your entry an instant, low-cost refresh. Choose Modern house numbers with clean lines and a finish that ties to your door hardware—matte black, brushed nickel, or oil-rubbed bronze.
Go larger than you think for legibility from the street, and confirm your HOA rules first.
Mount numbers where headlights hit them, and add a simple backplate if your siding is busy.
For a Matching mailbox, pick a style sized for your typical deliveries and rated for weather.
Replace a leaning post with a straight, pressure-treated one, and use stainless screws to prevent rust streaks.
Keep everything aligned and level for a crisp, finished look.
Patch Cracks in Walkways and Repair Loose Steps
Before you spend on bigger exterior upgrades, patching cracks in your walkway and tightening up loose steps gives you a safer, cleaner-looking approach to the front door for very little money. Start by sweeping debris and rinsing the surface so patch material bonds well.
For small cracks, use a concrete crack filler; for wider gaps, pack in a vinyl patching compound and trowel it smooth. Feather edges to prevent toe catches and improve walkway safety.
Check steps for wobble, then tighten anchor bolts or add masonry screws where the tread meets the stringer. Re-bed loose pavers with leveling sand or mortar, and reset any shifted risers.
Finish by sealing repaired areas to slow water intrusion and protect step stability through freeze-thaw cycles.
Resurface the Driveway for a Like-New First Impression
If your driveway looks stained, pitted, or spider-cracked, resurfacing it delivers one of the fastest curb-appeal upgrades without the cost of full replacement.
Start by identifying your driveway materials—concrete, asphalt, pavers—since each needs a compatible resurfacer and prep.
Pressure-wash, degrease oil spots, and repair deeper cracks so the new coat bonds instead of telegraphing flaws.
For concrete, apply a polymer-modified overlay; for asphalt, use a quality sealcoat and patching compound where needed.
Choose a surface texture that matches your home: broom-finish for grip, trowel-smooth for modern, or a stamped pattern to mimic stone.
Protect your investment by edging cleanly, keeping vehicles off until fully cured, and sealing on schedule.
Frequently Asked Questions
How Much Does Curb Appeal Affect My Home’s Resale Value?
Curb appeal can raise your home’s resale value by about 3–10% and help it sell faster, especially in competitive neighborhoods. You’ll get the best return when you target visible, low-cost fixes first.
Prioritize landscaping upgrades like fresh mulch, edging, and trimmed shrubs. Then pick exterior paint choices that look clean and neutral.
Spend where buyers notice, avoid over-customizing, and keep maintenance signals strong for appraisers.
Do I Need HOA Approval Before Making Exterior Updates?
Yes, you usually need HOA approval before you make exterior modifications. Check your HOA regulations, especially for paint colors, roofing, fences, windows, landscaping, and driveway changes.
Read the CC&Rs, then submit an architectural request with sketches, materials, colors, and contractor details to avoid rework costs.
Ask about fees, review timelines, and inspection rules. Keep all approvals in writing, and verify city permits separately too.
Which Curb Appeal Improvements Provide the Best Return on Investment?
If you want the best ROI, don’t chase trends—chase first impressions. You’ll get top returns from simple Landscaping ideas: tidy edging, fresh mulch, hardy shrubs, and seasonal color.
Add Exterior lighting options like LED path lights and a bright, warm porch fixture for safety and appeal.
Paint or replace the front door hardware, clean windows, and pressure-wash siding and walkways.
You’ll spend less, sell faster, and maximize value.
What Curb Appeal Changes Can I Make if I’M Renting?
You can boost curb appeal as a renter by focusing on temporary exterior upgrades and rental friendly landscaping. Add peel-and-stick house numbers, a new doormat, and solar path lights.
Place potted plants, hanging baskets, and a movable trellis instead of digging beds. Use mulch in containers, not the ground.
Ask permission to paint the front door or swap hardware. Keep it cheap: thrift planters, native plants. Clean windows, sweep walks.
How Can I Boost Curb Appeal on a Tight Weekend Budget?
Boost curb appeal this weekend by tackling quick, cheap wins. You’ll power-wash the walkway, sweep the porch, and pull weeds first. Then you’ll add fresh mulch in small bags and edge the beds for a crisp line.
Swap in one or two seasonal potted plants by the door. Install solar landscape lighting along the path. Finish with simple outdoor art, like a new door sign or wall piece.
Conclusion
When you tune up your curb appeal, you’re not just polishing paint—you’re protecting value. Start with the big basics: repair roof ridges, scrub siding, and straighten sagging spouts. Then boost the buzz with a bold door, bright-but-budget lighting, and neat numbers and a matching mailbox. Finish strong by trimming, edging, and mulching beds, then fixing cracked concrete and tired treads. Finally, resurface the driveway for a clean, confident close without costly surprises.
About the Author