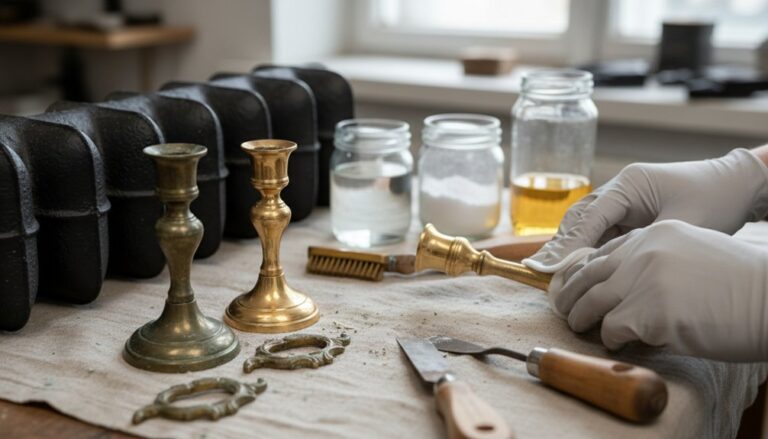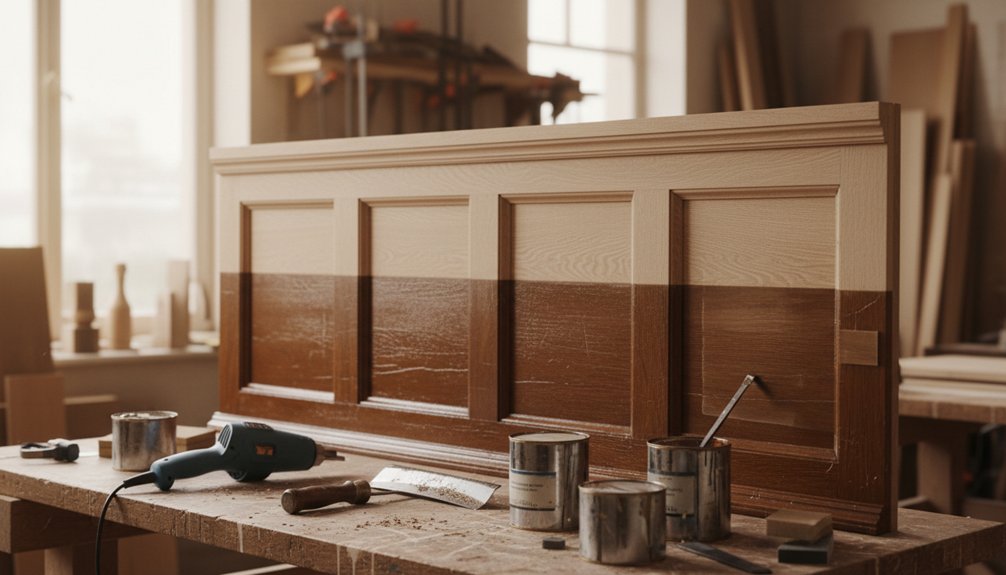
Start by inspecting panelling in raking light: map damp staining, probe joints with an awl for soft rot, and tap boards for voids or loose fixings. Vacuum gently, then wipe with barely damp distilled water and pH-neutral soap, drying at once. Test paint removal in a hidden spot; use low-caustic gel and a wooden scraper, never flame. Repair splits with hide glue, splice matching timber, then finish with period-correct shellac, oil, or breathable paint. Keep going to see tools, tests, and finish recipes.
Key Takeaways
- Inspect panelling in raking light for damp staining, looseness, rot-softened fibres, failed fixings, and insect activity; record each board’s position and profile.
- Clean gently by vacuuming with a soft brush, then wipe with barely damp distilled water and pH-neutral wood soap; dry immediately.
- Test paint removal in hidden areas, then use low-caustic gel or poultice and a wooden scraper; avoid heat and neutralise if required.
- Repair defects by wicking hide glue into splits, clamping lightly, filling shallow losses reversibly, and splicing matching timber with aligned grain and profiles.
- Finish period-correctly by identifying existing coatings, preserving sound layers, building colour with shellac or linseed-based stains, sealing, and waxing sparingly if appropriate.
Inspect Timber Wall Panelling (Rot, Damp, Loose Boards)
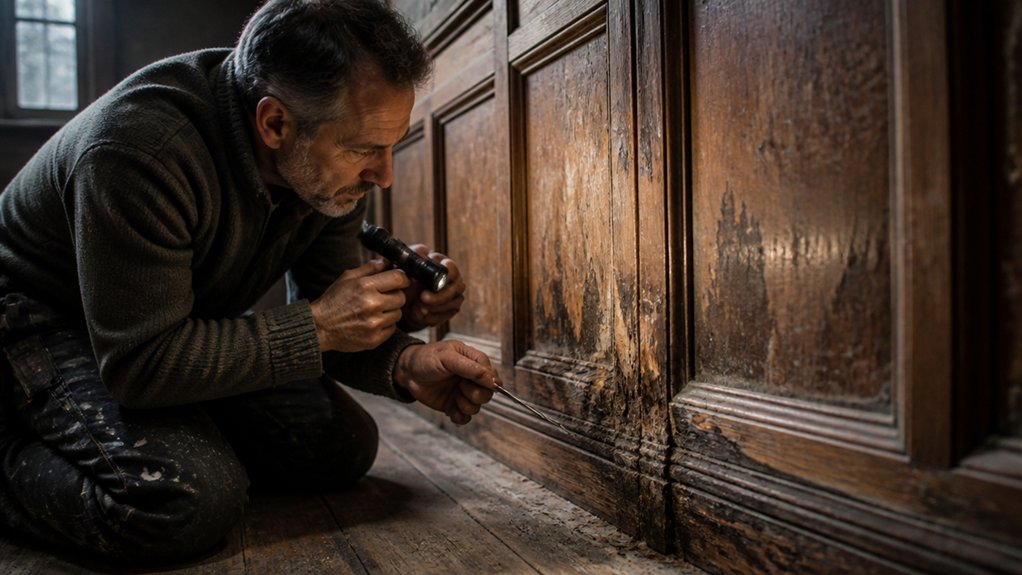
Before you lift a tool, inspect the panelling in situ under good raking light and note what’s sound, what’s loose, and what’s at risk of further loss.
Track staining, tide marks, and powdery bloom that suggest damp pathways; check skirtings, chimney breasts, and external walls first.
Probe suspect areas with an awl at joints and lower rails: firm timber resists, while rot yields in long fibres and dulls the Wood grain.
Tap boards to map voids and failed fixings; watch for springing at nails, split tongues, and opened mitres.
Record beetle flight holes and fresh frass separately from historic, inactive damage.
Mark each board’s position and profile so any later intervention preserves Historical authenticity and reinstates like-for-like joinery.
Clean Timber Wall Panelling and Prep for Paint Removal

Once you’ve mapped what’s sound and what’s vulnerable, clean the panelling gently so you don’t grind grit into the grain or disturb fragile edges before paint removal. Vacuum with a soft brush, working top to bottom, and hold mouldings with your free hand to prevent vibration.
Follow with a barely dampened sponge of distilled water and a pH-neutral wood soap; wring hard and wipe with the grain, then dry immediately with lint-free cloths. Keep moisture away from open joints, end grain, and any active staining.
If you suspect Decorative finishes, test in a discreet corner and stop if colour lifts. Record residues, odours, and sheen changes to support Historical accuracy.
Mask adjacent plaster, label loose fragments, and set up clean drop cloths.
Remove Old Paint Safely (Protect Profiles and Patina)
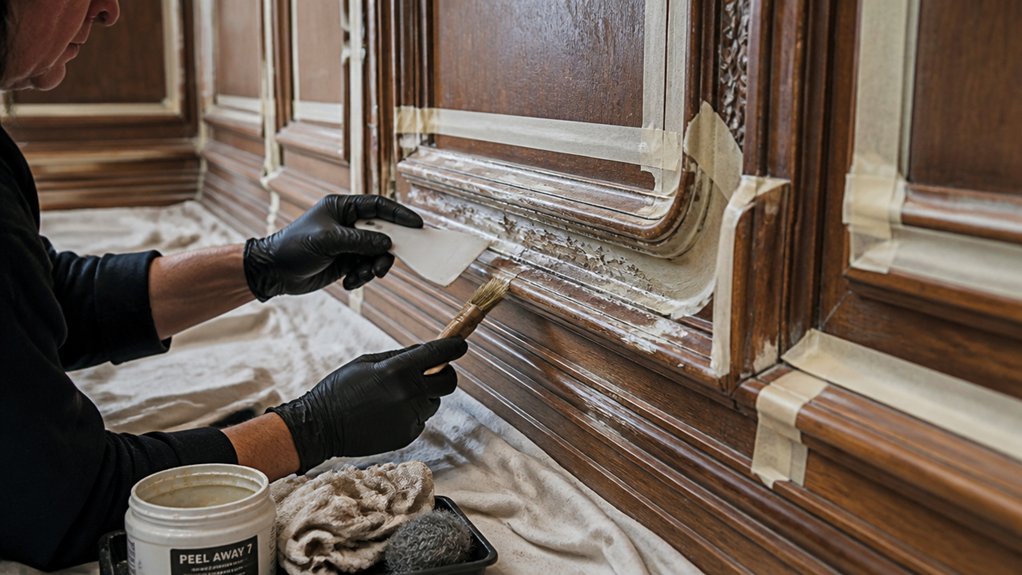
Although stripping looks like a straightforward reset, you’ll get better historical results by treating old paint as a layer of evidence and removing it in the least aggressive way that still works.
Start by testing a small, hidden area so you can judge adhesion, number of coats, and whether the finish is oil-bound or modern.
For Paint stripping, choose a low-caustic gel or poultice; keep it damp, then lift softened paint with a sharpened wooden scraper, working with moulding runs to protect profiles.
Avoid open-flame methods; they can scorch fibres and lock in stains.
Use surface protection: mask adjacent plaster, lay acid-free card under scraper edges, and brush residue with natural bristle into a container.
Neutralise only if the product requires it, then let the timber dry fully.
Repair Timber Wall Panelling (Fill, Splice, Replace Sections)
With the paint reduced and the surface readable again, you can assess the panelling for splits, rot-softened corners, missing moulding runs, and loose joints that paint had been bridging.
Probe suspect areas with an awl and mark sound timber versus punky fibres. For hairline splits, wick in warm hide glue, clamp gently, and clean squeeze-out with a damp cloth.
For shallow losses, use a reversible filler, keeping it just proud for later trimming. Where decay is local, cut back to crisp, squared shoulders and splice in matching species with the grain aligned; pin with brads or pegs and glue with hide glue.
Replace broken decorative molding by taking a profile from an intact run, then fit tight mitres. Use matching wood stains to tone new wood discreetly.
Finish Timber Wall Panelling for a Period-Correct Look
After you’ve stabilised the timber and made discreet repairs, choose a finish that matches the building’s period and stays reversible where possible.
Start by testing in an inconspicuous bay: clean with mild soap, then degrease with white spirit if waxy residues remain.
For historical accuracy, identify what’s there—oil, wax, shellac, or paint—using simple spot tests, and keep sound layers.
If you’re reviving a Georgian or Victorian surface, build colour with tinted shellac or linseed-oil stain, then seal with dewaxed shellac for compatibility.
For later panelling, a breathable casein or linseed-oil paint may suit.
Use finish techniques like padding, brushing with the grain, and light de-nibbing between coats.
Finish with beeswax sparingly, and document formulas for future retreatment.
Frequently Asked Questions
Can I Restore Panelling Without Removing It From the Wall?
Yes, you can restore panelling in place, and you’ll often preserve more original fabric that way.
You start with gentle surface cleaning using soft brushes and low-moisture wipes to avoid swelling joints.
For paint removal, you’ll test small areas, use a poultice or solvent gel suited to historic finishes, and protect adjacent plaster.
You’ll work with the grain, consolidate loose veneer, and touch up with reversible finishes.
Do I Need Listed Building Consent Before Restoring Historic Panelling?
Yes—you’ll often need listed building consent before you restore historic panelling, especially if you alter profiles, remove sections, strip finishes, or change fixings. You protect character, you honour craft, you keep history alive.
Check your listing description and speak to your conservation officer early.
If you use Preservation techniques like gentle cleaning, reversible repairs, and matching species, you support Historical accuracy and may avoid consent, but don’t assume.
Document everything with photos and notes.
What Tools Are Essential for DIY Panelling Restoration?
You’ll need a sharp cabinet scraper, fine chisels, a pry bar, and a soft mallet for careful dismantling.
For Surface preparation, use a vacuum with brush head, natural-bristle brushes, and abrasive papers (120–240 grit) with a sanding block.
For Wood treatment, keep boron-based preservative, consolidant, and wax or shellac to match historic finishes.
Add a moisture meter, clamps, and cotton rags for gentle cleaning.
How Much Does Professional Timber Panelling Restoration Typically Cost?
You’ll typically pay £80–£150 per m² for professional timber panelling restoration, with heritage-grade work rising to £200+ per m².
Your cost considerations include timber species, carved detail, paint or varnish removal, insect damage, and how much panel lifting you need.
You’ll improve budget planning by requesting a survey, specifying reversible adhesives, and matching mouldings and stains to the original period finish.
How Do I Match New Timber to the Original Species and Grain?
You match new timber by first identifying the original timber species: inspect end grain with a loupe, note pore pattern, ray fleck, and density, then confirm with a reputable timber yard or lab if needed.
For grain matching, select boards with similar cut (quarter, rift, plain), figure, and growth-ring spacing.
Orient the board to mirror adjacent panels, and keep sapwood/heartwood placement consistent for period-accurate conservation.
Conclusion
When you restore timber panelling, you’re not just decorating—you’re conserving. I once uncovered an 1820s beaded board behind flaking gloss; after careful stripping, the oak’s ray fleck returned like a map reappearing under candlelight. Take it slow: one loose tongue, one spliced stile, one filled nail hole at a time. Keep moisture below 16% before finishing, and choose wax, oil, or breathable paint so the profiles—and patina—stay honest.
About the Author