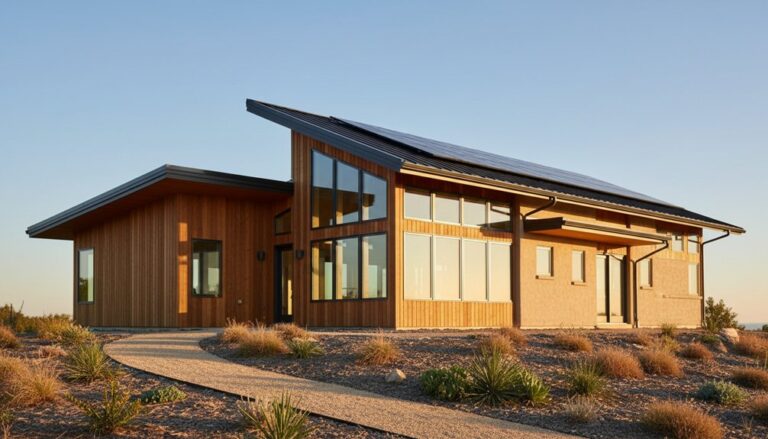
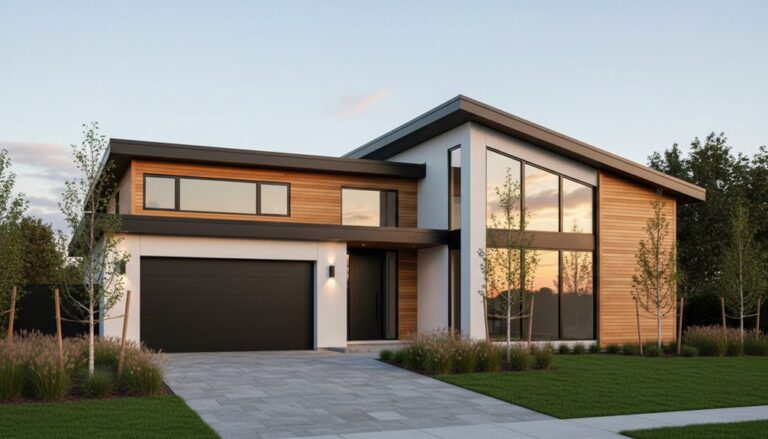
Design your new build as one energy system: orient the long axis east–west, put main glazing equatorward, and size overhangs to admit winter sun while blocking summer peaks. You’ll cut demand fastest with a fabric-first envelope—continuous insulation, low-bridge detailing, and airtightness paired with MVHR. Create a simple 20–40° roof plane, model shading early, and reserve clear PV zones. Preplan inverter, conduit, batteries, and EV-ready circuits, and you’ll see where the biggest gains still hide.
Key Takeaways
- Orient the home east–west, prioritize equator-facing glazing, and zone living spaces sunny-side to maximize passive solar and comfort.
- Use modeled, climate-specific overhangs and external shading to block summer sun, admit winter gains, and prevent overheating.
- Build a high-performance envelope: continuous insulation, minimal thermal bridges, and airtightness with MVHR to cut heating and cooling loads.
- Design a simple, PV-ready roof (20–40°) with minimal shading, preplanned conduit and inverter space, and durable mounting-friendly materials.
- Future-proof electrics with expandable switchgear, battery-ready wall space, export-limit compatibility, and EV-charger conduits plus load management.
Orient Your New Build for Solar Gains
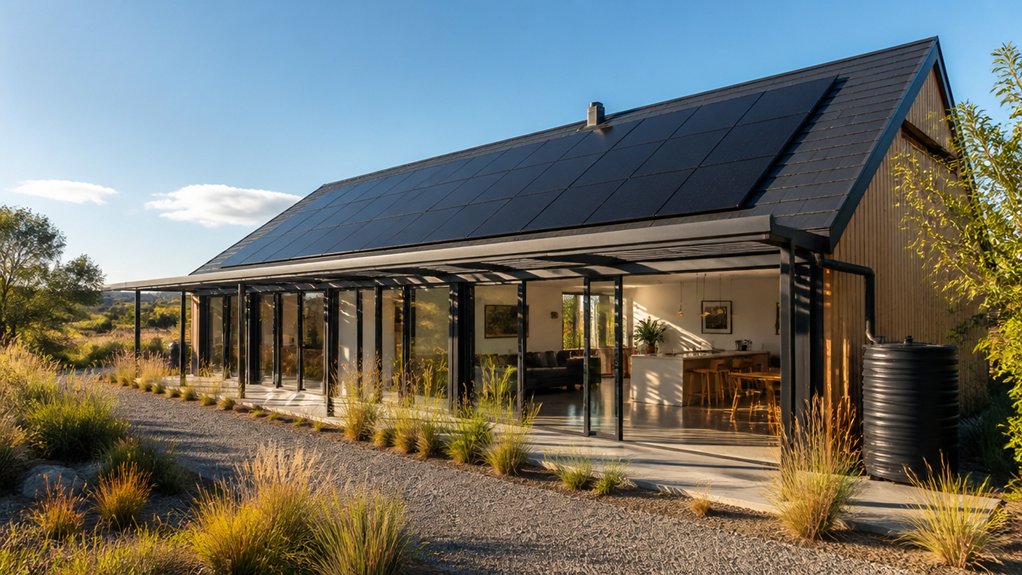
If you choose your home’s orientation early, you can lock in passive solar gains before the foundation goes in. Align the long axis east–west so your main glazing faces equatorward, then size overhangs to admit winter sun and block high summer angles. You’ll cut heating demand, smooth indoor temperature swings, and reduce HVAC peak loads—measurable wins in kWh and equipment sizing.
Place living spaces on the sunny side, buffer with storage, stairs, or garages on the colder exposure, and keep circulation compact to limit envelope area. Plan outdoor rooms and windbreak plantings to manage prevailing winds and snow drift.
Coordinate solar panel aesthetics with façade rhythm, and reserve zones for rooftop vegetation without shading key glazing or future arrays.
Design a Solar-Ready Roof (Pitch, Area, Shading)

Because your roof sets the lifetime ceiling for on-site generation, you’ll want to design it as a solar platform: prioritize a large, simple, unbroken plane with a PV-friendly pitch (typically 20–40° or the local equivalent), enough contiguous area to hit your target kW and kWh, and near-zero shading from chimneys, dormers, parapets, or trees.
Model annual irradiance and shade hours early; even small obstructions can cut yield disproportionately. Place vents and flues on the north side (or away from the array zone) and keep ridgelines clean to protect Solar panel efficiency.
Choose Roof materials that support durable mounting and low maintenance—standing-seam metal or well-flashed composite roofs simplify attachments and reduce leak risk.
Reserve conduit routes, inverter space, and safe access paths so installation stays quick, low-waste, and future-proof.
Lock In Fabric-First Targets (Insulation, Airtightness)

Before you size a heat pump or count solar panels, lock in fabric-first performance targets—insulation levels and airtightness—that cut demand at the source and make every kWh cleaner and more valuable.
Set U-value goals for roof, walls, and floor, then detail continuous layers so heat can’t bypass them through thermal bridging at junctions, fixings, and service penetrations.
Specify an airtightness target you can test (e.g., ≤1.0 ACH@50Pa) and coordinate membranes, tapes, and penetrations across trades.
Model the impact: lower peak load shrinks plant, raises PV self-consumption, and reduces embodied carbon per comfort hour.
Pair airtightness with ventilation strategies that guarantee indoor air quality—balanced mechanical ventilation with heat recovery, commissioned to measured airflow rates.
Pick Glazing Specs and Size Shading Correctly
With your insulation and airtightness targets set, glazing becomes the next high‑leverage variable: it can either preserve those hard-won reductions or reintroduce heat loss and summertime overheating. Prioritize glazing performance by specifying low U‑values for north/east/west openings, then balance solar gain with an appropriate g‑value on south façades.
Choose warm-edge spacers and airtight installs to protect whole‑window results, not just center‑pane numbers.
Next, treat shading as a controllable load: model sun angles and use shading optimization to block high summer sun while admitting low winter sun. Size overhangs using window height and sill-to-head geometry, and add external blinds for east/west where glare and peak gains spike.
Verify with dynamic thermal simulation, not rules of thumb.
Right-Size Your Solar PV for the New Build’s Loads
Three numbers should drive your PV sizing: your modeled annual kWh demand, your hourly load shape (especially winter mornings and summer peaks), and your site’s expected kWh per kW of installed solar.
Use them to set a target self-sufficiency rate, not a vanity system size. If you’re electrifying heat and hot water, weight winter performance and consider a modest PV oversize paired with Energy storage to shift midday surplus into evening loads.
Model export limits and tariffs so grid integration stays economical and low-carbon: you’ll reduce curtailment, cut peak imports, and support local network stability.
Then sanity-check roof area, orientation, and shading losses against your yield estimate, and iterate until the lowest lifecycle emissions align with your budget and resilience goals.
Place the Inverter, Meter, and Cable Routes Early
You’ll lock in better solar performance and lower embodied carbon when you plan the inverter location early, keeping runs short, shaded, and ventilated for higher efficiency.
You should coordinate meter placement with the utility and main panel layout so monitoring, safety disconnects, and future battery tie-ins stay clean and code-aligned.
You’ll also preplan cable routes through framing and penetrations to cut rework, reduce voltage drop, and avoid unnecessary materials.
Inverter Location Planning
Because the inverter and meter sit at the junction between generation, storage, and the grid, their location should be locked in early—before walls close and trench routes are fixed.
Prioritise Inverter placement in a cool, shaded, ventilated zone to protect efficiency; every 10°C rise can shave output and shorten lifespan. Keep it near the battery (if planned) and main distribution to reduce resistive losses and embodied carbon from oversized copper runs.
Design Cable routing as a short, direct path with gentle bends, accessible service loops, and separation from hot pipes. Specify wall depth, sleeves, and fire-stopping now so you don’t retrofit later.
Reserve clear working space and acoustically isolate if it’s near living areas. You’ll cut voltage drop, fault risk, and install time.
Meter Placement Coordination
Although it’s easy to treat the meter as a utility afterthought, its placement sets the geometry for your inverter tie-in, battery interconnects, and grid export/import pathways—so lock it in early with the inverter and cable routes.
Meter placement should minimize embodied carbon and losses by keeping major electrical equipment clustered within code-clearance zones, reducing material use and resistive drop.
Use coordination strategies with your architect, electrician, and utility: confirm service type (single/three-phase), main breaker rating, export limits, and meter-main format before walls close.
Specify space for CTs, production metering, and future EV load management so you don’t rip out panels later.
You’ll protect performance data quality, streamline inspections, and keep your solar system’s lifecycle footprint low.
Cable Route Preplanning
Where should every conduit run before framing locks your options? Decide inverter and meter locations now, then map the shortest, coolest pathways between roof, combiner, inverter, and service panel. You’ll cut copper length, voltage drop, and embodied carbon while improving system yield.
Use conduit planning to separate DC, AC, and communications, and keep bends under code limits to reduce pull force and insulation damage. Specify straight shot routes through conditioned chases where possible, avoiding hot attics that raise conductor temperature and derate ampacity.
Plan for future battery or EV circuits with spare conduits and oversized pull boxes. Label everything during rough-in so cable management stays clean at trim-out, and your commissioning data won’t show avoidable losses.
Plan Batteries, EV Charging, and Future PV Expansion
Before you lock in panel count and inverter size, map your battery capacity, EV charging load, and likely PV expansion as one integrated electrical system so you don’t bake in constraints. Size for peak kW and daily kWh: model winter yield, heat-pump demand, and overnight charging.
Pick an inverter and switchgear that support DC-coupled or AC-coupled storage, export limits, and spare PV inputs. Allocate wall space, clearances, and ventilation for batteries, plus conduit paths for a second array or carport PV.
Design EV infrastructure early: run 60–100A-rated conduit to the parking bay, allow for load management, and plan for bi-directional charging readiness. Reserve breaker slots and a larger main panel to avoid future rewires.
Frequently Asked Questions
Do I Need Planning Permission for Solar Panels on a New Build Home?
You often won’t need planning permission for solar panels, since many installs qualify as permitted development. Still, you must check local rules, especially for listed buildings, conservation areas, or panels that protrude notably.
Optimize Roof orientation to raise yield, and consider panel aesthetics to meet design codes and neighbor impact.
You should confirm setbacks, glare studies, and inverter noise limits. Ask your planner early to avoid redesigns later.
What Warranties and Maintenance Should I Expect for PV Panels and Inverters?
Like a quiet canopy catching sunlight, you should expect PV panels to carry 20–25-year performance warranties (often ~80–90% output) plus 10–12-year product coverage, reflecting strong panel durability.
You’ll typically get 5–12 years on inverters, with optional extensions to 15–20. You should budget for annual monitoring, occasional cleaning, and 10–15-year inverter replacement.
You should also track Financial incentives.
How Do Solar Panels Affect Home Insurance Premiums and Policy Requirements?
Solar panels can nudge your premiums up slightly because you’re adding replacement value.
But you can often offset insurance costs by proving certified installation and low fire risk.
You’ll likely need updated policy coverage that lists the PV system, inverter, and battery (if any) as scheduled equipment.
Your insurer may require permits, inspections, roof-condition data, and surge protection.
You should also confirm liability coverage for grid-tie and third-party damage.
Can I Sell Excess Solar Electricity, and How Does Export Payment Work?
Yes—you can sell excess solar electricity if your utility allows exports and you’ve completed Grid connection procedures.
Example: You export 8 kWh/day from a 6 kW system; at $0.08/kWh, you earn about $19/month.
Export payment typically uses net metering credits or a feed-in tariff, tracked by a bi-directional meter and settled monthly.
Solar power incentives may boost rates, but caps and time-of-use rules affect value.
What Are the Embodied Carbon Impacts of PV Panels and Batteries?
PV panels and batteries carry embodied carbon from mining, refining, and manufacturing, but you typically “pay it back” through clean generation. Data shows PV lifecycle emissions around 20–60 gCO₂e/kWh, with embodied carbon dominating.
Batteries add upfront impacts: roughly 60–120 kgCO₂e per kWh of capacity, depending on chemistry and factory power.
You’ll cut impacts by choosing low-carbon supply chains, right-sizing, and maximizing lifetime cycles.
Conclusion
As you orient your new build for solar gains, you’ll notice how each early choice coincides with the next: a solar-ready roof opens simpler cable routes, which makes right-sized PV and future expansion almost effortless. When you lock in fabric-first targets, your loads drop, so your array, inverter, and battery can shrink—cutting embodied carbon and cost. Specify glazing and shading with real performance data, and you’ll balance comfort, generation, and resilience for decades.
About the Author