You’ll build a garage roof that lasts for decades by sizing rafters or trusses to code loads, confirming bearing and bracing, and choosing a pitch that sheds water and snow. Install rated sheathing with 1/8-inch gaps, staggered joints, and correct fasteners, then lay underlayment and ice barrier flat and properly lapped. Flash eaves, rakes, and penetrations with corrosion-resistant metal and rated connectors. Balance soffit-to-ridge ventilation, add gutters, and use fall protection—next you’ll see the key details that prevent leaks and rot.
Key Takeaways
- Design roof framing, pitch, and connections to meet code loads, ensuring proper bearing, bracing, and uplift resistance.
- Choose long-life roofing materials rated for local wind, hail, snow, fire, and corrosion, using compatible fasteners.
- Install rated roof sheathing correctly: stagger seams, leave 1/8-inch gaps, and fasten per schedule to prevent deck movement.
- Use proper underlayment, ice-and-water barriers, and integrated drip edges and flashing at all edges and penetrations.
- Ensure balanced ventilation, airtight ceilings, correct insulation, and effective gutters/downspouts to prevent moisture damage and rot.
Plan Garage Roof Framing, Pitch, and Load Capacity

Before you buy lumber or set trusses, you need to lock in your roof framing method, pitch, and design loads so the structure meets local code and won’t sag or fail under snow, wind, or roofing weight.
Choose rafters, trusses, or engineered joists sized from span tables for your live, dead, and uplift loads.
Verify bearing points, header sizes, and wall bracing so loads transfer to the foundation without overstressing studs.
Set pitch to shed water and snow while meeting minimum slope requirements for your planned covering.
Detail connections with rated hangers, hurricane ties, and specified fasteners.
Plan Roof insulation thickness and ventilation baffles so you don’t block airflow.
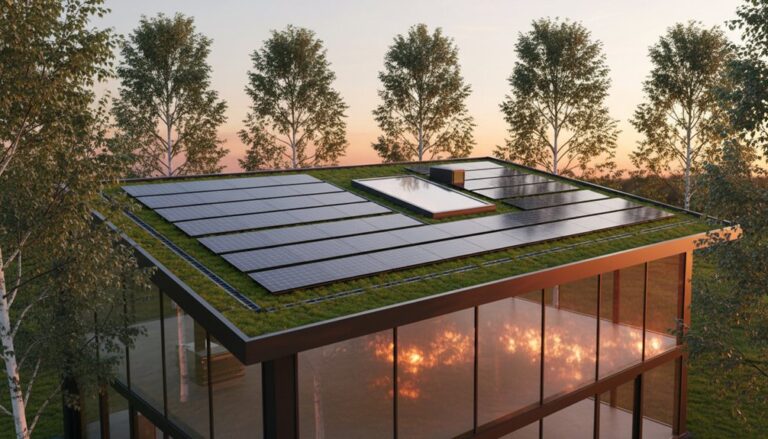
Reserve attachment zones and blocking for Solar panel integration and future wiring paths.
Choose a Durable Garage Roof Material for Your Climate

How do you pick a roof covering that won’t crack, lift, or leak in your specific weather zone? Start with local code requirements for wind, hail, snow, and fire rating, then match the material to the hazard.
In high-wind regions, use standing-seam metal or impact-rated shingles with listed fastening patterns.
In hail zones, choose Class 4 asphalt or metal; avoid brittle tiles.
For heavy snow, metal sheds loads, while laminated shingles need adequate slope and ice-barrier compatibility.
In coastal climates, specify corrosion-resistant metal and stainless fasteners.
Your roof color affects heat gain: lighter colors reduce cooling loads; darker can help snow melt.
Pair the covering with insulation options that meet R-value targets and maintain ventilation to prevent condensation.
Install Garage Roof Decking and Underlayment Correctly
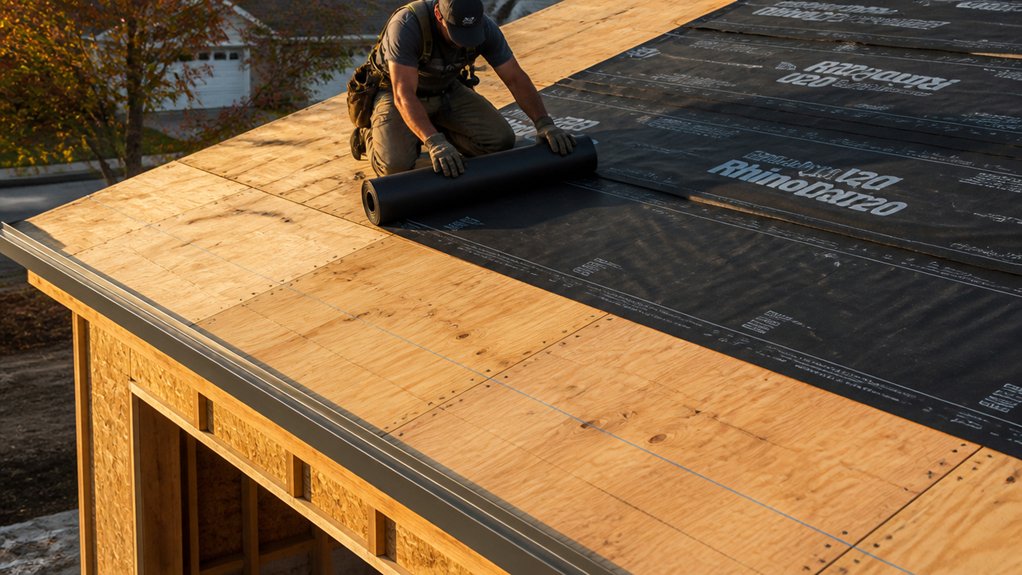
Once you’ve locked in the roof covering, build a stiff, dry roof deck and a continuous underlayment layer that meet local span, fastening, and water-shedding requirements. Use rated sheathing thickness for your rafter spacing, install panels perpendicular to framing, and keep 1/8-inch gaps at edges for expansion. Stagger joints, support all seams, and drive corrosion-resistant fasteners to the specified schedule without overdriving. Keep the deck clean and dry; replace any swollen or delaminated panels.
Before underlayment, confirm ventilation paths and install Garage roof insulation without blocking soffit-to-ridge airflow. Roll underlayment square to the eaves, overlap per manufacturer and code, and cap-nail or staple only where allowed. Smooth wrinkles so your finished surface stays flat for better Garage roof aesthetics.
Flash and Fasten Garage Roof Edges and Penetrations
Even if your deck and underlayment look perfect, the roof will fail at the edges and any hole you cut unless you flash and fasten those areas to shed water reliably.
Install metal drip edge at eaves and rakes, lapped in shingle fashion, and set over ice-and-water at eaves and under underlayment at rakes where required. Nail it high, not on the flange, so water can’t wick.
Use Roof flashing at all penetrations: boots for pipes, step flashing at walls, and counterflashing let into masonry. Extend flashing upstands per manufacturer and code, then seal only where specified.
Follow Fastening techniques: corrosion-resistant nails/screws, correct spacing, and solid blocking.
Wear fall protection and cut cautiously.
Build Garage Roof Ventilation and Drainage That Last
Because trapped heat and moisture shorten shingle life and rot roof sheathing, you should design ventilation and drainage together before you close in the roof.
Size intake and exhaust to local code (net free area), keep them balanced, and install continuous soffit vents with a baffled ridge vent or roof vent.
Maintain a clear 1–2 inch air channel above insulation; use baffles and smart insulation techniques so batts don’t block airflow.
Air-seal the ceiling plane, then insulate to the required R-value to prevent condensation.
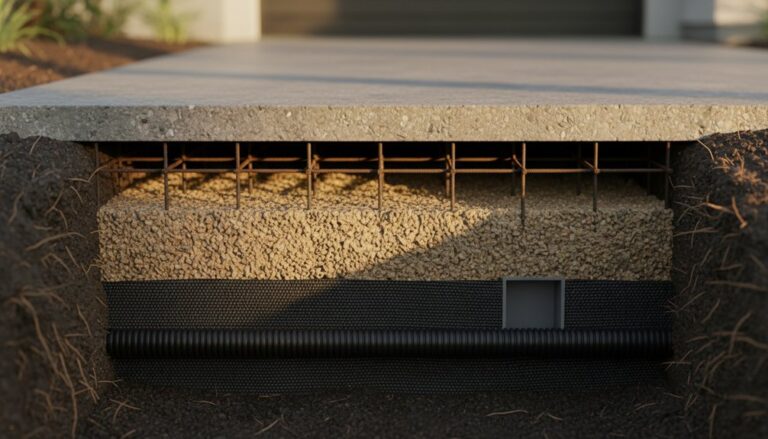
For drainage, slope the roof per manufacturer specs, extend underlayment to the eaves, and install drip edge and gutters with downspouts discharging away from the slab.
Tie choices into aesthetic design without sacrificing airflow.
Frequently Asked Questions
Do I Need a Building Permit to Reroof or Rebuild My Garage Roof?
You usually need a building permit if you rebuild the garage roof, change framing, or alter the structure. Many areas don’t require one for simple reroofing, but you must verify locally.
Check your jurisdiction’s building codes, then follow the permit process through your building department. You’ll submit plans, pay fees, schedule inspections, and meet wind, fire, and load requirements.
Don’t start work until you receive approval. Call before ordering materials.
How Much Should I Budget for a Durable Garage Roof Replacement?
You should budget $4,000–$12,000 for a durable garage roof replacement, depending on size, pitch, tear-off, and local labor rates.
For cost estimation, price materials, underlayment, flashing, ventilation, disposal, and permit/inspection fees.
Material selection drives longevity: architectural asphalt is often $3.50–$7/sq ft installed; metal runs $7–$14.
You’ll need code-compliant ice/water barrier where required and safe fall protection.
Can I Add Skylights or Solar Panels Without Compromising Roof Durability?
Yes, you can add them without compromising durability if you plan correctly. You’ll confirm load paths, rafter sizing, and uplift resistance before skylights installation. Then flash per manufacturer specs and integrate an ice-and-water membrane.
For solar panel compatibility, you’ll use engineered mounts, hit structural members, and seal penetrations with rated boots. You’ll maintain required clearances, follow electrical/fire setbacks, and schedule inspections so warranties stay intact.
What Are Signs My Garage Roof Needs Replacement Instead of Repair?
You need replacement when your roof looks like it’s been through a hurricane every week: widespread curling, cracking, or missing shingles; sagging decking; repeated leaks in multiple areas; and daylight showing through.
If Roof material is brittle or granules are flooding gutters, repairs won’t hold.
When Weather resistance is failing—ice dams, wind lift, persistent moisture—replace.
You’ll meet code by correcting ventilation, flashing, and deck fastening safely.
How Often Should a Garage Roof Be Inspected and Maintained?
Inspect your garage roof at least twice a year—spring and fall—and after major storms. You should also schedule annual professional maintenance to verify flashing, fasteners, and underlayment per local code.
Keep Roof insulation dry and continuous, and confirm Ventilation systems stay unobstructed to prevent condensation and rot.
Clean gutters, remove debris, and check penetrations for sealant failure.
Use fall protection, stable ladders, and shut off power near wiring.
Conclusion
If you plan framing, pitch, and loads to code, you’ll give your garage roof the backbone it needs for decades. Choose roofing rated for your climate, then install decking, underlayment, flashing, and fasteners exactly per manufacturer specs—no shortcuts. Seal every edge and penetration like a watertight ship’s hull. Finish with balanced ventilation and reliable drainage so moisture can’t linger. Don’t skip fall protection and inspections; safety and durability always go together.
About the Author