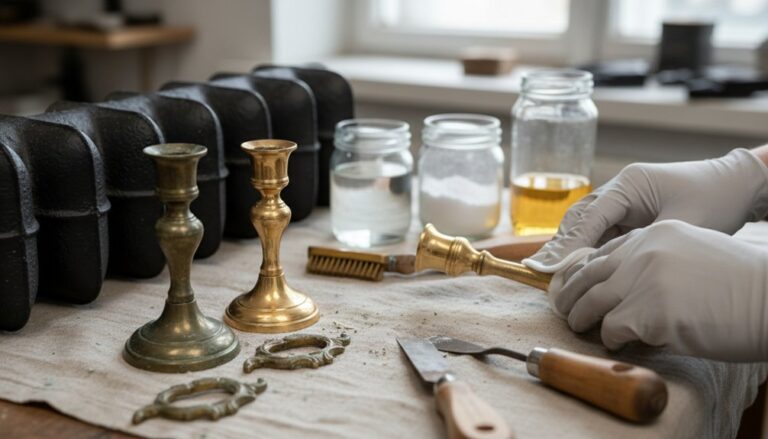
Start by inspecting the radiator for cracks, bulges, severe pitting, damaged tappings, or rocking feet to confirm it’s salvageable. Shut the system down, cut power, close valves, let it cool fully, and crack the union slowly while catching residual water. Strip paint with lead-safe wet methods or infrared heat, then treat rust with chelators or a converter. Track leaks at nipples, unions, and vents, reseal threads, replace faulty valves, prime, paint, reinstall, bleed, and test—there’s more to tighten your process.
Key Takeaways
- Inspect the radiator for cracks, heavy pitting, warped sections, bad threads, and leaks to decide if restoration is worthwhile.
- Shut down power and heat, close valves, let it cool fully, then disconnect unions slowly while draining and capping lines.
- Remove paint safely using wet scraping, citrus/alkaline stripper or infrared heat, and avoid dry sanding to reduce lead dust exposure.
- Treat rust and repair leaks by cleaning threads, resealing fittings, replacing vents/valves, and using temporary sealant only for section seams.
- Prime and repaint with rust-inhibiting primer and high-heat enamel, then reinstall, bleed air, run low pressure, and check for leaks.
Decide If Your Cast Iron Radiator Is Salvageable

Before you commit to refinishing or reinstallation, inspect the radiator to confirm it’s structurally sound and safe to handle under pressure. Check for section cracks, severe pitting, bulges, or evidence of freeze damage; any deformation or through-wall corrosion usually means it’s not salvageable.
Examine tappings, unions, and valve threads for stripping or broken ears, and verify the feet sit flat without rocking.
Next, assess integrity-related leakage risk: look for rust weeping lines, prior brazed repairs, or epoxy patches that can fail when heated. Confirm all sections align and rods aren’t separating.
If the body passes inspection, weigh Radiator aesthetics and historical value against repair cost; rare patterns often justify professional restoration.
Shut Down Heat and Disconnect the Radiator Safely

Once you’ve confirmed the radiator is worth saving, shut the system down and isolate that unit so you don’t release pressure, scalding water, or steam while you work. Turn the thermostat to off for temperature regulation, then cut power at the service switch and breaker.
For hot-water systems, close the supply and return valves; for steam, close the radiator valve fully. Let the radiator cool completely, then verify zero heat with an infrared thermometer.
Protect floors with a tray and towels. Crack the union nut slowly with two wrenches, supporting the valve body so you don’t twist piping. Drain residual water into a bucket, then cap or plug open lines.
Move the radiator with a dolly to preserve radiator aesthetics and prevent dents.
Strip Paint and Rust (Lead-Safe Methods)

With the radiator isolated, cooled, and moved to a protected work area, you can remove paint and corrosion without spreading dust or contaminating the space. Assume older coatings contain lead: wear a P100 respirator, gloves, and eye protection, and lay 6-mil plastic with taped seams.
For Paint removal, use a wet method—citrus/alkaline stripper or infrared heat—then scrape with carbide blades while keeping surfaces damp; bag waste immediately. Avoid dry sanding and high-speed wire wheels. Rinse or neutralize per product instructions and dry thoroughly.
For Rust treatment, start with hand scraping and wet scuffing using nonwoven pads, then apply a chelating rust remover or phosphoric converter to remaining oxide. Wipe clean, let flash dry, and proceed to priming.
Find and Fix Cast Iron Radiator Leaks
Although cast iron radiators look monolithic, they often seep at predictable points—push nipples between sections, valve unions, air vents/bleeders, and threaded plugs—so you’ll get better results by locating the leak precisely before you attempt any repair.
Shut the system down, let it cool fully, and depressurize before you touch fittings.
Dry the radiator, then run a paper towel around each joint to pinpoint moisture; on steam, watch for wisps at the seam.
For threaded plugs and unions, back off, clean threads, and reassemble with a high-temp pipe dope rated for Material compatibility with iron and your system fluid.
For section seams, use a nonhardening radiator sealant only as a temporary measure.
After repairs, pressure-test, then plan Color options.
Replace the Valve and Vent, If Needed
Leaks that persist after you’ve resealed plugs, unions, and vents usually point to worn valve internals or a vent that’s failed shut or started spitting.
Shut down the system, let the radiator cool, and relieve pressure before you touch anything.
For Valve replacement, close the supply, disconnect the union nut, and support the radiator so you don’t stress the riser. Remove the old valve with two wrenches to avoid twisting piping, then install the new valve using steam-rated pipe dope or PTFE rated for steam.
For Vent repair, verify thread size, remove the vent, and replace it if it won’t close, hisses constantly, or leaks at the body. Tighten snug, not forced, and recheck alignment.
Prime, Paint, Reinstall, and Test for Heat
Once the metal is clean, dry, and bare where it needs to be, you can lock in that prep with primer, apply a heat-tolerant finish coat, then put the radiator back into service under controlled conditions.
Use a rust-inhibiting metal primer rated for 200°F+; spray light, even passes into fins and joints. After cure, apply high-heat enamel; avoid latex.
For Decorative finishes, topcoat only if the system’s max temperature allows it; otherwise stick to manufacturer-rated colors.
Consider Modern alternatives like powder-coat, but confirm bake temps won’t warp gaskets or trap moisture.
Reinstall with new shims and pipe dope. Open valves slowly, bleed air, and run at low pressure.
Check all joints for leaks, listen for hammer, and verify uniform heat.
Frequently Asked Questions
How Do I Calculate the Radiator’s BTU Output for My Room Size?
You calculate required BTU by multiplying your room’s square footage by 20–30 BTU/ft² (higher for poor insulation). Then compare it to your radiator’s rated output.
If you’ve no rating, estimate from EDR: measure sections, convert to EDR, then multiply by 150 BTU/hr (steam) or 170 (hot water).
Make sure Thermostat placement avoids drafts.
Add Radiator insulation carefully; don’t block airflow or valves.
What’s the Best Way to Match Historic Paint Colors and Finishes?
You’ll get the best match by sampling existing layers, then verifying with instruments and controlled test panels.
For Paint color matching, scrape to the oldest intact coat, bag chips, and have a lab scan (spectro) and cross-check under 2700K/4000K light.
For Finish restoration, identify sheen (gloss meter) and binder (oil/alkyd) before repainting.
Wear a respirator, control dust, and assume lead until tested.
Can I Convert a Steam Radiator to Hot Water Safely?
Yes, you can convert a steam radiator to hot water safely, but you must engineer it for Steam conversion and radiator safety. You’ll plug or replace the steam vent, add a supply and return tapping, and verify the radiator’s pressure rating.
You must flush sludge, pressure-test all joints, and size the circulator and TRV correctly.
You shouldn’t mix steam and water on the same radiator.
Hire a pro for code compliance.
How Should I Store a Radiator Long-Term Before Reinstallation?
Store it like you’d park a classic car for winter: clean, dry, protected.
For radiator maintenance, drain completely, flush sediment, and let it air-dry. Cap openings to keep pests and debris out, then lightly oil bare metal to block corrosion.
Use long term storage tips: wrap in breathable cloth, not plastic, and keep it upright on blocks in a dry, stable-temperature space.
Wear gloves; avoid pinch points.
Are Restored Cast Iron Radiators Eligible for Historic Preservation Tax Credits?
Yes, you can often claim credits, but you must prove the work meets program standards and the radiator counts as a contributing feature.
For Tax credit eligibility, you’ll document Historic authenticity: retain original sections, profiles, and placement; avoid incompatible coatings or modern alterations; and use reversible methods.
Coordinate early with your SHPO/park service, keep invoices, photos, and specs, and follow lead-paint and pressure-testing safety protocols throughout.
Conclusion
You’ve now assessed the radiator, shut down heat, stripped coatings safely, fixed leaks, and replaced worn valves and vents. If you’re thinking, “This is too risky,” remember: controlled steps and PPE reduce hazards more than shortcuts do. Let the metal dry fully, then prime with a rust-inhibitive coating and apply thin, heat-rated paint coats. Reinstall with new gaskets, tighten evenly, vent air, and fire the system. Check seams and unions for drips.
About the Author