Design your new-build smart home like a systems project: you set measurable goals, define offline behavior, and budget for wiring, commissioning, spares, and documentation. You pick one primary ecosystem and standardize on Matter/Thread where possible, then validate Zigbee coordinator capacity and channel plans. You prewire Cat6A in a star topology, add conduit, label every drop, and design PoE + UPS. You segment IoT with VLANs, place devices by RF heatmaps, and keep local control—next you’ll see how to map scenes, HVAC, and security.
Key Takeaways
- Define goals, measurable requirements, and offline behavior, then budget for infrastructure, labor, documentation, spares, and long-term maintenance.
- Choose a primary ecosystem and standards (Matter/Thread/Zigbee), validating controller limits, device profiles, firmware cadence, and local-control support.
- Prewire early with Cat6A home-runs, conduit stubs, labeled drops, and planned backboxes; photograph runs and separate low-voltage from AC.
- Build a reliable network using managed switches, PoE, UPS backup, Wi‑Fi 6/6E planning, and VLAN segmentation to isolate IoT devices.
- Design unified scenes and automations across lighting, shades, security, and HVAC, ensuring low-latency response and wall-control fallback during outages.
Define Your Smart Home Goals and Budget
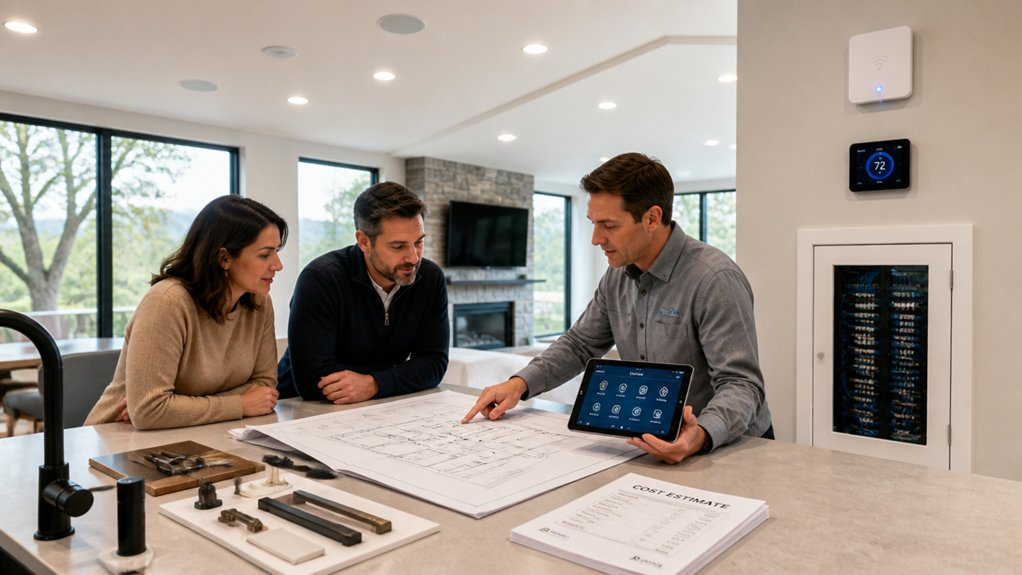
Before you pick devices or run a single cable, define what you want the smart home to do and what you’re willing to spend to make it reliable. Translate lifestyle outcomes into measurable requirements: rooms covered, response times, uptime targets, and offline behavior during internet loss.
List critical functions (security, HVAC, lighting) versus nice-to-haves (scenes, voice). Then assign budgets to infrastructure, labor, and commissioning, not just hardware.
Account for Smart home myths like “wireless is always cheaper” and “everything just works,” because integration challenges drive costs in testing, firmware updates, and troubleshooting.
Plan for spares, labeling, documentation, and a maintenance allowance so the system stays stable after move-in.
Choose an Ecosystem + Standards (Matter/Thread/Zigbee)
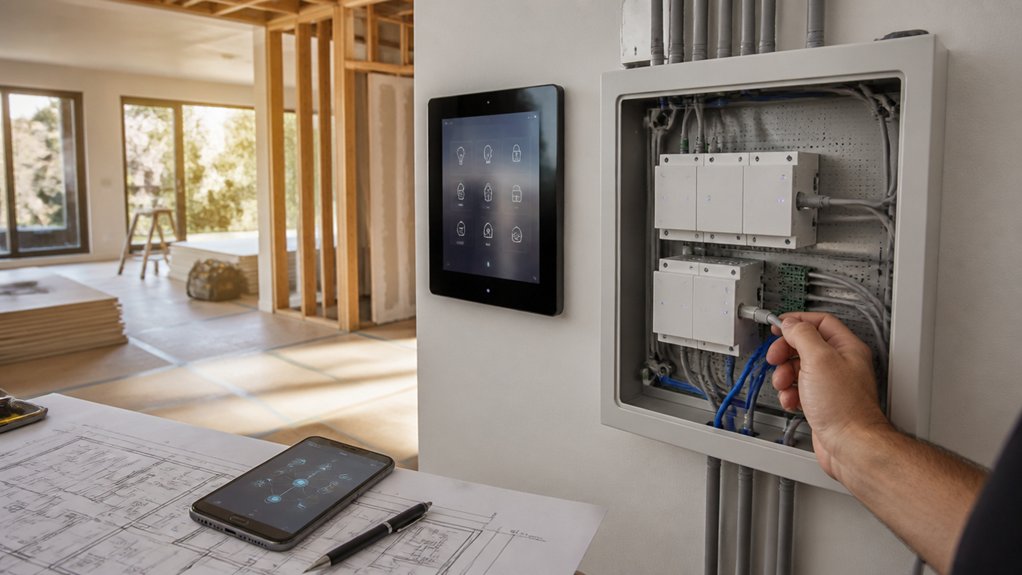
Next, you’ll choose a control ecosystem (Apple/Google/Amazon/Home Assistant) and verify compatibility across controllers, hubs, mobile clients, and cloud dependencies so your devices share a common commissioning and security model.
You’ll get the cleanest cross-vendor path by prioritizing Matter for interoperability and Thread for low-power, self-healing mesh transport where supported.
For Zigbee, you’ll validate coordinator capacity, channel planning, and device profiles, and you’ll plan how bridges expose Zigbee endpoints into your chosen ecosystem without breaking automation latency or local control.
Ecosystem Compatibility Factors
Although most smart-home devices claim broad compatibility, you’ll get a far more reliable new-build integration by committing to a primary ecosystem (Apple Home, Google Home, Amazon Alexa, or Home Assistant) and standardizing your device layer around Matter plus the right underlying transports—Thread for low-power, self-healing mesh networks; Zigbee for mature, cost-effective sensors and lighting; and Wi‑Fi/Ethernet where bandwidth or power budgets justify it.
Validate controller roles early: do you need a single hub, multiple bridges, or a dedicated server? Check which voice assistants expose advanced traits (scenes, routines, media groups) versus basic on/off.
For appliance integration, confirm supported device classes, telemetry access, and local-control options so you’re not locked to cloud APIs.
Finally, audit interoperability limits: firmware cadence, certification status, VLAN segmentation, and how each platform handles multi-admin sharing, logging, and failover.
Matter And Thread Benefits
Once you’ve picked a primary ecosystem and mapped where bridges, hubs, and controllers will live, Matter and Thread give you a cleaner device layer to standardize on. Choose Apple Home + Matter as your control plane, then treat Matter as the common application protocol across brands, reducing per-vendor drivers and shrinking test matrices.
Thread builds a low-power IPv6 mesh, so endpoints route around dead spots without relying on Wi‑Fi airtime, improving Wireless integration and latency consistency.
Because Matter uses authenticated commissioning and scoped fabrics, you can segment devices by home, unit, or VLAN strategy while keeping cryptographic identity intact.
You’ll also simplify user interfaces: a single pairing flow, consistent device capabilities, and predictable state models for automation rules and monitoring dashboards.
Zigbee Device Considerations
Because you’ll still encounter Zigbee-only sensors, switches, and specialty devices that haven’t moved to Matter, you need to decide where Zigbee fits in your architecture and which ecosystem will “own” it. Pick a primary controller (Home Assistant, SmartThings, Hubitat, or a vendor hub) and keep Zigbee joined there to avoid split routing tables and inconsistent automations.
Verify device compatibility at the cluster level, not just “works with,” especially for IAS Zone sensors, metering plugs, and manufacturer-specific attributes.
Plan for signal range by designing a dense mesh: place powered routers (in-wall switches, smart plugs) every 20–30 feet, and avoid 2.4 GHz Wi‑Fi channel overlap.
If you’ll bridge Zigbee into Matter later, choose hardware that supports OTA updates and stable firmware paths.
Plan Low-Voltage Wiring and Conduit Before Drywall
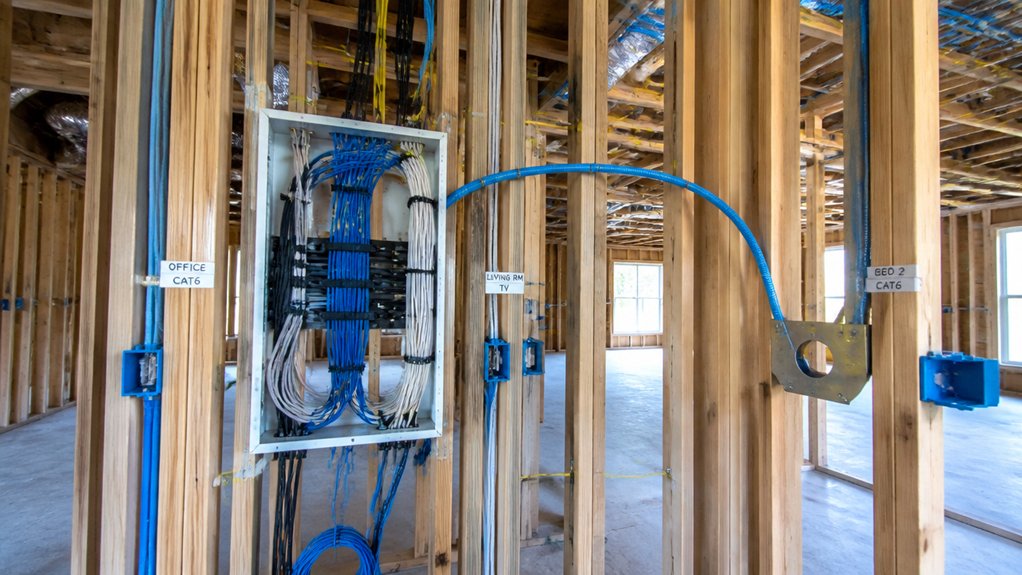
Before the drywall goes up, map your low‑voltage runs and conduit paths like a system layout, not an afterthought. Define a central low‑voltage panel, then home-run cables to each room in star topology for sensors, keypads, intercoms, and A/V endpoints.
Stub 1–1.5″ conduit from the panel to attic, crawlspace, and major TV walls to preserve upgrade paths. Add backboxes and mud rings at planned heights, and label every drop on studs with destination and cable type.
Prewire power+data locations for voice assistants and ceiling speakers. Place conduit to kitchen islands, nightstands, and desks for future wireless charging modules.
Keep low‑voltage 12″ from AC lines, cross at 90°, and photograph every run for as‑built documentation.
Design a Reliable Network (Ethernet, Wi‑Fi, PoE)
While smart devices get most of the attention, your network determines whether the whole system feels instantaneous or unreliable. Start with a structured Ethernet backbone: home-run Cat6A to a central rack, patch panel, and managed switch.
Use PoE (802.3at/af, or bt where needed) to power access points, cameras, and controllers, reducing wall-warts and improving uptime with a UPS-backed switch.
Segment traffic with VLANs: isolate IoT from trusted clients, and map SSIDs to VLANs.
Choose Wi‑Fi based on capacity, not peak speed: plan for Wi‑Fi 6/6E channel width, DFS constraints, and roaming behavior.
Validate Wireless protocols (Zigbee/Thread) coexistence and backhaul needs.
Enforce Network security with WPA3, strong admin creds, automatic firmware, and DNS filtering.
Place Key Devices Room by Room (Power + Coverage)
Once you’ve locked in the network topology, you can place smart infrastructure room by room by treating each space as a power-and-coverage problem: where you’ll land line voltage, low-voltage (Cat6A/Coax/speaker), and PoE runs, and how each device’s RF footprint (Wi‑Fi, Zigbee/Thread, BLE) overlaps without dead zones or interference.
Start with ceilings: center PoE APs for uniform attenuation, then offset from ductwork and metal cans. Put PoE cameras at eaves with dedicated home-runs and service loops.
In garages and utility rooms, add extra outlets plus Cat6A for controllers, UPS, and future expansion.
For dense RF zones (kitchen, media room), hardwire streamers and hubs to cut airtime.
Validate smart device placement with a walkthrough heatmap and iterate for coverage optimization.
Specify Lighting, HVAC, and Energy Monitoring Controls
Next, you’ll specify controls that unify lighting and shades under a single automation layer, with consistent dimming, scene logic, and manual override behavior.
You’ll design HVAC zoning with per-zone sensors, dampers, and thermostat coordination so setpoints, schedules, and ventilation respond predictably to occupancy and load.
You’ll also define an energy monitoring stack—panel-level metering plus circuit/submeter feeds—so dashboards expose real-time demand, trends, and control impacts.
Unified Lighting And Shades
How do you make lighting and shades behave like one coordinated system instead of a set of standalone devices? You start by specifying a single control layer that natively supports Smart lighting and Automated shades, with consistent scene, schedule, and override logic.
Choose dimmers and keypads that expose load type, ramp rate, and minimum trim, and pair them with shade controllers that report position, tilt, and limits.
You then define unified scenes (Wake, Away, Movie) that bind light levels and shade positions to the same trigger, not separate automations.
Require local fallback: wall controls must still run loads and shades if the network is down.
Standardize on one protocol stack and commissioning workflow, and document group addressing, device naming, and latency targets for deterministic response.
HVAC Zoning And Energy Dashboards
A unified scene layer shouldn’t stop at lights and shades—you’ll get bigger comfort and operating-cost gains by bringing HVAC zoning and energy dashboards under the same control and telemetry model.
You’ll map zones to supply/return sensors, dampers, and variable-speed equipment so setpoints follow occupancy and solar load. Tie lighting scenes to HVAC modes: “Away” drops setpoints, disables noncritical lighting, and arms ventilation setbacks.
For energy monitoring controls, you’ll ingest whole-home, circuit, and HVAC runtime data, then normalize it in a single dashboard with kW, kWh, and COP trends.
Good User interface design exposes zone health, filter status, and fault codes without hiding raw telemetry. Add Voice command integration for “cool upstairs,” but enforce guardrails, schedules, and permission tiers to prevent drift.
Plan Security, Entry Access, and Camera Zones Safely
Before you start selecting devices, map your security goals onto the physical layout so access control and camera coverage work as a coordinated system, not a collection of gadgets.
Identify all perimeter openings, garage-to-house passages, and side-yard gates, then assign each a control method: keyed, keypad, NFC, or phone credential, with mechanical override.
Place readers and smart locks where weather exposure and tamper risk are lowest, and specify door position sensors to verify latch state.
Define camera zones by approach paths and choke points, not rooms: driveway, porch, back patio, and basement stairs.
Set fields of view to avoid neighbors and public sidewalks.
Tie events into Home automation scenes—lights, chimes, and alerts—so the User experience stays consistent across entries.
Keep It Private and Reliable (Local Control, Backups, Updates)
Once you’ve defined where locks, sensors, and cameras sit and what events they generate, you need an architecture that keeps those signals working when the internet drops and keeps your data from leaking by default.
Run a local controller (Home Assistant or similar) with wired Ethernet and UPS power, and prefer devices with local APIs over cloud-only apps for Data privacy.
Segment IoT onto a VLAN, block outbound traffic by default, and expose Remote access through a VPN, not port-forwarding.
Store video and logs on an NVR/NAS with encryption at rest, and schedule backups to an offline disk plus an immutable cloud bucket.
Use staged firmware updates: test on one device, then roll out; pin versions when stability matters.
Monitor health via heartbeat checks and alert on missed events.
Frequently Asked Questions
Will Smart Home Features Increase Resale Value or Appraisal for My New Build?
Smart home features can increase your resale value and sometimes your appraisal, but only when buyers and appraisers can verify benefits. You’ll get the best return from Energy efficiency upgrades (smart HVAC zoning, load monitoring, utility data) that reduce operating costs.
You must also prioritize aesthetic integration—flush keypads, hidden sensors, consistent trim—to avoid “gadget clutter.” Document specs, permits, warranties, and system diagrams so appraisers can justify adjustments and buyers trust reliability.
What Insurance Discounts Are Available for Professionally Installed Smart Security Systems?
You can often get Security discounts for a professionally installed, monitored smart security system: typically 2–10% for central-station burglar alarms, plus additional credits for fire/smoke monitoring, CO detection, and water-leak shutoff sensors.
Some carriers stack Insurance benefits when devices are UL-listed, professionally permitted, and tied to 24/7 dispatch. You’ll usually need an installation certificate, monitoring contract, and device list to apply.
Ask about deductible reductions too.
How Do I Future-Proof My Smart Home Against Technology Obsolescence in 10 Years?
To future-proof your smart home, don’t build a gadget graveyard that looks ancient before the paint dries. You standardize on open ecosystems, prioritize Smart device compatibility, and avoid vendor lock-in.
Specify modular hubs with replaceable radios, and require firmware update guarantees. Design structured wiring (Ethernet, conduit) plus ample power.
Track Wireless technology standards (Matter, Thread, Wi‑Fi, Zigbee) and choose devices supporting multiple protocols.
Document configs, keep local control, and plan phased refresh cycles.
Can Smart Devices Affect Indoor Air Quality or Emit Harmful Radiation?
Smart devices can affect indoor air quality indirectly, but they typically don’t emit harmful radiation. You’ll see issues if devices add heat, ozone (rare), or VOC off-gassing from plastics.
Mitigate by choosing certified low-emission hardware and using Air quality sensors to validate VOC/PM2.5 trends.
For Radiation emission, Wi‑Fi/Zigbee/BLE operate at low RF power and stay within regulatory SAR limits. Reduce exposure by optimizing placement and duty cycles.
What Are Typical Maintenance Costs for Smart Home Systems After Moving In?
Expect typical smart-home maintenance to run $200–$1,000+ per year, like oiling a well-tuned machine so it doesn’t seize. You’ll pay for cloud subscriptions, security monitoring, firmware-support plans, and occasional device replacement.
Budget for batteries, sensors, and router upgrades to curb energy consumption. You’ll also spend time-hardening accounts, rotating keys, and updating settings to protect user privacy.
Add professional service calls: $100–$200/hour.
Conclusion
When you define goals, pick a compatible ecosystem, and prewire with purpose, you’re building a smart home that’s stable, scalable, and secure. You’ll route low‑voltage runs in conduit, balance Ethernet, Wi‑Fi, and PoE for predictable performance, and place devices for power and coverage. You’ll standardize lighting, HVAC, and metering for measurable savings. Then you’ll lock down entry, segment security zones, and prioritize private, local, resilient control.
About the Author