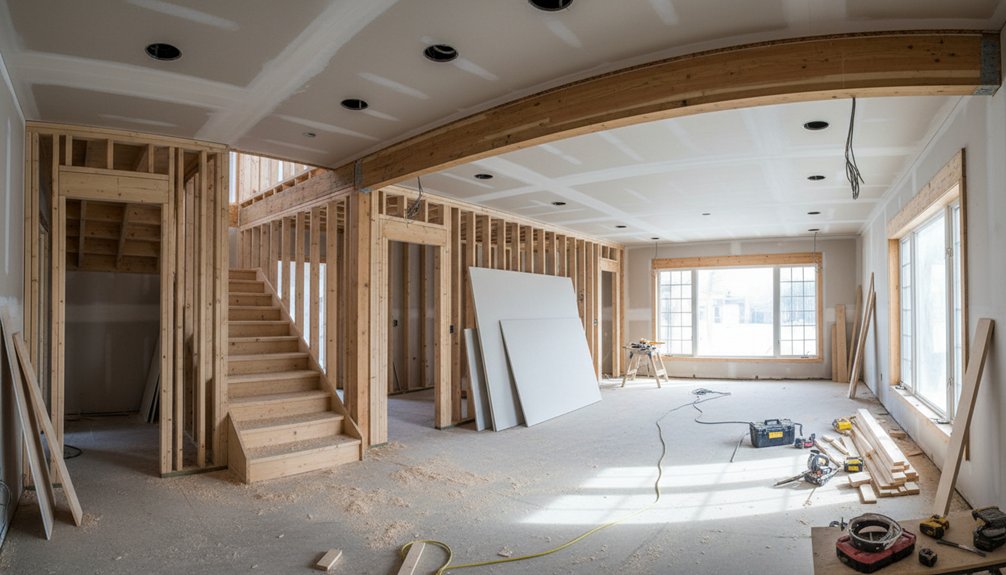
You’ll add usable space fastest by measuring and reclaiming dead zones—door-swing wedges, pinch-point corridors, soffits, and under-stair voids—while keeping 30–36 inch circulation bands and clear egress. Verify what’s load-bearing, then open nonstructural walls to improve sightlines and daylight without adding square footage. Convert attics or basements only if stairs, headroom, moisture control, and egress meet code. Add built-ins that don’t encroach on landings or rated assemblies. Next, you’ll see which upgrades pay back most.
Key Takeaways
- Measure circulation, door swings, stairs, and egress to identify dead space and code pinch points before redesigning.
- Open layouts by removing non-load-bearing walls after confirming structure, utilities, and fireblocking; keep egress paths clear and compliant.
- Add livable area by finishing attics or basements only if headroom, moisture control, insulation, and legal egress requirements are met.
- Create multi-use zones by mapping circulation first, anchoring tasks to existing plumbing/vents, and using flexible furniture and built-ins.
- Increase usable storage with recessed built-ins, under-stair and window-seat compartments, and organized closets that don’t reduce required clearances.
Spot “Dead Space” Rooms and Corners in Minutes
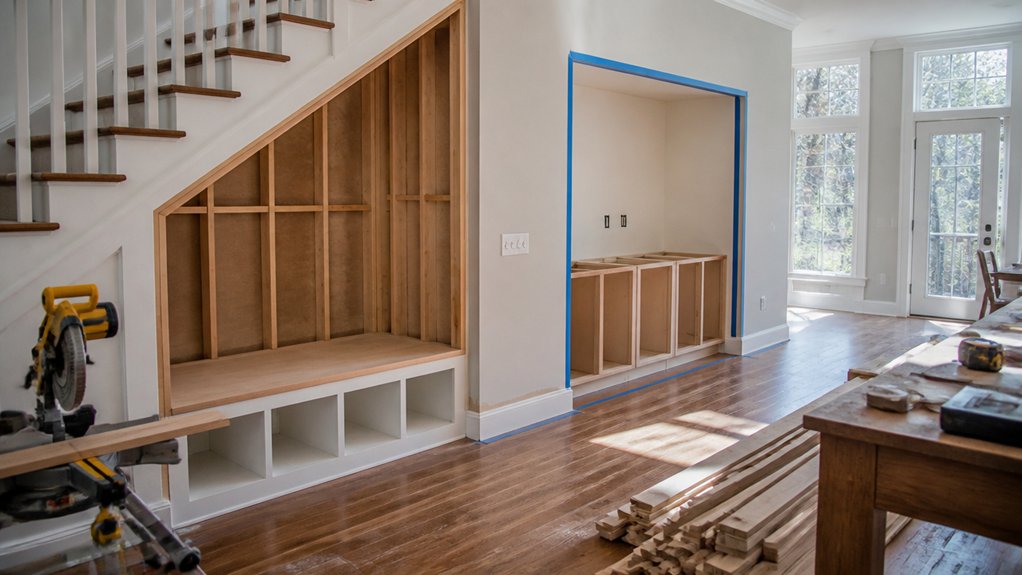
Before you sketch a single wall, walk the house with a tape measure and a code lens to identify “dead space”—areas that consume floor area without meeting functional clearance, egress, or storage criteria. Measure corridor widths, door swings, and required landing zones at stairs; flag pinch points under minimums.
Check window and door egress paths, then map unusable wedges behind doors, under sloped ceilings, and at oversized vestibules. Use painter’s tape to outline 30–36 inch circulation bands and verify you’re not blocking required access.
Evaluate furniture placement with real dimensions, not guesses, so corners don’t become orphaned. Add creative lighting to reveal low-ceiling zones, soffits, and shadowed alcoves that read as space but can’t perform.
Choose the Best Renovation to Add Livable Space

Where should you invest first to gain true livable square footage—not just reshuffled floor area? Target volume you can legally condition, light, and access: finish an attic with compliant stair geometry, headroom, and insulated roofline; or convert a basement only if you can control moisture, provide egress, and meet minimum ceiling height.
If your lot allows, a rear bump-out can outperform open-plan “reflows” by adding net area without compromising circulation. Reframe closets and halls only when you can preserve clear widths and door swings.
In older homes, plan around Vintage fixtures and historic preservation: relocate plumbing stacks carefully, keep original trim lines, and upgrade systems behind surfaces so the new room reads authentic while performing like new.
Permits and Code Checks Before You Redesign Anything
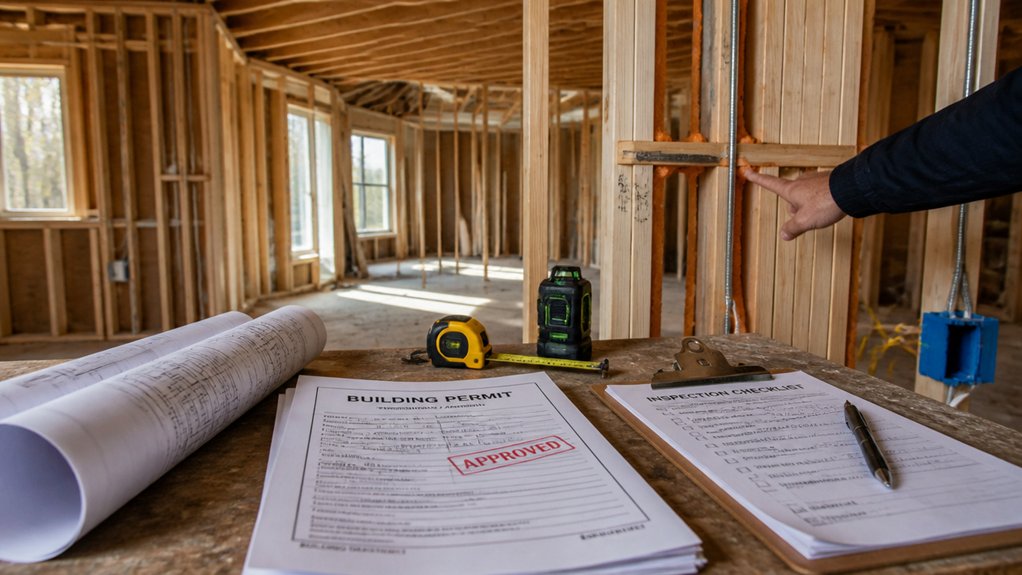
Even if your redesign looks simple on paper, you should treat permits and code checks as the first scope item because they define what you can legally build, occupy, and appraise as conditioned living area.
Start by confirming zoning, setbacks, lot coverage, and any HOA constraints so your added floor area doesn’t violate site limits.
Next, map egress paths, stair geometry, ceiling heights, and fire-resistance ratings against your jurisdiction’s adopted IRC/IBC and local amendments.
Verify mechanical, electrical, and plumbing loads so new rooms stay within panel capacity, venting rules, and HVAC sizing.
Submit accurate plans for Building permits, including structural notes for bearing changes and insulation details tied to energy code.
Schedule rough and final inspections to document Code compliance and protect resale value.
Turn Your Loft Into a Safe, Legal Bedroom or Office
To convert your loft into a legal bedroom or office, you’ll pull the right permits and verify code minimums for floor loading, ceiling height, stair geometry, and insulation/ventilation.
You’ll also design fire safety into the layout with smoke/CO alarms, required separations, and a compliant egress path that includes an egress window or door with proper clear opening and sill height.
If any of these spatial requirements can’t be met, you’ll need to reclassify the space or revise the plan before you build.
Building Codes And Permits
Before you frame a wall or set a stair, verify your local building code and pull the right permits, because a loft only counts as a legal bedroom or office when it meets life-safety and egress requirements. Start with Building permits for a change of use, structural work, electrical, and HVAC; your plans reviewer will check code compliance against adopted IRC/IBC sections.
Document existing joist sizes, spans, and bearing points, then submit engineered sizing if you’re adding loads, dormers, or stair openings.
Confirm minimum ceiling height zones, required floor area, and stair geometry constraints, and show them on dimensioned drawings.
Provide insulation, ventilation, and moisture-control details for roof assemblies so the new room performs like conditioned space.
Schedule rough and final inspections so approvals match what you built exactly.
Fire Safety And Egress
Once your permits and drawings line up with the adopted code, the loft has to meet fire-safety and egress rules so someone can exit fast and firefighters can enter without delay.
Provide two compliant egress paths: a protected stair to the level of exit discharge and an emergency escape opening or approved fire escape where required.
Size windows per code minimum net clear opening, sill height, and unobstructed access from the new room layout.
Keep the stair width, headroom, landing depth, and handrail/grab requirements consistent, and don’t pinch the path with built-ins or low beams.
Install interconnected, hardwired smoke alarms with battery backup at the loft, outside sleeping areas, and each level.
Add required separation or sprinkler coverage when the conversion triggers it.
Finish Your Basement for Guest Space, Gym, or Rental
Although your basement sits below grade, you can convert it into high-value usable area—guest suite, home gym, or legal rental—by treating it like conditioned living space with strict code and moisture constraints.
Start with bulk-water control: exterior drainage where feasible, interior perimeter drain as needed, and a continuous capillary break under slabs and against walls.
For Basement insulation, use closed-cell spray foam or rigid foam with sealed seams, then frame a service wall to protect vapor control and wiring.
Specify dehumidification and mechanical ventilation to meet local requirements.
Choose Flooring options rated for below-grade use: insulated subfloor panels, LVP, tile, or sealed concrete; avoid carpet unless you can guarantee dry conditions.
If you’re renting, separate utilities and add sound isolation, cleanouts, and accessible shutoffs.
Open Up Layouts to Make Small Spaces Work Better
You can make a small footprint feel larger by removing non-load-bearing walls while verifying framing, utilities, and required fireblocking so the work stays code-compliant.
You’ll improve sightlines and circulation by aligning openings and keeping egress paths clear with proper widths and headroom.
You can then assign multi-functional zones—like dining plus workstation or storage plus seating—using built-ins and clearances to prevent layout conflicts.
Remove Non-Load-Bearing Walls
Where can a tight floor plan gain the most usable area without adding a single square foot? You’ll often find it in partitions that carve rooms into narrow corridors and dead corners. With targeted wall removal of non-structural walls, you can reclaim floor area for compliant circulation, furnishings, or storage zones.
Before you demo, verify load bearing considerations: check framing direction in the attic or basement, review original plans, and confirm what carries joists, beams, or roof loads. If you’re unsure, bring in a licensed structural engineer.
Locate and reroute MEP systems—electrical, plumbing vents, HVAC runs—and maintain required fire blocking, draft stopping, and smoke/CO alarm coverage. Pull permits where required, cap utilities to code, and patch ceilings and floors with matching structural and finish assemblies.
Improve Sightlines And Flow
When sightlines run long and circulation stays direct, a small floor plan reads larger and functions better without changing the footprint. You’ll get there by aligning openings, trimming dead-end corridors, and keeping primary paths clear and code-compliant.
Maintain required egress widths and headroom, and don’t pinch door swings into travel routes. Replace solid partitions with cased openings or glazed panels where privacy isn’t required; that boosts visual connectivity while preserving separations.
Borrow natural lighting by widening interior openings toward windows and using transoms to move daylight deeper into the plan. Keep kitchen, bath, and mechanical chases efficient, but route circulation around them rather than through them.
If you relocate doors, verify fire ratings, smoke sealing, and clearances at landings. Then re-check turning clearances at tight nodes.
Use Multi-Functional Zones
Although a tight plan can’t grow, it can work harder by assigning each square foot more than one job through well-defined multi-functional zones. Start with zoning strategies: map circulation first, then anchor task areas to existing plumbing, vents, and window egress paths. Use low partitions, change-of-flooring, or ceiling drops to define zones without blocking sightlines or required clearances.
Select Flexible furniture that preserves code minimums: maintain 36-inch primary routes, keep doors’ swing paths clear, and don’t encroach on stair landing dimensions. Build storage into bench seating, specify wall beds with positive latching, and use fold-down desks on blocking at rated walls.
Layer lighting by zone—task, ambient, and night—so each area can shift use without rewiring. Verify outlets meet spacing rules.
Built-In Storage That Clears Floors and Reduces Clutter
Because loose furniture and floor-standing bins consume circulation space and create trip hazards, you’ll get more usable square footage by specifying built-in storage that shifts volume into wall cavities, under-stair voids, soffits, and window seats while keeping required egress paths clear.
Size millwork to maintain minimum corridor widths and door swing clearances, and don’t encroach on stair headroom or required landings. Use recessed toe-kicks and flush pulls so projection limits stay tight.
Add Hidden compartments for valuables inside bench lids or behind removable panels, but keep access panels outside rated assemblies.
Improve Closet organization with adjustable shelving, double-hang rods, and vertical drawer stacks that keep items off floors. Specify moisture-tolerant materials at entries and provide dedicated broom and utility niches.
Keep ventilation pathways unblocked.
Budget and Phase Your Project to Avoid Cost Overruns
To keep added square footage from turning into a budget blowout, you need a scope-driven cost plan and a phased sequence that protects structure, utilities, and code-required egress.
Start with budget planning tied to drawings: demolition limits, framing spans, insulation R-values, window/door schedules, and MEP rough-ins.
Price alternates for finishes so you don’t redesign after permit.
Sequence work to minimize rework: verify loads, complete underpinning or beam installs, then rough plumbing, electrical, and HVAC before closing walls.
Keep required clearances, headroom, and stair geometry compliant, and don’t bury access panels.
Schedule inspections at each close-in milestone and hold a contingency for concealed conditions.
Tight project sequencing keeps trades from colliding and change orders from compounding.
Frequently Asked Questions
How Long Does a Typical Space-Adding Renovation Take From Start to Finish?
You’re typically looking at 8–20 weeks from contract to final inspection, depending on scope, permits, and inspections. You’ll spend 2–6 weeks on drawings, Design trends coordination, and code checks (egress, fire separation, structural loads). Material selection and lead times can add 1–8 weeks. Demolition and framing run 1–4 weeks, MEP rough-ins 1–3, drywall/finishes 2–6, then punch-list and closeout.
Will Renovating to Add Space Increase My Property Taxes or Insurance Costs?
Yes—adding space can raise both taxes and insurance.
On average, reassessments after permitted improvements can lift a home’s value by about 10%, which often ripples into your tax bill. Your local tax assessment typically updates when you pull permits, pass inspections, and increase conditioned square footage.
Your insurer may also re-rate replacement cost, boosting insurance premiums, especially with new kitchens, baths, or structural changes. Ask for pre/post estimates.
Which Upgrades Add the Most Resale Value in My Local Market?
In your local market, you’ll add the most resale value by optimizing Interior layout and executing durable Material upgrades. You should prioritize open, code-compliant kitchen and bath updates.
Then add a permitted bedroom or bath where egress, ceiling height, and ventilation meet IRC. You’ll also gain value from energy upgrades (air sealing, insulation, efficient HVAC) and curb-impact items.
Pull comps by scope, confirm permits, and avoid overbuilding for neighborhood baselines.
How Can I Live in the Home Comfortably During Major Renovation Work?
You can stay comfortable by phasing work and isolating an occupied zone with temporary dust walls, ZIP doors, and negative air.
Set temporary living arrangements in the least-impacted room, keep a code-compliant egress path, and maintain HVAC separation to avoid contamination.
Schedule loud trades mid-day and use noise mitigation: solid-core door seals, acoustic blankets, and white-noise fans.
Require daily cleanup, safe tool storage, and functioning smoke/CO alarms.
What Financing Options Are Best for Renovations That Add Usable Square Footage?
You’ll do best with a construction-to-permanent loan or cash-out refinance, since they fund code-compliant additions tied to inspections.
Imagine you’re drafting a floor plan: each wall needs approved loads and staged payments.
Compare loan options like HELOCs for short draws versus FHA 203(k) for bundled rehab.
Ask your city about renovation grants for ADUs, accessibility, or energy upgrades; they offset permit, egress, and setback costs.
Conclusion
You came hunting for “more space,” and you’ll find it hiding in plain sight—behind soffits, under stairs, and inside that “storage” room you never enter. You’ll pull permits, satisfy egress, headroom, and fire-separation rules, and suddenly your loft or basement counts as real habitable area, not wishful thinking. You’ll open a wall, add built-ins, and the house “shrinks” in clutter while expanding in function—how inconveniently efficient.
About the Author