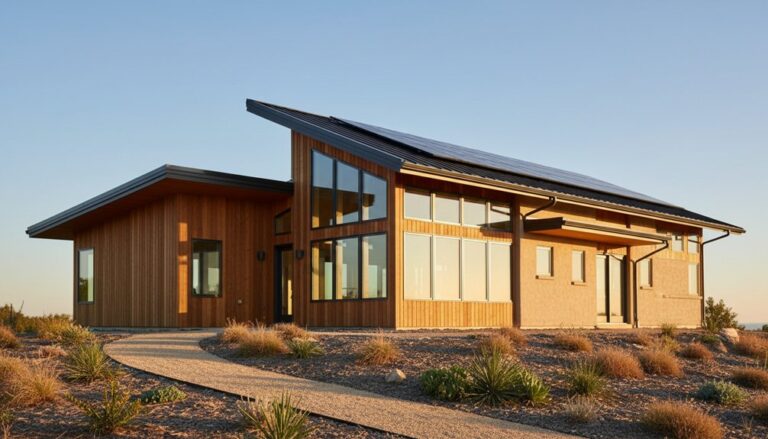
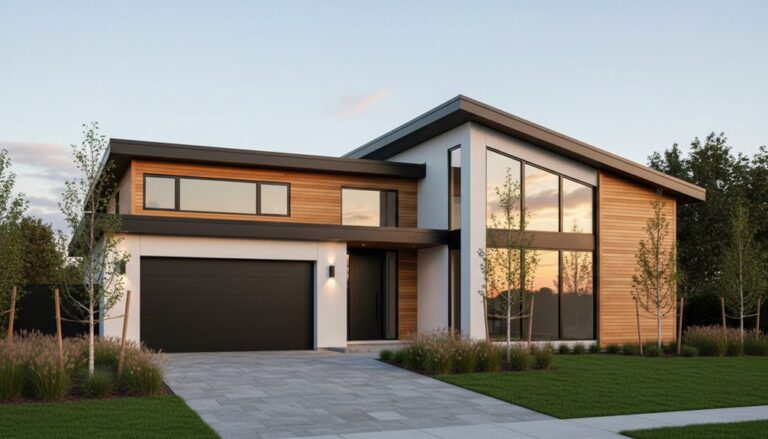
You’ll build a high-performance new home by setting measurable targets—1.0–2.0 ACH50 (≤0.6 for Passive House), climate-based whole-assembly U-factors, and NFRC-rated window U/SHGC—then specifying continuous water, air, vapor, and thermal control layers. Use advanced 2×6 24″ o.c. framing plus exterior continuous insulation to cut thermal bridges. Verify airtightness with a 50 Pa blower-door test at dry-in, seal leaks, and retest. Up next, you’ll see how to right-size HVAC and detail roofing for durability.
Key Takeaways
- Set measurable targets for airtightness (ACH50), insulation (R-values/U-factors), and window performance, then verify with blower door testing at dry-in.
- Design continuous water, air, vapor, and thermal control layers with compatible tapes, sealants, flashings, laps, weeps, and reliable interface transitions.
- Use advanced framing and continuous exterior insulation to reduce thermal bridging, improve effective R-value, and lower condensation risk.
- Specify high-performance windows and doors using whole-unit NFRC U-factor and SHGC values matched to climate, orientation, and airtightness requirements.
- Choose durable roofing and drainage details—proper slopes, crickets, overflow drains, and corrosion-resistant materials—sized for projected rainfall extremes.
Define High-Performance Goals and Metrics (ACH50, R, U)
Before you spec high-performance materials, you need to lock in measurable targets for airtightness, insulation, and heat transfer so every assembly decision can be verified in the field and on paper. Set an ACH50 goal that matches your program: 1.0–2.0 for strong efficiency, ≤0.6 for Passive House-level control.
Define minimum R-values by climate zone and assembly limits, then translate them into whole-assembly U-factors so you account for thermal bridging, framing fractions, and fasteners.
Require window and door U and SHGC values that align with orientation-driven loads and aesthetic design constraints.
Tie metrics to material durability by specifying service-life expectations, moisture-tolerant performance ranges, and warranty thresholds.
Finally, document test methods, modeling assumptions, and acceptance criteria so you can procure, inspect, and commission confidently.
Plan the Envelope Control Layers (Water, Air, Vapor, Heat)

Once you’ve set your performance targets, map the envelope as four continuous control layers—water, air, vapor, and heat—so every assembly (roof, walls, slab, openings) has an unbroken line you can trace on drawings and verify on site.
Detail water control with shingle-style laps, drainage planes, flashings, end dams, and weeps that manage bulk rain at penetrations and openings.
Specify an air barrier that’s durable, accessible for taping, and compatible at interfaces; call out sealants, gaskets, and continuity at foundation-to-wall and window-to-wall zones.
Place vapor control by climate and assembly drying potential, using variable-perm membranes where risk shifts seasonally.
Define thermal control thickness and continuity in each assembly.
Coordinate Envelope aesthetics with robust detailing, and prioritize Material sustainability with low-tox, repairable components.
Use Advanced Framing to Reduce Thermal Bridging
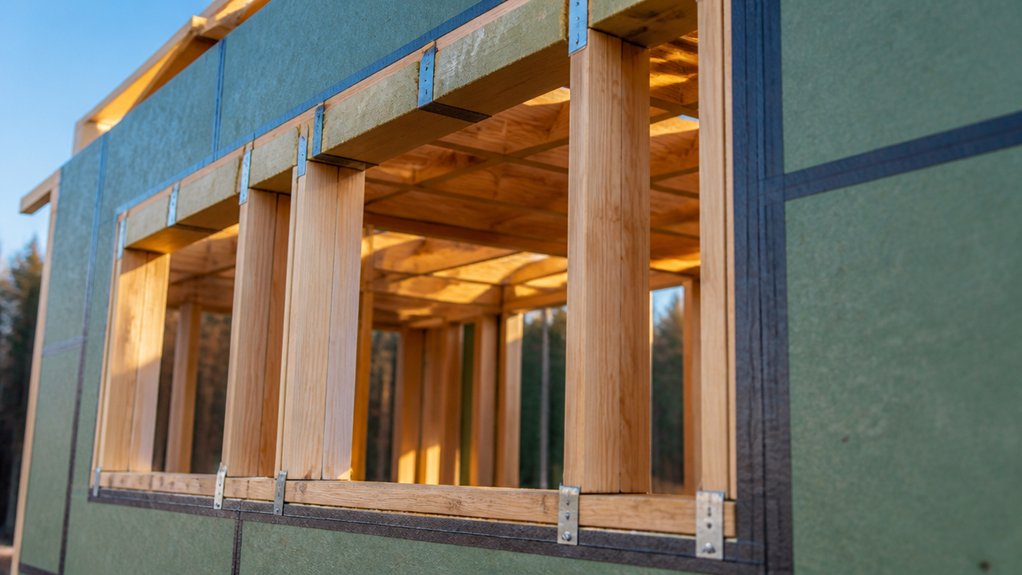
Because studs and plates conduct heat far better than insulation, you can cut real-world heat loss by specifying advanced framing that reduces wood volume while maintaining structural capacity and a clean load path.
Use 2×6 studs at 24 inches on center where engineering allows, align studs, joists, and trusses to transfer loads directly, and eliminate unnecessary jack studs and redundant headers.
Specify insulated headers only where required and size them to actual spans.
Use two-stud corners, ladder blocking at partitions, and drywall clips to keep cavities open for full-depth insulation.
Limit double top plates by using single plates with metal ties, and stack framing at floor transitions.
This sophisticated framing approach improves Material efficiency, lowers embodied carbon, and reduces thermal bridges without compromising durability.
Add Continuous Insulation for a High-Performance Shell
Even if you’ve optimized stud spacing and headers, you’ll still lose performance at every framing member unless you wrap the structure in continuous insulation (CI).
CI creates an unbroken thermal layer that cuts heat flow through studs, rim joists, and plates, boosting effective R-value and reducing condensation risk at cold surfaces.
Select insulation materials based on climate, vapor profile, and carbon impact: mineral wool boards offer fire resistance and drying potential; EPS and GPS provide stable R-value with lower embodied carbon than XPS; wood fiber adds hygroscopic buffering and renewable content.
Detail attachment with furring or clip systems to manage loads and limit fastener bridging.
Integrate CI thickness with window bucks and flashing geometry.
Leave a drained cavity behind exterior cladding to promote drying and durability.
Build and Test an Airtight Layer (Membranes + Blower Door)
After you’ve added continuous insulation, you need a continuous airtight membrane that stays unbroken at every junction—foundation-to-wall, wall-to-roof, window/door rough openings, and all service penetrations—with taped seams and compatible sealants for long-term durability.
You’ll detail continuity by shingling overlaps, using gasketed service cavities where possible, and specifying primers or tapes that match the substrate so the air barrier doesn’t fail over time.
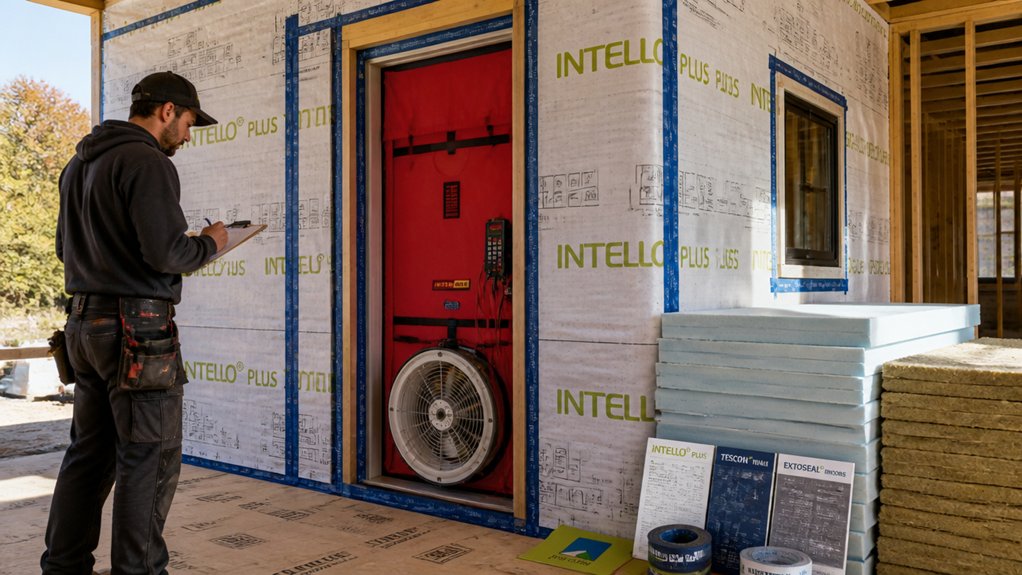
Then you’ll verify performance with a blower door test: set the target ACH, depressurize to 50 Pa, smoke/IR-scan for leaks, log findings, and retest after sealing so you lock in energy savings and moisture control.
Membrane Continuity Details
At slab edges, you’ll shift from concrete to sheathing with a bonded strip and a termination bar.
At rim joists, you’ll wrap corners with preformed patches to avoid fishmouths.
At openings, you’ll shingle laps to drain outward, then reinforce corners with stretch tape.
For penetrations, you’ll use EPDM sleeves and tight collars, and you’ll prioritize meticulous Seam sealing at overlaps, inside corners, and repairs.
Blower Door Verification Steps
Before you bury your air barrier behind cladding and finishes, run a blower door test to verify that your membrane system behaves as a single, continuous airtight layer under pressure. Schedule it at “dry-in” so you can still access seams, penetrations, and progressions.
Seal intentional openings (vents, flues, traps) per the test standard, then set the fan and reference tube to measure baseline. Perform Pressure testing at 50 Pa, record airflow, and calculate ACH50.
While the fan runs, trace Air leakage with smoke, anemometer, or infrared, focusing on window bucks, service penetrations, rim joists, and top-plate intersections. Mark defects, depressurize, and repair using compatible tapes, gaskets, or liquid-applied seals.
Retest immediately and document results for commissioning and future energy modeling.
Choose High-Performance Windows and Doors for Your Climate
After you’ve verified airtightness, you’ll lock in performance by specifying windows and doors with U-factors matched to your climate’s heating and cooling loads.
You’ll pair that with climate-appropriate solar heat gain (SHGC) targets—higher where passive solar reduces winter demand, lower where summer overheating drives mechanical cooling.
Climate-Specific U-Factor Selection
Because heat always moves toward equilibrium, the U-factor you specify for windows and doors largely determines whether your enclosure retains conditioned energy or leaks it to the outdoors.
Start with an objective U factor comparison across certified products, using whole-unit values (NFRC U-factor), not center-of-glass.
Apply Climate zone considerations: in cold and very cold zones, prioritize the lowest U you can reasonably afford (triple glazing, warm-edge spacers, insulated frames) to cut peak heating load and reduce operational carbon.
In mixed climates, balance U with airtight installation details so you don’t undermine performance with leakage.
In hot climates, still specify low U to limit conductive gains through frames and glass, especially on long cooling seasons.
Verify performance with thermally broken thresholds, multi-point seals, and tested air infiltration ratings too.
Solar Heat Gain Optimization
While a low U-factor slows conductive heat flow, solar heat gain can still dominate your comfort and energy balance, so you should tune window and door SHGC (NFRC-rated) to your climate and orientation.
In cooling-dominated zones, you’ll cut peak loads by specifying lower SHGC glazing on east/west façades and pairing it with exterior Solar shading (overhangs, fins, screens) that blocks high-angle summer sun before it hits the glass.
In heating-dominated zones, you can raise SHGC on south-facing units to capture winter gains, then control glare with interior shades.
Use spectrally selective low‑E coatings to maintain visible transmittance for daylight harvesting while limiting near‑IR heat.
Keep frames thermally broken and air-sealed so SHGC choices don’t get undermined by leakage.
Balance orientation, shading geometry, and HVAC sizing.
Right-Size HVAC and Ventilation for Low Energy Loads
If you’ve driven down your building’s heating and cooling loads with high-performance insulation, airtight detailing, and optimized glazing, you can’t treat HVAC and ventilation as oversized insurance anymore. You’ll short-cycle equipment, lose latent control, and waste fan and compressor energy.
Run room-by-room loads (ACCA Manual J/S or equivalent), then select variable-speed heat pumps or modulating boilers that can sustain low turndown without efficiency collapse.
Right-size ventilation separately: meet ASHRAE 62.2/62.1 with a balanced HRV/ERV, commission airflow at registers, and control by schedule plus CO2 or humidity where appropriate.
You’ll protect Indoor air quality while limiting over-ventilation penalties, and you’ll stabilize temperature, RH, and occupant comfort across seasons and zones.
Detail Roofing, Flashing, and Drainage for Long-Term Durability
Once you’ve tightened the enclosure and lowered energy loads, the roof becomes a durability system first—and it’ll only perform as well as its flashing and drainage details. Select Roofing materials that match exposure: high-SRI membranes for low-slope, corrosion-resistant metal for steep-slope, and specify compatible underlayments to prevent chemical reactions.
Use continuous self-adhered flashing at penetrations, step flashing at walls, and counterflashing that sheds water over, not behind, the WRB. Maintain positive slope to drains, and size scuppers and leaders for projected rainfall intensity, not averages.
Include overflow drains, tapered insulation crickets at curbs, and cleanout access. Coordinate parapet caps with end dams and sealant-free laps.
Treat Drainage systems as maintainable assemblies: leaf guards, inspection points, and clear discharge away from foundations.
Frequently Asked Questions
What Incentives or Rebates Are Available for High-Performance New Builds?
You can tap federal tax credits for renewable energy systems (solar PV, solar thermal, geothermal), high-efficiency HVAC, heat pumps, and ENERGY STAR–rated equipment.
Some programs also reward smart home automation that optimizes loads.
You’ll often qualify for state clean-energy incentives, utility rebates for demand-response thermostats, and local green-building grants.
Ask your utility about time-of-use and net-metering credits, and check permitting offices for fee waivers.
How Much More Does a High-Performance Build Cost per Square Foot?
You’ll typically pay $10–$40 more per square foot for a high-performance build, but it depends on your cost comparison baseline and local material pricing.
You drive premiums with thicker insulation, better windows, airtightness detailing, heat-pump HVAC, and balanced ventilation.
You can offset some cost by downsizing mechanical systems and simplifying assemblies.
You’ll usually recover value through lower energy use and improved durability.
Over time, emissions drop too.
Which Certifications Should I Pursue: Passive House, LEED, or ENERGY STAR?
Pursue Passive House if you want the deepest energy cuts—certified projects often use approximately 70–90% less heating/cooling energy than typical buildings.
Choose LEED when you need broader sustainability scoring (water, materials, site) and market recognition.
Pick ENERGY STAR for a simpler, lower-cost efficiency label.
Passive House best optimizes your Building Envelope.
LEED can emphasize Material Durability through documented product selection and lifecycle criteria.
How Do I Find Contractors Experienced With High-Performance Materials and Methods?
You’ll find experienced contractors by searching program directories (PHI/PHIUS, LEED, ENERGY STAR), then verifying project portfolios that show airtightness, thermal-bridge control, and commissioning.
Ask for blower-door results, detailing samples, and references from similar climates.
Require a written QA/QC plan covering Innovative construction sequencing and Material selection submittals.
Interview subs (air-sealing, HVAC, window installers) and confirm they’ll coordinate mockups, site inspections, and waste-minimization.
What Maintenance Will High-Performance Assemblies Require Over the Next 20 Years?
You’ll mainly monitor seals, membranes, and ventilation, with periodic tune-ups. Like a well-tuned bike, one loose bolt can waste watts; a blower-door re-test at year 10 often finds a small gasket leak driving comfort complaints.
Expect annual filter changes, 3–5 year HRV/ERV cleaning, 5–10 year caulk and flashing inspections, and 15–20 year roof/membrane reviews.
Track building material durability and run long term cost analysis on replacements.
Conclusion
You’ve built performance into the shell by targeting low ACH50, high R-values, and climate-tuned U-factors, then controlling water, air, vapor, and heat with continuous layers and tested membranes. You might think these details cost too much upfront, but they cut HVAC size, simplify mechanicals, and prevent moisture-driven failures that trigger expensive repairs. With durable flashing, drainage, and right-sized ventilation, you lock in low operational carbon, comfort, and long service life.
About the Author