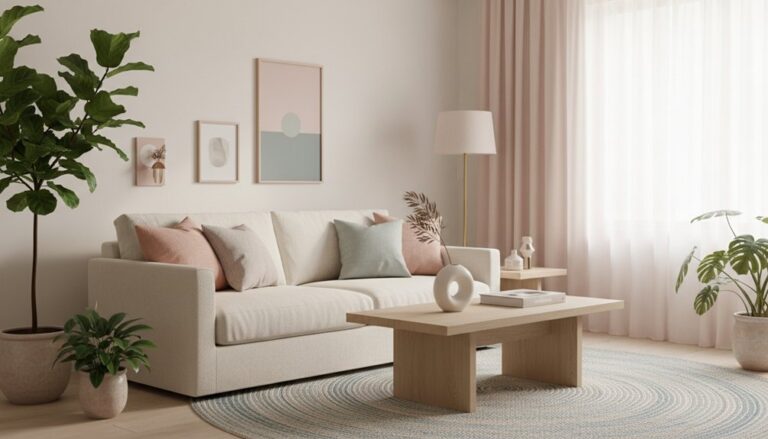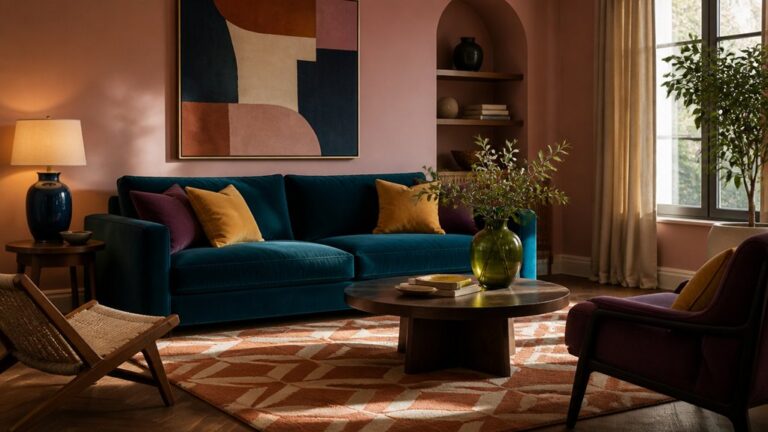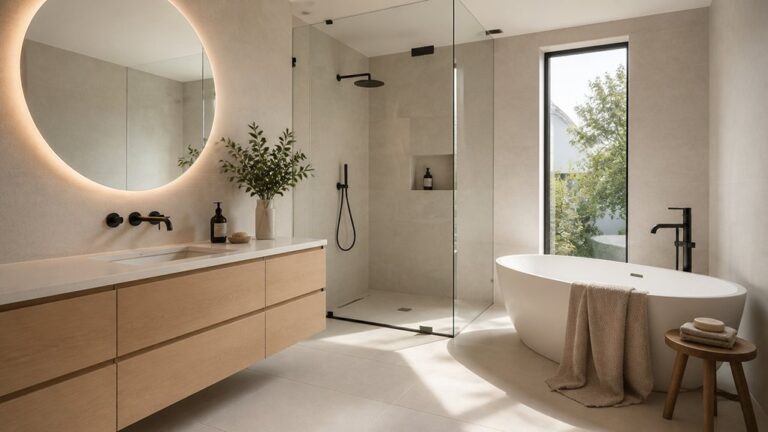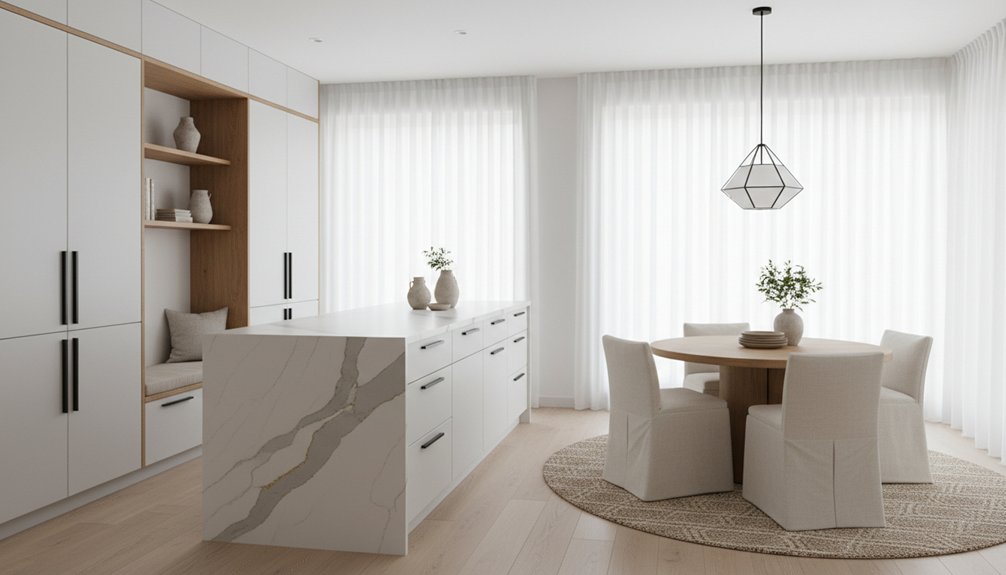
To begin transforming a kitchen dining space fastest by zoning the flow: prep by the sink, cooking at the range, and serving between the island and table, with 36–42 inches for clear traffic. Lock in a warm neutral base, then repeat one accent color three times for cohesion. Coordinate one wood tone, one anchoring stone, and one dominant metal finish. Layer 2700–3000K lighting with dimmers for seamless shifts. Keep going for smart fixes and easy upgrades.
Key Takeaways
- Define clear prep, cooking, and serving zones, keeping 36–42 inch traffic paths to prevent congestion and improve daily flow.
- Place fridge, sink, and cooktop in a low-conflict triangle with landing space, prioritizing intuitive movement between kitchen and dining.
- Build a cohesive palette with a dominant neutral, 2–3 supporting hues, and one accent repeated three times for visual unity.
- Coordinate materials using one main wood tone, a grounding stone surface, and a consistent metal finish echoed across lighting and hardware.
- Layer lighting with dimmable ambient, task, and dining fixtures at 2700–3000K to shift smoothly from cooking brightness to dining warmth.
Plan Your Kitchen Dining Space Zones and Flow
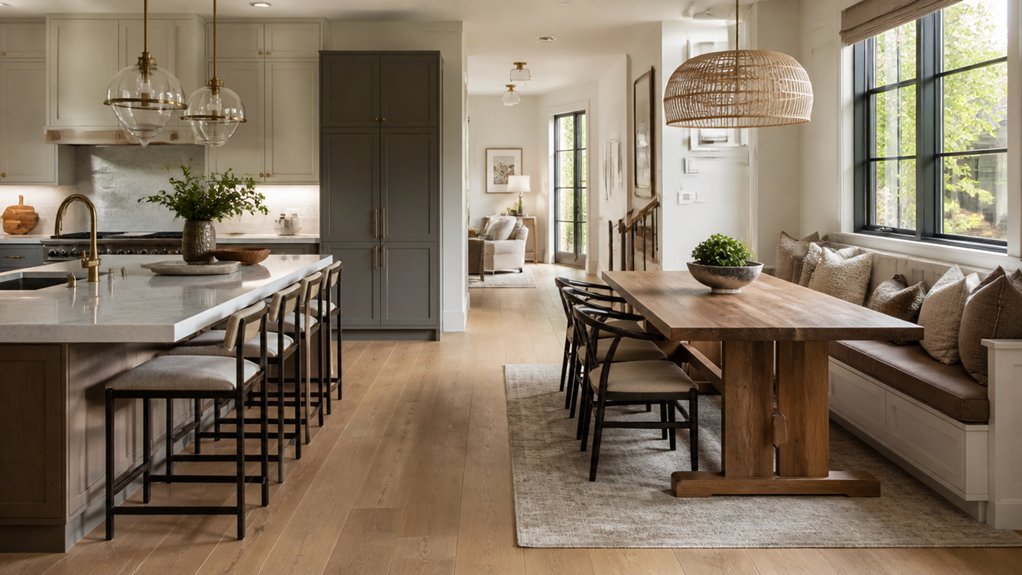
Before you choose furniture or finishes, map out how you’ll actually move through your kitchen dining space by defining clear zones and an intuitive flow.
Establish a prep zone near the sink and primary storage, a cooking zone anchored by the range, and a serving zone that bridges to the table.
Prioritize appliance placement so the fridge, sink, and cooktop form a tight, low-conflict triangle, with landing space on both sides of each.
Keep traffic paths 36–42 inches wide, and prevent cross-traffic through the cook zone by routing circulation behind stools or along an outer wall.
Specify storage solutions by task: deep drawers for pots near the range, vertical trays by the oven, and a drop zone for bags and keys adjacent to the dining entry.
Pick a Kitchen Dining Space Color Palette
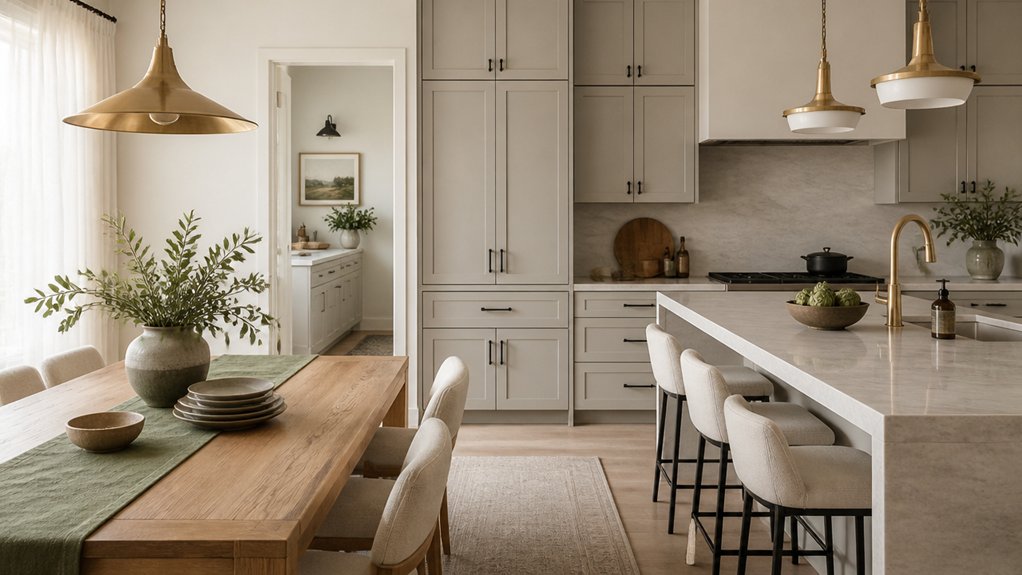
Three color decisions shape the entire kitchen dining space: your dominant field (walls or cabinets), your secondary anchor (island, dining furniture, or flooring), and a tight set of accents (metal finishes, textiles, and lighting).
Start with Color psychology: warm whites and soft greiges keep meals inviting, while crisp cool tones sharpen a modern vibe. Choose one dominant neutral, then add a secondary hue with 2–3 shades of contrast so sightlines feel intentional from cook zone to table.
For palette inspiration, pull from a single reference image and sample it into three values: light, mid, and deep.
Keep accents disciplined: repeat one accent color at least three times across the room for cohesion. Avoid over-saturating small areas.
Coordinate Materials: Wood, Stone, and Metals
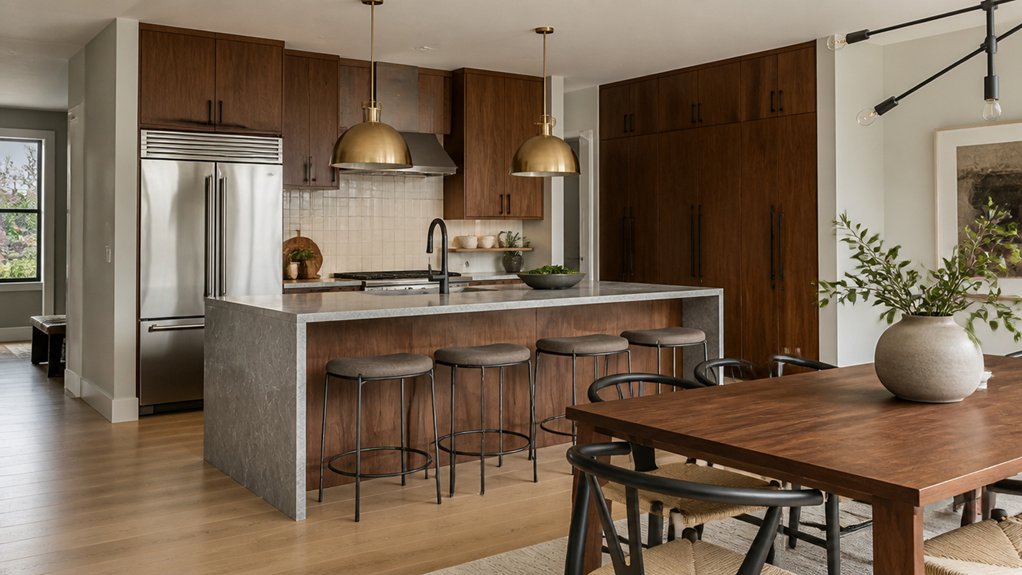
Once you’ve locked in your color palette, let the materials carry that harmony through every surface you touch and see. Choose one dominant wood tone for floors or a dining table, then echo it in open shelving, chair frames, or trim so the room reads intentional.
Use stone to anchor the kitchen: a countertop, backsplash, or even a slim slab ledge near the dining zone. Match the stone’s veining movement to your room’s scale—busy patterns need quieter wood grain, while subtle stone welcomes richer timber.
Add metals as structure and punctuation: stool legs, lighting hardware, or cabinet pulls. Build texture contrast by pairing matte wood with honed stone and crisp metal edges.
Finish with decorative accents—trays, bowls, and vases—that repeat these materials in smaller doses.
Keep Finishes Consistent (Not Overly Matchy)
Even if you’re mixing wood, stone, and metal, you’ll get a cleaner, more intentional kitchen-dining space when the finishes speak the same “language” without repeating the exact same note.
Pick one dominant metal tone, then echo it in two to three touchpoints—faucet, cabinet pulls, and chair frames—while varying sheen for texture variety.
Keep undertones aligned: pair warm oak with brushed brass and creamy stone, or cool walnut with satin nickel and crisp quartz.
Manage appliance placement so stainless reads as a deliberate neutral; flank it with matching hardware or a nearby metal accent so it doesn’t feel random.
Limit competing stains, and repeat one wood tone at two scales, like a dining tabletop and open shelving, to lock everything together.
Link Kitchen and Dining With Layered Lighting
After you’ve aligned your finishes, use lighting to visually stitch the kitchen and dining zones into one cohesive room. Start with consistent ambient lighting: choose recessed cans or a slim ceiling fixture on one dimmer so brightness feels continuous across both areas.
Then layer in focal pieces that share a finish or silhouette—pendants over the island and a chandelier above the table—so your eye reads one coordinated family, not competing statements. Add discreet task illumination where you work: under-cabinet LEDs for prep, and a softer, downward-shielded source near the dining surface for serving and cleanup.
Keep color temperature aligned (2700–3000K) to prevent patchy tones. Finally, use dimming and zoning to shift seamlessly from cooking to lingering.
Choose the Right Table and Seating Clearances
How do you keep a kitchen-dining space feeling open while still seating people comfortably? Start with table scale: allow 36 inches for primary walkways and 42–48 inches where you’ll pass behind seated diners. If you’re tight on space, choose an oval or round top to soften corners and ease circulation.
Plan 24 inches of table edge per person, and leave 18 inches between chair seats and the table apron for knees. Align your layout with appliance placement so the fridge and oven doors clear chairs without conflict.
Then integrate storage solutions—banquettes with drawers, slim credenzas, or wall cabinets—to keep clutter off the table and maintain a cohesive, streamlined sightline. Measure twice before you commit.
Tie the Kitchen Dining Space Together With Textiles
While hard surfaces do the heavy lifting in a kitchen-dining zone, textiles are what make the two functions feel like one room. Start by echoing one hue from your cabinetry or backsplash in a dining rug, seat cushions, or chair pads, so color travels instead of stopping at the table edge.
Layer fabric textures with intention: a flatweave rug for easy cleaning, linen or performance-slipcovered chairs for softness, and a tailored runner that repeats the rug’s undertone.
Choose Textile patterns that bridge both areas—think a subtle stripe that nods to linear tile, or a small-scale geometric that relates to hardware shapes. Keep scale consistent: one hero pattern, then quieter solids.
Finish with coordinated window treatments to frame sightlines and unify light across the space.
Fix Common Cohesive Design Mistakes Fast
Even if you’ve chosen cohesive finishes, a few small missteps can make your kitchen-dining space read as two separate zones. Fix scale first: if your dining table feels oversized, swap to slimmer chairs or a lighter base. Correct lighting next—match metal finishes across pendants and sconces, and keep bulb temperature consistent.
Then solve the “floating furniture” problem: anchor both areas with rugs that share a color family and similar pile height. Tighten your palette by repeating one wood tone and one accent color in both rooms.
Replace scattered art with one curated gallery of artistic wall decor that echoes cabinetry or upholstery hues. Finally, corral visual noise: choose decorative storage solutions that match hardware, hide counter clutter, and keep open shelving styled with a repeated material.
Frequently Asked Questions
How Much Does a Cohesive Kitchen Dining Redesign Typically Cost?
You’ll typically spend $5,000–$25,000 for a cohesive kitchen-dining redesign, while full remodels often run $40,000–$100,000+. Your total hinges on Budget planning: cabinetry refacing vs. new, stone vs. laminate, and whether you move plumbing or walls.
Follow design trends thoughtfully—repeat finishes, unify hardware, and coordinate lighting layers for seamless flow.
You can save by keeping the layout, updating paint, and refining furnishings.
Do I Need Permits to Remove a Wall Between Kitchen and Dining?
Yes—you often need permits, especially if the wall is load-bearing or affects electrical, plumbing, or HVAC.
You’ll confirm Structural changes with an engineer, then submit plans to meet local Building regulations.
Even non-load-bearing removals may trigger inspections when you reroute lighting, add outlets, or adjust vents.
To keep the new open plan cohesive, coordinate soffits, ceiling shifts, flooring continuity, and clean trim lines throughout.
How Long Does a Typical Kitchen Dining Makeover Take?
You’ll “quickly” finish a typical kitchen-dining makeover in 2–8 weeks—unless you enjoy surprise backorders and dust.
If you’re repainting, swapping lighting, and updating color schemes and furniture styles, plan 1–3 weeks.
If you’re changing cabinets, floors, counters, or moving plumbing, expect 4–12+ weeks.
You keep it cohesive by locking finishes early, ordering lead-time items first, and scheduling trades tightly to avoid staggered mismatches.
What Are the Best Ways to Boost Resale Value With This Update?
Boost resale value by creating a bright, unified kitchen-dining experience buyers can picture themselves using.
Prioritize Lighting improvements: layer recessed, pendants, and dimmers to highlight counters and the table.
Choose timeless finishes—matte black, brushed nickel, or warm brass—and repeat them consistently.
Make smart Furniture upgrades with comfortable, scaled seating and a durable, neutral table.
Add cohesive hardware, fresh paint, and easy-care flooring to polish the look.
Should I Hire an Interior Designer or Can I DIY Successfully?
You can DIY successfully, but you should hire an interior designer if you want faster cohesion and fewer missteps. Like a telegram from 1925, your plan must be crisp: align finishes, scale, and lighting temperature.
DIY challenges hit when you juggle clearances, sightlines, and material shifts. Use design inspiration boards, then test samples in your actual light.
If you’re unsure about layout or custom millwork, bring in a pro.
Conclusion
You’ve built your kitchen dining space like a well-tended garden path: zones guide your steps, color sets the season, and wood, stone, and metal become the hedges and gates. You keep finishes consistent, not cloned, so the story feels intentional. Layered lighting works like sun and lanterns, shifting mood from prep to plate. With proper table clearances and grounding textiles, you avoid the thorns of mismatched scale and stray styles.
About the Author