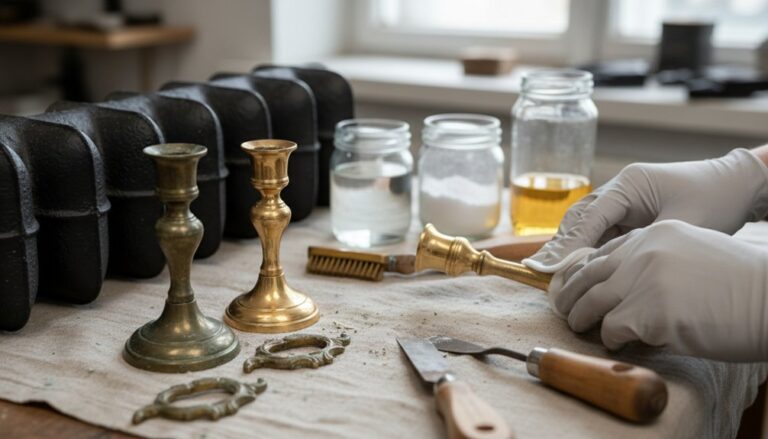
Start by inspecting the stained glass and hardware in raking light, noting bulges, cracks, loose cames, failing putty, corrosion, and past repairs. Photograph each elevation clockwise, plus labels, stamps, and every hardware part with rulers and a color card. Use your notes to triage: you can dust, stop water entry, and stabilize loose hardware, but call a specialist for bulging panels, paint loss, or structural lead failure. Set up lead-safe PPE and clean gently with minimal moisture. Next, you’ll see how to match period materials and complete durable repairs.
Key Takeaways
- Inspect the panel in raking light, noting cracks, bulges, paint loss, loose lead, failed putty, and prior repairs.
- Photograph every section and hardware detail with rulers and labels, documenting orientation and condition for accurate reassembly.
- Triage DIY versus specialist work: only dust, stabilize, and stop water entry; refer structural, painted, or lead failures to conservators.
- Clean using lead-safe containment and PPE, starting dry, then distilled water, and only escalating to pH-neutral detergent after spot-testing.
- Restore with compatible materials: match glass, lead came profile/alloy, and hardware finishes; reuse originals when possible to preserve historic integrity.
Inspect Stained Glass and Hardware Damage

Before you pick up a tool, where exactly has the stained glass and its hardware started to fail? Begin with a slow visual sweep in raking light, noting bulges, cracks, missing pieces, and paint loss.
Check lead came for fatigue: whitening, splits at joints, or loose solder. Gently test panel rigidity; flexing signals weakened cames or failing putty.
Inspect glazing compound for gaps and moisture pathways, and document corrosion on hinges, latches, and fasteners.
Photograph each elevation, then mark a printed photo with locations and dimensions.
Compare glass tones and textures against protected edges to plan Color matching without guesswork.
Look for prior repairs that compromise historical accuracy: mismatched glass, heavy solder, modern screws, or altered hardware profiles.
Record everything before moving anything.
Decide What’s DIY vs a Specialist Job
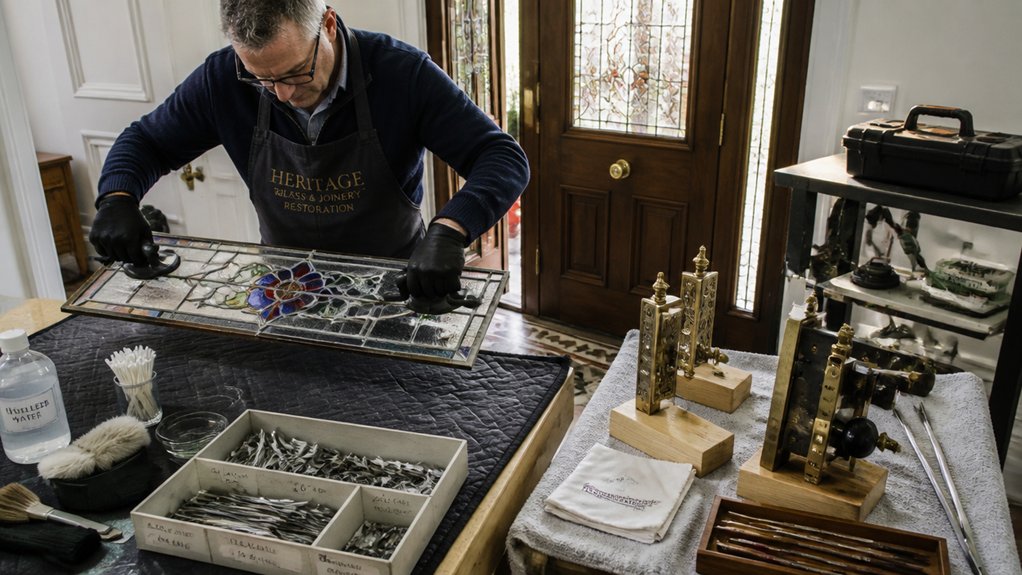
Your inspection notes and marked photos now become a triage list, and the next step is deciding what you can safely handle versus what needs a stained-glass conservator or metalwork specialist. Keep DIY work limited to non-invasive steps: gentle dry dusting, stabilizing loose but intact hardware with temporary supports, and stopping active water entry once you’ve confirmed it won’t trap moisture.
Call a specialist if you see cracked or bulging glass, failing lead came, paint loss, missing pieces, or panels that move in the frame. For hardware, defer when fasteners are frozen, corrosion is structural, or disassembly risks tearing original wood or metal.
Use Choosing restoration vs. replacement by prioritizing repairable original fabric, and weigh historical accuracy considerations before altering profiles, finishes, or patina.
Photograph Patterns, Labels, and Hardware Parts
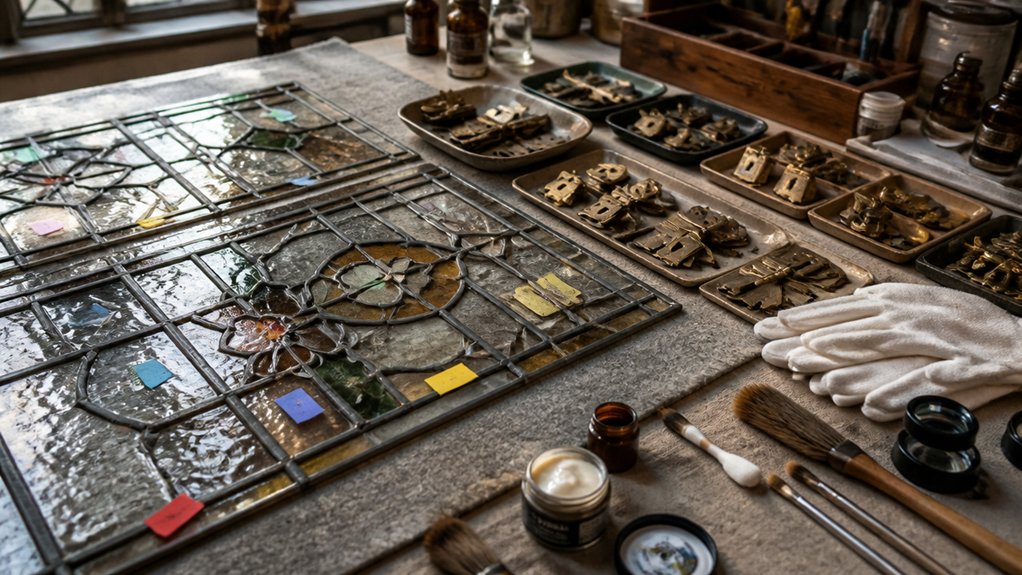
Once you’ve decided what stays DIY and what goes to a specialist, photograph every pattern line, label, and hardware part as if you’ll need to reassemble the window from images alone. Shoot straight-on, then at 45 degrees, keeping the camera parallel to the glass to prevent distortion. Include a ruler and a color card in frame to support color matching later.
Capture each panel’s overall face, then work clockwise: corners, border came, breaks, prior repairs, and any paint or etching. Photograph labels, stamps, and faint pencil marks using raking light.
For hardware, document each piece installed, then removed, noting orientation, fasteners, and wear patterns. Group parts on a neutral background and shoot front/back. These images become your record for pattern replication and correct reinstallation.
Get Tools, PPE, and Lead-Safe Supplies
Before you touch the glass or hardware, you’ll stage the essential restoration tools you need—cutting and soldering gear, gentle cleaning implements, and measuring and clamping aids—to keep the work controlled and reversible.
You’ll also put on proper PPE, including a fitted respirator, eye protection, and gloves, because old came, solder, and dust can contain lead.
Finally, you’ll stock lead-safe supplies such as disposable wipes, containment plastic, HEPA vacuuming options, and labeled waste bags so you can protect the artifact and your workspace throughout the repair.
Essential Restoration Tools
Because stained glass restoration blends delicate glasswork with potentially hazardous materials, you’ll need a tight, purpose-built kit that supports precision, preservation, and safety.
Start with a quality glass cutter, running pliers, and grozing pliers so you can score, break, and nibble edges without stressing original pieces.
Keep a light table, calipers, and a fine-tip marker for accurate layout, numbering, and faithful replication.
Use a soldering iron with temperature control, flux brush, fid, and burnisher to re-lead and close joints cleanly.
Add a small bench brush, wooden skewers, and cotton swabs for controlled cleaning in tight crevices.
For historic hardware, rely on hollow-ground screwdrivers, soft-jaw pliers, a pin vise, and non-marring clamps to honor Historical preservation and Restoration ethics.
PPE And Lead-Safe Supplies
A precision tool kit only works if you pair it with PPE and lead-safe supplies that protect you, the work surface, and the original materials.
Start with Protective equipment: a fitted P100 respirator, nitrile gloves under cut-resistant gloves, safety glasses, and a disposable apron or coveralls.
Add knee pads and hearing protection if you’re drilling or scraping.
Follow Lead safe practices every time you disturb solder, came, or painted glass.
Lay 6-mil plastic sheeting, tape seams, and keep a dedicated catch tray under the panel.
Use HEPA vacuum attachments, wet wipes, and a spray bottle to mist dust before you lift debris.
Bag waste, label it, and wash hands and tools before you leave the area.
Clean Stained Glass Safely (No Haze)
Start by evaluating the glass’s condition—note any cracks, loose came, flaking paint, or previous coatings—so you don’t trap damage under a “clean” surface.
Use only nonabrasive methods: a soft brush or microfiber cloth with a mild, residue-free cleaner, and keep moisture controlled around joints and hardware.
To prevent haze and streaks, work in small sections, change cloths often, and finish with a light buff using a clean, dry microfiber.
Assess Glass Condition First
Before you touch the glass with any cleaner, assess its condition under bright, raking light so you don’t grind loose paint, lift fragile plating, or drive grime into cracks that will later read as “haze.” Check for flaking or matte areas in the fired paint, bulging or missing putty, open solder joints, hairline fractures, and any panels that flex in the frame.
If you see movement, powdery residue, or water intrusion, postpone wet cleaning and stabilize the panel first. Photograph each section, map damage, and note prior repairs, especially epoxy smears or overpaint that can mislead color enhancement decisions.
Test stability with a soft brush held above the surface, not against it, and watch for drifting pigment. When you document condition carefully, you protect the panel’s historical significance and prevent irreversible loss during later steps.
Use Nonabrasive Cleaning Methods
Once you’ve confirmed the paint and leading are stable, clean stained glass with the least aggressive method that will lift soil without polishing the surface into haze.
Start by dry dusting with a soft, natural-bristle brush and a HEPA vacuum held nearby, not on the glass.
If grime remains, test a small corner using distilled water on a lint-free cotton pad, rolling it across the surface rather than scrubbing.
Escalate only if needed to a pH-neutral, non-ionic detergent diluted in distilled water; apply sparingly and keep moisture away from putty lines and open joints.
Avoid ammonia, vinegar, alcohol, and abrasive powders, since they can attack paint, cement, or metal.
Choose products for Material compatibility and the window’s Historical significance.
Prevent Haze And Streaks
Gentle cleaning only works if you finish in a way that doesn’t leave residue, haze, or streaks on the glass and painted details. Rinse your cloth often, and switch to a fresh, lint-free microfiber for the final pass. Use distilled water for the last wipe so minerals don’t film over Glass coloring.
Work in small sections, wiping once to lift moisture, then buffing lightly with a dry cloth before the surface air-dries. Don’t over-wet solder lines or putty; excess water can creep behind panels and soften old compounds.
For corners and lead came edges, use cotton swabs dampened—not dripping—to prevent pooling. Finish with Hardware detailing: dry metal immediately so cleaner doesn’t spot, and never leave polish residue.
Fix Loose Cames, Cracks, and Missing Putty
Although a stained-glass panel may look intact at first glance, loose cames, hairline cracks, and dried-out or missing putty can quickly undermine its structural stability and weather resistance.
Start by supporting the panel flat and inspecting joints under raking light. Gently press each came; if it shifts, re-solder the joint with minimal heat, protecting adjacent glass with a damp barrier.
For cracks, align the break, wick in a reversible conservation-grade adhesive, and clamp lightly until cured, preserving the glass’s historical significance.
Next, renew putty: remove failed material with a wooden pick, then work fresh glazing putty under the cames, fully bedding the glass. Brush whiting over the face to draw oils, and let it cure before reinstalling.
These preservation techniques maintain original lines and resilience.
Free Sticky Locks and Clean Hardware Patina
After you’ve stabilized the panel’s cames and sealed it with sound putty, turn to the surrounding hardware so the window operates without stressing the glass. Photograph the lockset, label screws, and pull the sash stop only if needed. Vacuum grit from strike plates and tracks, then wipe with mineral spirits on a cloth, keeping solvents off paint and glazing.
For lock maintenance, test movement and back out binding screws a quarter turn. If the bolt drags, flush the mechanism with a small amount of penetrating oil, cycle it repeatedly, then blot excess so dust won’t accumulate. Tighten fasteners to snug, not crushing wood.
Preserve patina: choose hardware polishing only on active corrosion. Use fine bronze wool with wax, working gently, and finish with a microcrystalline wax film. Recheck smooth operation.
Source Period-Correct Glass, Lead, and Hardware
Where do you find replacement materials that won’t telegraph as “new” in a historic stained-glass window? Start by documenting what you have: glass color, texture, thickness, and any maker marks; then match those characteristics before you buy.
Use salvage yards, architectural recyclers, and specialty stained-glass suppliers that carry mouth-blown or restoration sheet glass, not modern float substitutes. Verify Historical significance by sourcing from the same era when possible, and keep provenance notes in your project file.
For lead, choose came profiles that match the original heart size and face width, and confirm alloy softness so it bends and solders like the old work.
For hardware, reuse originals first; otherwise, select period-pattern castings and finishes. Prioritize Material compatibility to prevent stress, corrosion, and premature failure.
Frequently Asked Questions
How Do I Document Restoration Work for Historic Tax Credits or Grants?
You document restoration work by keeping a dated, organized record that proves scope, methods, and costs.
Follow Documentation procedures: create a project log, photo set (before/during/after with captions), drawings, and materials specs.
Save permits, consultant reports, invoices, contracts, and payment proof.
Use Preservation documentation to note treatment rationale, reversible techniques, and any deviations from approved plans.
Maintain version-controlled files, backup storage, and a final narrative tied to eligibility requirements.
What Permits Are Required for Restoring Stained Glass in Landmarked Buildings?
You’ll typically need a local landmark/heritage commission Certificate of Appropriateness, a building permit for any window removal or framing changes, and sometimes a glazing permit. If you use scaffolding, pull an encroachment permit too.
Like a conservator who once lost a grant over one unapproved solder seam, permits guard historical accuracy. Submit drawings, materials specs, and method statements, show Safety protocols, and coordinate approvals with your building department and preservation office.
How Can I Estimate Total Restoration Costs and Timelines Before Starting?
Estimate costs and timelines by commissioning a condition assessment and itemized scope. You’ll measure square footage, note cracks, missing cames, paint loss, and required Material conservation.
Request lab testing, mockups, and quotes for Artistic techniques like plating, kiln-fired paint, and re-leading.
Build a contingency (15–25%) for hidden damage.
Map tasks—documentation, approvals, fabrication, installation—then add lead times for specialty glass and skilled labor.
Track milestones weekly.
Will Restoration Impact Energy Efficiency, Drafts, or UV Protection of the Window?
Yes—restoration can improve energy efficiency, reduce drafts, and enhance UV protection if you specify the right treatments.
You’ll address energy implications by tightening perimeter seals, re-cementing panels, and repairing cracked glazing, which cuts air leakage without altering historic sightlines.
You can add vented protective glazing or interior storm panels to boost insulation.
For UV protection, you’ll select conservation-grade UV-filtering glass or films, verified by transmission ratings and reversibility.
How Should Restored Stained Glass and Hardware Be Insured and Appraised?
Treat your restored stained glass and hardware like a cathedral treasure: you’ll document, appraise, and insure it precisely.
Hire a qualified appraiser experienced in historic materials and request an Insurance valuation that reflects replacement and conservation costs, not just market value.
Compile photos, condition reports, invoices, and before/after documentation.
Confirm the appraisal cites Preservation standards and restoration methods.
Then update your policy for scheduled coverage, transit, and installation risks.
Conclusion
You’ve now moved from inspection to informed intervention, keeping stained glass and historic hardware sound and period-true. Stick with slow, steady steps: document diligently, clean carefully, and correct cracks and cames with compatible materials. When a task turns risky—rotted frames, sagging panels, complex locks—you’ll call a conservator, not cut corners. Source sympathetic glass, lead, and fittings, then recheck alignment, sealant, and swing. Preserve the past with patient, precise practice.
About the Author