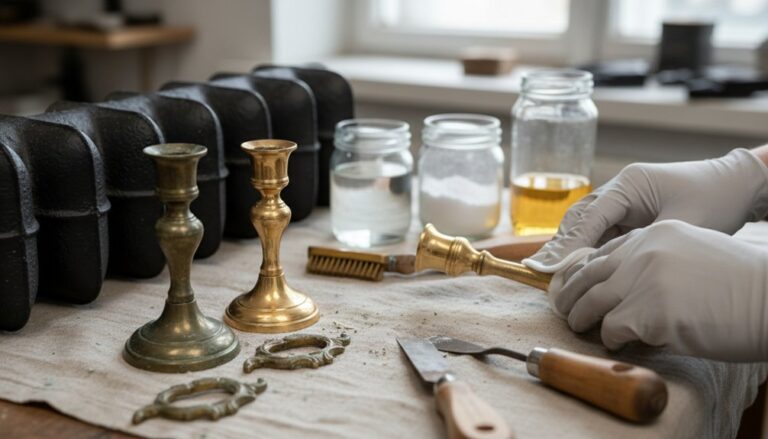
Start by photographing every face and joint, mapping cracks, loose anchors, and past patches before you touch anything. Vacuum soot with a HEPA unit and soft brush, then wash with distilled water and a pH-neutral stone soap using microfiber or natural bristles; avoid acids, ammonia, and bleach. Pre-wet and use marble-safe poultices for soot, rust, or water stains. Fill hairline cracks and chips with conservation epoxy, then polish with damp 3000–8000 grit pads. Seal only if absorption is rapid, and keep soot down with proper draft and a screen—there’s more to refine each step.
Key Takeaways
- Document all faces, joints, cracks, loose parts, and prior repairs, then assess stability and historical significance before starting work.
- Choose pH-neutral stone cleaners and soft tools; avoid acids, bleach, ammonia, abrasives, and always pretest in an inconspicuous area.
- Dry-clean first with a HEPA vacuum and soft brush, then wet-clean top-down with distilled water and non-ionic surfactant.
- Remove soot, rust, or water stains using pre-wetting and marble-safe poultices under plastic for 12–24 hours, repeating as needed.
- Repair chips and cracks with conservation-grade resin, then polish with fine micro-abrasives and seal only if absorption is rapid.
Inspect Your Antique Marble Fireplace (DIY or Pro?)
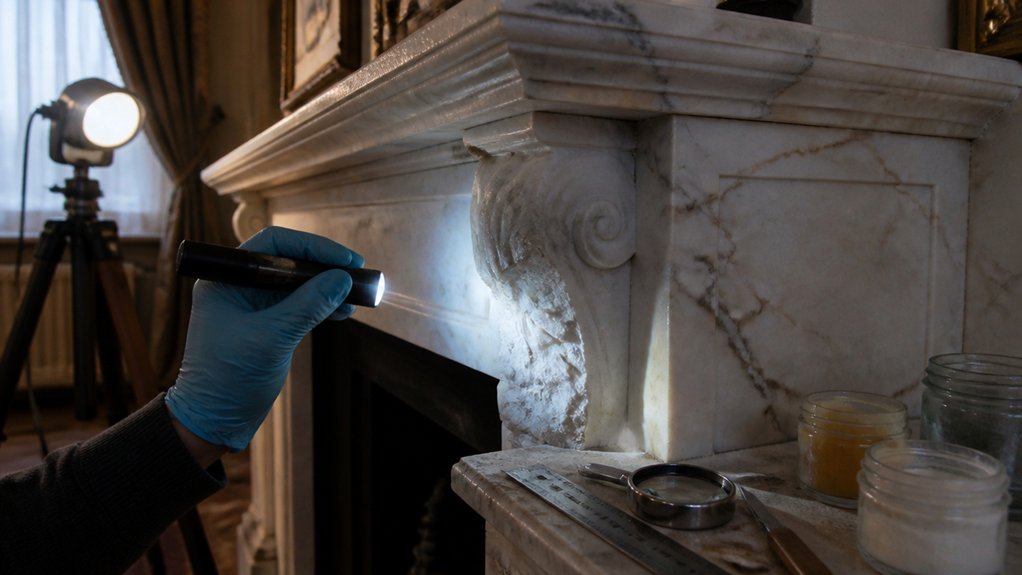
Before you touch a cleaner or pick up a scraper, inspect the marble and its surrounding structure so you don’t lock in damage or violate basic preservation principles.
Photograph every face, joint, and fastener, then map cracks, chips, open seams, and prior repairs.
Check for soot staining, heat spalls, sugary decay, and edge delamination.
Test for movement by gently rocking the surround; note loose mantels, failed anchors, or settling masonry.
Identify past patches (epoxy, polyester, cement) and confirm whether veining and finish support Material authenticity.
Evaluate the fireplace’s Historical significance: maker’s marks, uncommon stone, or original installation details raise the standard for intervention.
If you find structural instability, active cracking, or incompatible repairs, you should hire a conservator.
Choose Marble-Safe Cleaners and Tools (Avoid Etching)
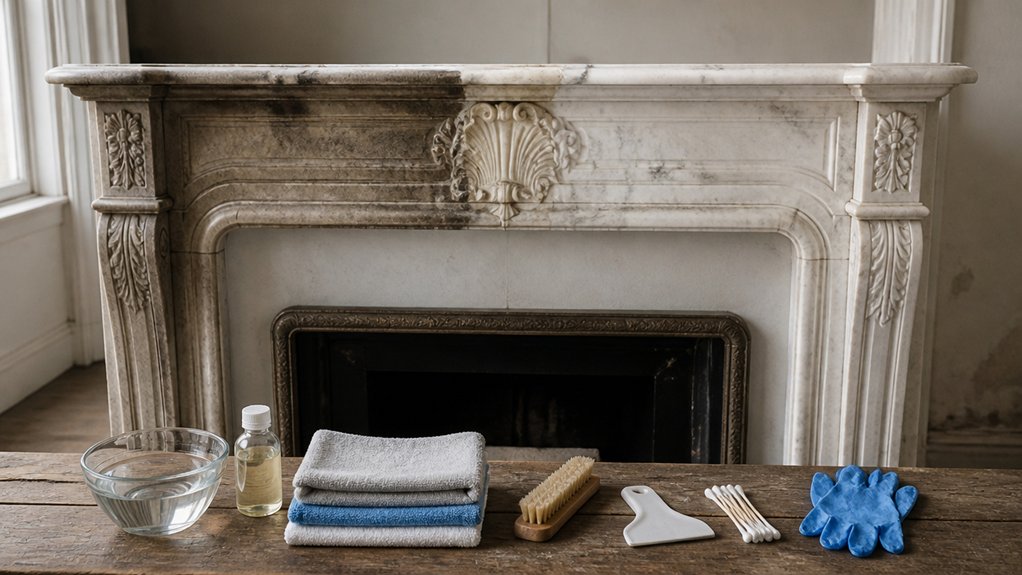
Because marble is acid-sensitive and micro-porous, you need cleaners and tools that lift soot and grime without dissolving the calcium carbonate or cutting through the original polish.
For Marble cleaning, choose a pH-neutral stone soap or a non-ionic surfactant diluted in distilled water; avoid vinegar, citrus, ammonia, bleach, and “bathroom” descalers.
Pretest every product on an inconspicuous edge and document dwell time, dilution, and results.
Use only soft, non-abrasive applicators: microfiber cloths, cotton swabs, and natural-bristle detailing brushes; don’t use scouring pads, steel wool, or melamine sponges.
Keep tools clean to prevent grit-driven scratching.
For Antique restoration techniques, reserve poultices and solvent gels for verified stains, and select formulations labeled safe for calcite-based stone.
Remove Loose Soot and Surface Grime First
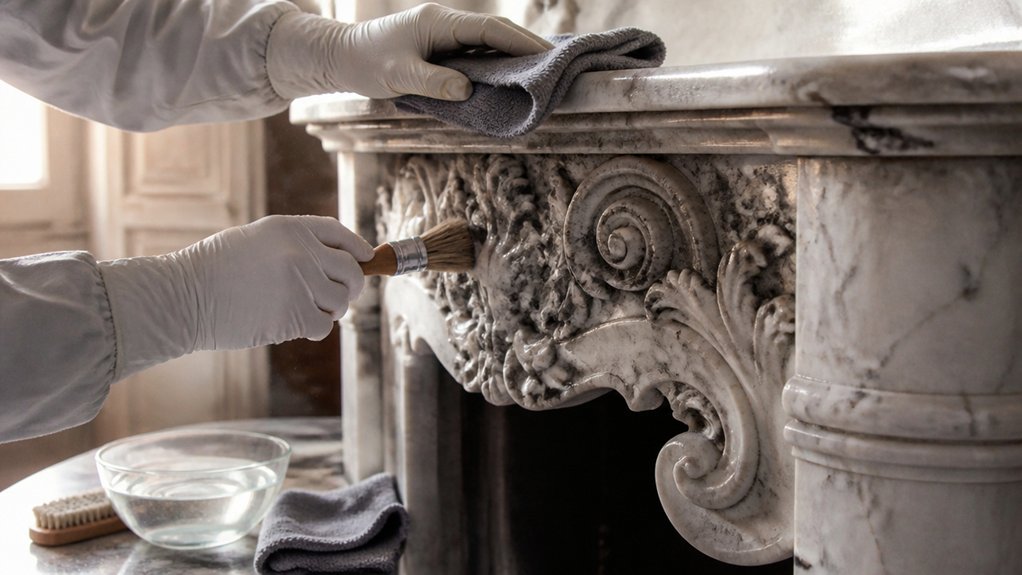
With your marble-safe cleaners and soft tools selected, start by removing all dry, loose contamination so you don’t grind soot into the stone during wet cleaning. Lay down a drop cloth and mask adjacent finishes, then open airflow for dust control.
Use a HEPA vacuum with a soft brush attachment, keeping the nozzle slightly off the surface to avoid dragging grit. Work top-down, following seams and carved details, and empty the canister before it overfills.
For corners and ornament, switch to a clean, natural-bristle detailing brush and sweep debris toward the vacuum. Avoid compressed air, wire brushes, and stiff scouring pads.
Your goal is controlled Soot removal and grit capture, not stain lifting. Reinspect under raking light and repeat until the marble feels dust-free.
Clean and label Cleaning tools.
Lift Soot, Rust, and Water Stains (No Etching)
Once the surface is dust-free, you can target embedded soot, rust blooms, and water marks using poultices and pH-neutral stain removers that won’t etch calcium-based marble.
Pre-wet the stained area with distilled water to slow absorption, then apply a cellulose-clay poultice mixed with a marble-safe cleaner.
For soot, favor soot removal techniques such as ammonium citrate or a nonionic surfactant; avoid acids and bleach.
For rust, use a chelating, stone-approved reducer formulated for marble, keeping dwell times short.
Cover with plastic, tape edges, and let it draw for 12–24 hours.
Remove, rinse thoroughly, and blot dry.
Repeat rather than scrubbing.
Once stains lift, proceed to marble polishing only after the stone is fully dry and neutral.
Repair Small Chips and Hairline Cracks in Marble
Even if your staining work went perfectly, you’ll often uncover small edge chips and hairline cracks that need stabilization before any polishing or sealing. Start by vacuuming dust from defects, then wipe with acetone on a lint-free cloth to remove residues that weaken adhesion.
For hairline cracks, wick in a low-viscosity, knife-grade epoxy or conservation acrylic resin; use gentle heat to improve penetration, then clamp with padded cauls until cured.
For chips, undercut loose fragments, test-fit saved pieces, and bond them with the same adhesive.
Perform crack filling on losses using a tinted epoxy paste matched to veining; overfill slightly. Once cured, level repairs with fine diamond pads or wet/dry paper on a hard block, stopping flush without introducing new scratches.
Polish Antique Marble to Bring Back Shine
After you’ve stabilized chips and cracks, polishing restores clarity and depth without sacrificing original tooling marks. Start by dry-dusting, then wipe with distilled water and a pH-neutral stone cleaner to remove residues that can scratch.
Work in raking light so you can track abrasion and keep edges crisp. For Marble polishing, begin with the least aggressive method: a white nonwoven pad or 3000–8000 grit wet/dry micro-abrasive, kept damp. Move in overlapping passes, maintaining even pressure and stopping often to inspect.
Avoid rounding arrises, and stay off any gilding or painted details. Rinse, then buff with clean microfiber. If etching remains, use a small amount of marble-specific polishing powder, agitated briefly, then rinse thoroughly.
This controlled sequence achieves Shine restoration while preserving patina.
Seal an Antique Marble Fireplace (When It’s Needed)
When should you seal an antique marble fireplace? Seal only if the marble shows rapid darkening from water, absorbs a test drop within 5 minutes, or has minor etching you can’t fully rebuff.
If the surface stays uniform and liquids bead, skip Marble sealing to avoid unnecessary film buildup that can alter patina.
For Antique preservation, choose a breathable, penetrating impregnator rated for calcite stone; avoid topical acrylics.
Mask adjacent wood and metal, ensure the marble is fully dry, and apply in thin, controlled passes with a lint-free cloth.
Keep a wet edge for the dwell time specified, then buff off all residue before it flashes.
Cure per label, then re-test absorption to confirm protection.
Stop Future Soot Buildup and Dull Spots
Although a restored marble surround can look stable for years, you’ll prevent most future soot buildup and dull spots by controlling airflow, reducing particulate deposition, and keeping the face of the stone out of the “smoke wash” zone.
Confirm the damper opens fully and the flue drafts before lighting; poor draft drives carbon onto the marble. Burn only seasoned hardwood and keep kindling centered to minimize lateral flame impingement.
Fit a tight screen or glass doors to stabilize air velocity and act as a particulate baffle—core Soot prevention. Maintain a narrow, noncombustible hearth extension so embers don’t scorch edges.
For Dull spot remedies, stop wiping dry; instead dust with microfiber, then clean with a pH-neutral stone soap, rinse, and buff. Reassess annually for micro-etching and reseal selectively.
Frequently Asked Questions
Does Restoring the Fireplace Affect Its Antique Value or Provenance?
Yes, restoring can affect antique value and provenance; you control the outcome. If you preserve Marble authenticity, keep original tooling marks, patina, and period repairs, you’ll usually protect or enhance value.
Heavy polishing, recutting edges, or replacing sections creates Restoration impact that can reduce desirability.
You should document every intervention with dated photos, material analyses, and invoices, and retain any removed fragments to support provenance.
Use reversible conservation methods whenever possible.
Can I Repaint or Alter Surrounding Trim Without Harming the Marble?
You can repaint or alter surrounding trim without harming the marble if you isolate and protect it. For example, you mask the stone with low-tack tape plus polyethylene, then cut in with a sash brush, avoiding overspray.
Use Repainting techniques like waterborne primers and controlled sanding with HEPA capture.
Choose Surrounding trim options such as reversible casing replacement or in-place refinishing.
Remove tape slowly, and clean edges with pH-neutral cleaner.
How Do I Safely Transport and Store a Removed Marble Surround?
You safely transport and store a removed marble surround by crating it upright, fully supported, and immobilized.
For handling fragile, delicate stone, you’ll pad all contact points with closed-cell foam, use rigid corner guards, and lift with two+ people using suction cups or straps—never by protrusions.
You’ll secure it in a vehicle with shock-absorbing tie-downs.
For storage solutions, you’ll keep it vertical in a dry, stable-temperature space.
Are There Legal Restrictions on Restoring Fireplaces in Listed or Historic Homes?
Yes—if you enjoy fines and forced undoing, just “wing it.”
In listed or historic homes, you must follow legal regulations: listed building consent, planning approval, and sometimes conservation officer sign-off before altering hearths, flues, surrounds, or vents.
You should document existing fabric, specify reversible methods, and match materials; modern restoration still needs heritage-appropriate detailing.
You’ll also meet building codes for smoke control, lining, and ventilation, and local bylaws.
What’s the Typical Cost Range for Professional Marble Fireplace Restoration?
You’ll typically pay $800–$3,500 for professional marble fireplace restoration, with complex repairs reaching $6,000+.
Light cleaning, poulticing, and Marble sealing often fall in the lower band; crack pinning, dutchman inserts, or re-polishing push costs up.
You should expect a site assessment, test patches, and staged abrasives to preserve tooling.
Confirm Restoration insurance, and budget for chimney/structural coordination if defects appear.
Conclusion
You’ve inspected, cleaned, stain-treated, repaired, polished, and sealed your antique marble with marble-safe products, keeping etching risks low and original fabric intact. Now document what you used, where you filled, and when you sealed—think of it as your restoration “spreadsheet” for the next caretaker. Burn only seasoned wood, manage draft, and vacuum soot with a HEPA nozzle before it bonds. With routine dry dusting, you’ll keep the sheen stable and the stone protected.
About the Author