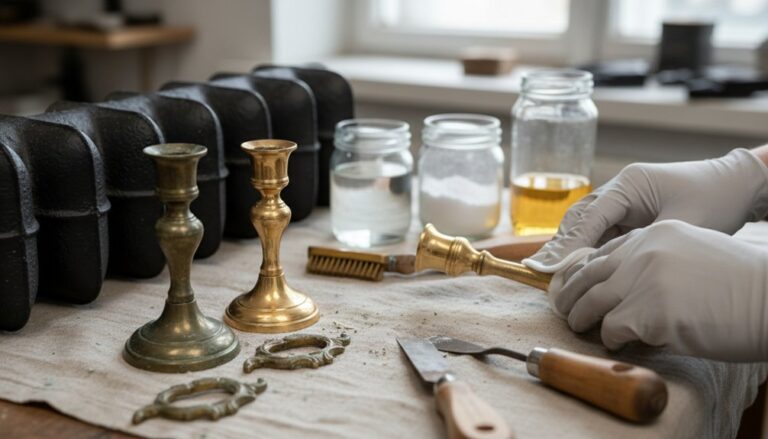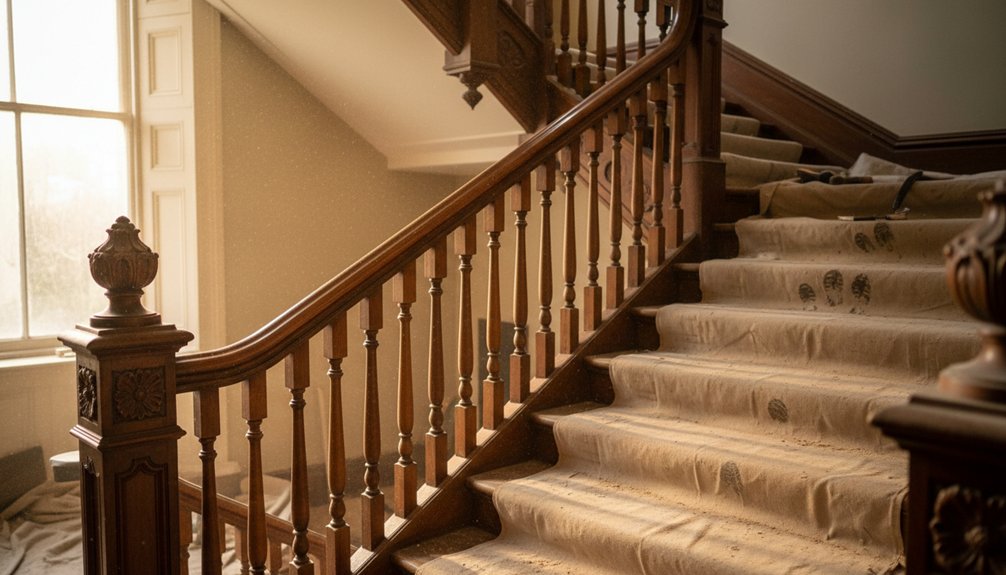
You’ll restore a grand period staircase by first inspecting for bounce, squeaks, loosened joints, failed glue blocks, and rot, then mapping defects tread by tread and photographing mouldings. Choose whether to strip, repaint, or blend, then vacuum, degrease, and mask before using a heritage gel stripper top-down. Tighten and re-glue joints, repair cracks, and copy missing spindles. Sand carefully to keep tool marks, then brush on finish with a wet edge, control airflow, and let it fully cure—there’s more to refine next.
Key Takeaways
- Inspect for bounce, squeaks, loose posts, rot, and failed glue blocks, then map defects by numbering each tread, riser, and spindle.
- Photograph joints and mouldings before disturbing anything, and choose whether to strip, repaint, or blend based on finish condition and timber integrity.
- Deep-clean and degrease, then strip paint top-down with gel stripper, scrape gently, neutralize if needed, and dry thoroughly.
- Stabilize and repair by tightening joints, re-gluing, pinning, consolidating cracks, and replacing only missing or crushed spindles with profile-matched copies.
- Sand for a clean key, apply coatings with careful cut-in and lay-off, control airflow and dust, and reopen only after full cure passes a thumbnail test.
Inspect The Staircase (Safety, Lead Paint, Scope)
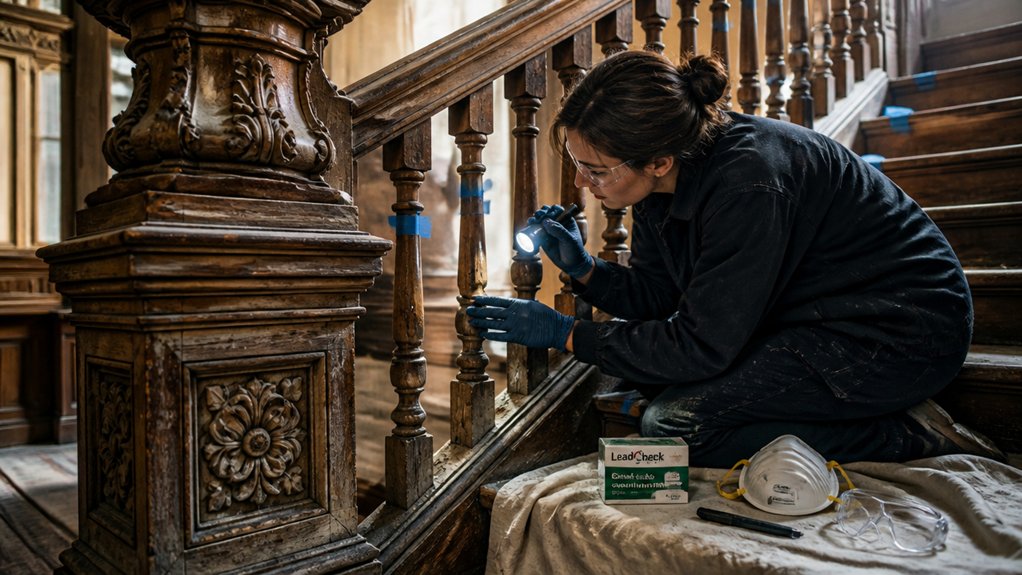
Before you strip a single spindle or lift a tread, start by inspecting the entire staircase as both a structural system and a historic finish surface: check for bounce, squeaks, loosened newel posts, split strings, and failed glue blocks. Then note any gaps at housed joints that suggest movement over time.
Map defects step by step, numbering treads, risers, balusters, and landing corners so you can track repairs without losing alignment.
Probe with an awl for rot at skirt boards, open string ends, and the underside of treads near exterior walls.
Confirm Structural integrity by measuring deflection and racking, and photograph every joint before disturbing it.
Test paint and varnish for lead and other hazardous materials using approved kits or lab swabs, and plan containment, PPE, and ventilation accordingly.
Choose A Restoration Approach (Strip, Repaint, Or Blend)

Your inspection notes now tell you whether the staircase needs full finish removal, a controlled repaint, or a light-handed blend that preserves original surface.
Choose stripping when thick, alligatored layers obscure crisp mouldings, spindles feel clogged, or modern varnish traps grime; you’ll return profiles to their intended sharpness and reveal timber for honest repair.
Choose repainting when the substrate is stable but the film is failing, and you can keep earlier layers intact while renewing protection; aim for historical accuracy by respecting period sheen levels and brush texture.
Choose blending when most of the finish survives and wear is localized; you’ll feather edges, glaze scuffs, and perform Color matching under natural light so new work disappears.
Document each choice so later custodians understand your interventions.
Gather Staircase Tools, Materials, And PPE
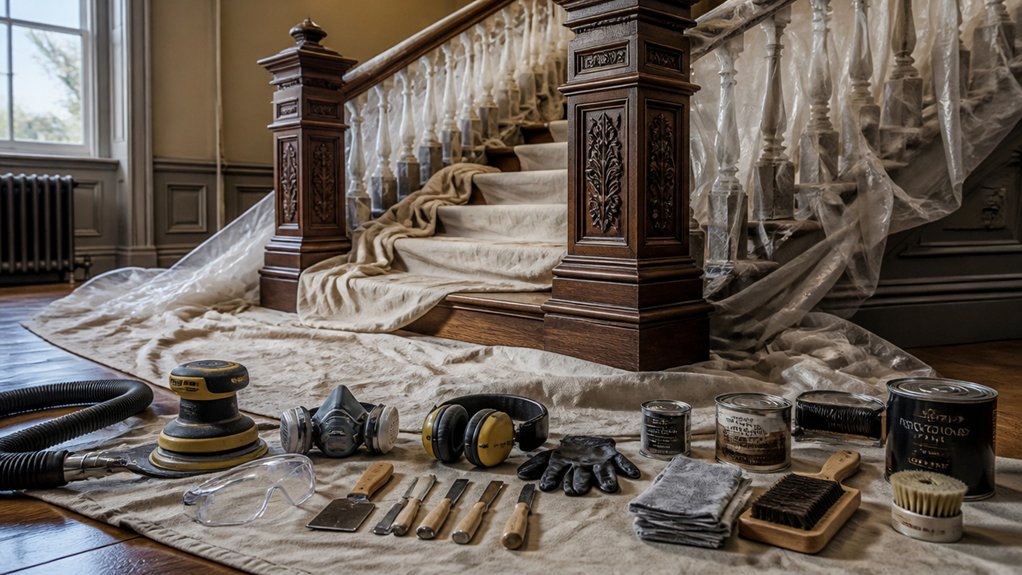
Although grand period staircases look robust, their tight corners, turned spindles, and layered historic coatings demand a deliberate kit of tools, materials, and PPE so you can remove paint or varnish without bruising crisp mouldings or contaminating the house with dust and lead.
Start with shaped cabinet scrapers, a carbide profile scraper for beads, and a selection of nylon and brass brushes for flutes. Add a heat gun with temperature control, infrared stripper, and a pH-neutral chemical stripper compatible with old shellac and oil paints.
Keep fine abrasive pads, 180–320 grit paper, and tack cloths for controlled keying. Your safety equipment should include a P100 respirator, nitrile gloves, goggles, and disposable coveralls.
Bring cleanup supplies: HEPA vacuum, sealable bags, and damp wipes.
Deep-Clean The Staircase Before Stripping
Once you’ve sealed the area and geared up, deep-clean every tread, riser, newel, and spindle so your stripper meets bare grime-free coating rather than wax, soot, and hand oils. Start with methodical dust removal: vacuum top to bottom using a soft brush, then chase corners, fillets, and turned details with a sash brush. Wipe with a barely damp microfibre to lift fine dust without raising grain on old pine or oak.
For surface preparation, degrease high-touch zones—handrail, newel cap, outer spindles—with sugar soap or a conservation-grade degreaser, then rinse using clean water wrung nearly dry. Dry immediately with cotton rags.
Check for polish residues: if water beads, repeat degreasing. Finally, photograph mouldings and joints for reference.
Strip Paint/Varnish From Spindles, Rails, And Posts
When the woodwork’s clean and dry, start stripping the spindles, handrail, and newel posts in a controlled sequence so the old finish lifts without bruising crisp arrises and turned details. Mask plaster, treads, and fillets, then work top-down to catch runs.
For Removing old paint, choose a low-alkali, heritage-friendly gel stripper; brush it on thickly, cover with film, and let it dwell until the coating wrinkles. Lift softened layers with a cabinet scraper and shaped wooden picks that match ogees and beads.
Neutralise only if the product requires it, then rinse sparingly and dry thoroughly. Follow with sanding spindles using fine paper on cork blocks, never rounding edges; finish with wire wool in recesses. Vacuum dust between passes.
Repair Squeaks, Loose Treads, And Damaged Spindles
Before you reach for fillers or fresh finish, stabilise the structure by chasing down squeaks, slack joints, and any spindle damage so the staircase behaves as it did originally. Work tread by tread: stand on the nose, listen, then mark movement at the tread-to-riser and tread-to-string joints.
For squeak prevention, re-tighten wedges or blocks from beneath where accessible, and add hide glue into opened joints so it wicks and grabs without modern stiffness. If you can’t reach the underside, pin the tread discreetly with matching cut brads set below the surface.
Check spindles for splits at the square base and loose tenons in the rail. Consolidate minor cracks with glue and clamps; plan spindle replacement only when sections are missing or crushed, and copy the original turning profile.
Sand Staircase Treads, Risers, And Handrail For Finish
After you’ve tightened the joinery and stopped the movement, sand the treads, risers, and handrail to create a clean key for finish without erasing period tool marks and crisp nosings.
Start with a vacuum and raking light to map paint nibs, heel dents, and glue squeeze-out.
For staircase sanding, begin at 80–100 grit on flat treads, working with the grain; stop as soon as you’ve leveled repairs. Ease only splintered edges, not the nosing profile.
On risers, hand-sand to avoid dish-out at mouldings. Use a cork block on returns and lamb’s-tongues.
For the handrail, wrap paper around a flexible pad and keep strokes long to preserve facets.
Mask balusters and prep lightly for spindle finishing.
Finish The Staircase (Stain, Paint, Seal, And Cure)
Now you’ll decide whether a period-appropriate stain will showcase the timber’s figure or whether paint will match the staircase’s original scheme and hide later repairs.
You’ll then build protection with a compatible sealant—shellac, varnish, oil, or a modern polyurethane—applied in thin, even coats to avoid runs on spindles and lap marks on treads.
Finally, you won’t rush reassembly or foot traffic; you’ll give the finish its full curing window so it hardens properly and wears like it should.
Choose Stain Or Paint
How do you decide between stain and paint on a grand period staircase? Start by identifying the timber and era: Georgian and early Victorian joinery often showcased grain with shellac-toned stains, while later Victorian and Edwardian schemes commonly used painted strings and spandrels to sharpen profiles.
For historical accuracy, check surviving evidence—protected edges under treads, inside newel caps, or behind brackets—then match undertones rather than surface dirt.
Choose stain if the wood is quality hardwood and repairs blend well; you’ll highlight figure and tool marks. Choose paint if the staircase is softwood, heavily patched, or originally painted; it unifies repairs and crisp mouldings.
Plan color coordination with adjacent panelling, floors, and hall light levels, then test samples in situ.
Apply Protective Sealant
Once you’ve committed to stain or paint and you’re happy with the colour in the hall’s natural and artificial light, lock that work in with a protective sealant that suits both the period and the wear a staircase takes.
For many Victorian and Edwardian interiors, a satin or low-sheen varnish reads more authentic than a high-gloss film, while still resisting scuffs on treads and rails.
Before Sealant application, vacuum dust from nosings, fillets, and spindle bases, then wipe with a tack cloth so grit won’t telegraph.
Cut in with a quality brush along moulded strings and turned spindles, then lay off with long strokes to avoid ridges.
Keep a wet edge, don’t overwork, and watch for drips under handrails.
This Protective coating should feel even, not plastic.
Allow Proper Curing Time
Although the finish may feel dry to the touch within hours, it won’t reach full hardness until the stain, paint, and sealant have properly cured. Rushing this stage is the quickest way to imprint tread grain with shoes, pull a handrail tacky under your palm, or scar a Victorian-style satin film with dust and grit.
Build in timing considerations: check the product’s recoat and full-cure windows, then add extra days for cool halls, high humidity, or dense old-growth oak.
During the curing process, keep airflow steady, block direct heat that can skin the surface, and exclude grit with clean paper runners you change daily.
Don’t wax yet; period stair finishes traditionally hardened first.
Test readiness by pressing a thumbnail in a hidden spot—no mark means you can refit hardware and reopen traffic.
Frequently Asked Questions
How Much Does Professional Grand Staircase Restoration Typically Cost?
You’ll typically pay $5,000–$30,000+ for professional grand staircase restoration, with intricate carved newels and long runs pushing higher. Your quote depends on historically appropriate Restoration techniques: gentle chemical stripping, steam cleaning, dutchman repairs, splice-in baluster work, and shellac or oil varnish finishing.
For Cost comparison, patch repairs may run $500–$3,000, while full disassembly, structural tightening, and bespoke turning can exceed $50,000 easily.
Do I Need Planning Permission for Restoring a Listed Staircase?
Yes, you’ll usually need Listed Building Consent, and sometimes planning permission, before you restore a listed staircase.
You should contact your local conservation officer early and align your method with preservation guidelines and historic accuracy.
If you’re stripping finishes, replacing balusters, altering profiles, or changing joinery details, consent’s likely required.
Use reversible repairs, match timber species, and document existing mouldings and tool marks. Keep photos, drawings, and samples.
How Long Should I Wait Before Using the Stairs After Finishing?
You should wait 24–48 hours before light use, and 7–14 days before heavy traffic, depending on your finish and conditions.
For staircase safety, keep loads off until varnish, shellac, or oil fully cures, not just dries.
Follow the restoration timeline: allow tack-free time, then careful socked steps, then normal shoes.
Maintain ventilation, stable humidity, and avoid rugs until hardness develops fully.
Will Restoration Increase My Home’s Value or Appeal to Buyers?
Like a well-tuned gramophone, restoration can boost your home’s value and sharpen buyer appeal, especially in period markets. You’ll attract purchasers who pay premiums for Historical accuracy and craftsmanship.
You increase confidence when you document repairs, keep profiles true, and avoid over-sanding or modernizing details.
Smart Material selection—matching species, grain, and traditional finishes—signals integrity.
You’ll also photograph stages and receipts, helping surveyors justify condition and reducing negotiation.
How Do I Match New Spindles to Original Period Profiles?
You match new spindles to original period profiles by taking exact measurements and templates from an intact example. Trace the turning with profile gauges, calipers, and a story stick, noting diameters at key beads, fillets, and coves.
Photograph in raking light to read tool marks and spindle design proportions. Source matching timber, then commission a turner to replicate matching profiles and match old edge breaks.
Test-fit, then fine-sand.
Conclusion
After all that careful “quick” work, you’ll realize grand staircases never wanted shortcuts. You’ve tested for lead, mapped the scope, stripped rails and spindles, fixed squeaks, pinned loose treads, and patched bruised balusters like a conservator—not a weekend warrior. You’ve sanded with the grain, respected profiles, and chosen a finish that suits the era. Now let it cure, then walk it lightly; the real reward is patience disguised as progress.
About the Author