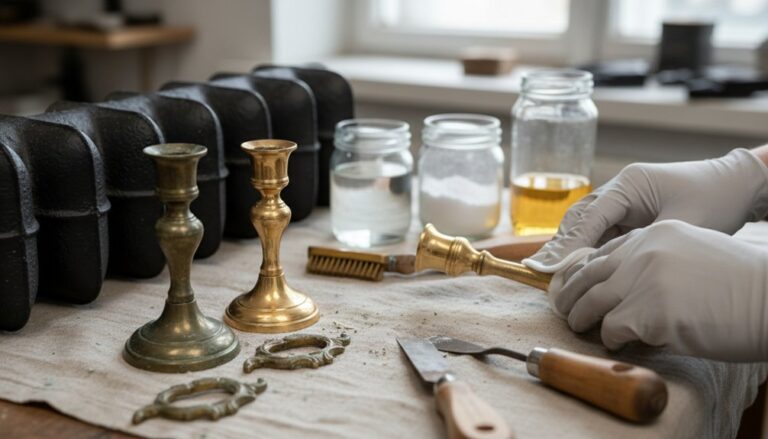
You’ll restore antique parquet and reclaimed boards by first checking bond, flatness, and patina, then scraping a discreet corner to identify wax, shellac, or varnish. Lift loose blocks with a thin bolster, clean off old adhesive, and re-bed with hot hide glue; replace missing boards with matching reclaimed stock and plug squeak-fixing screws. Strip wax with mineral spirits, shellac with alcohol, and varnish with gel, then sand lightly from 80 to 120 grit. Keep going for period-perfect finishing.
Key Takeaways
- Inspect bonding, flatness, and finish history using scraping and solvent tests, and decide what patina to preserve before any sanding.
- Lift and re-bed loose parquet blocks, replace missing boards with matching reclaimed stock, and fix squeaks with discreet screws and plugs.
- Remove wax, grime, shellac, or varnish in controlled stages using the least aggressive stripper first, and fully neutralize and dry.
- Sand lightly to level defects without erasing character, starting around 60–80 grit and finishing 100–120, using scrapers for corners.
- Match color with test patches, then seal using breathable finishes like hardwax oil or shellac, aiming for low sheen and good slip resistance.
Assess Parquet and Reclaimed Boards (No-Sand vs Refinish)

Before you reach for a drum sander, you’ll want to assess what you’ve actually got underfoot: check whether the parquet blocks or reclaimed boards are firmly bonded, flat, and sound, and then read the finish history the way an old joiner would.
You’ll scrape a discreet corner with a sharp cabinet scraper to see wax, shellac, oil, or later varnish, then test methylated spirits for shellac lift and white spirit for wax smear.
You’ll judge patina depth, burnishing, and edge rounding; if wear hasn’t breached the tongue, you can clean, re-wax, or re-shellac instead of cutting fibres.
When bare patches demand refinishing, you’ll plan color matching with dye and glaze, keeping grain contrast and historical accuracy.
Note prior stains, infill tint, and UV-darkened borders.
Fix Loose Blocks, Missing Boards, Gaps, and Squeaks
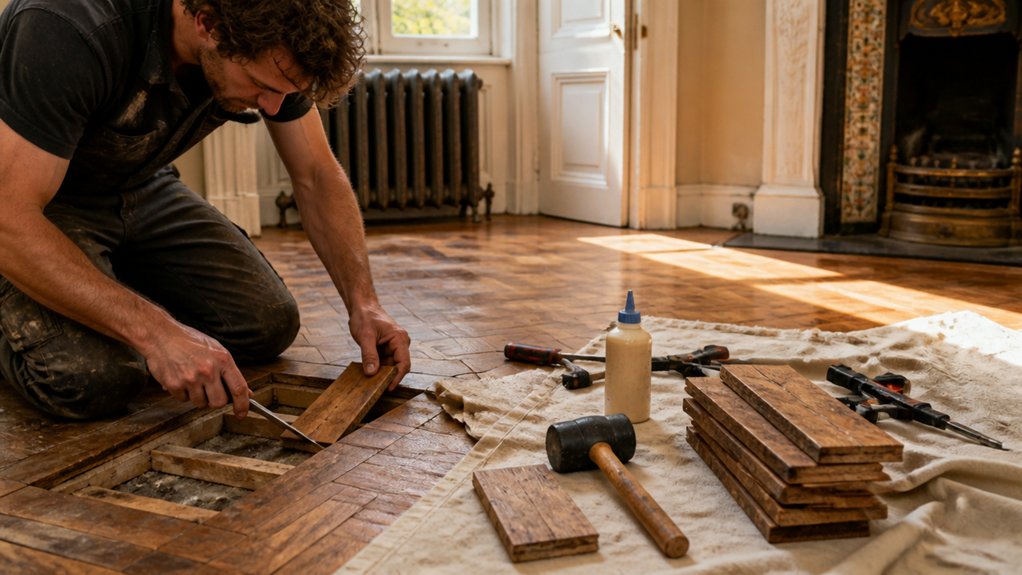
Once you’ve decided whether you’re conserving patina or going for a full refinish, stabilise the structure so the finish work doesn’t telegraph every fault. Lift loose parquet blocks with a thin bolster, scrape old adhesive from the underside, then re-bed them with hot hide glue or a reversible resin, weighting flat until cured.
Where Decorative inlays run through the field, mark every piece before lifting so you don’t rotate Wood grain patterns or disturb the motif. Replace missing boards with reclaimed stock of matching thickness and tongue profile; undercut ends to land on sound joists or ply patches.
Close gaps by re-aligning rows and tapping home; use tapered slivers only for persistent shrinkage. Silence squeaks by re-fixing to joists with countersunk screws and plugging.
Strip Wax, Grime, and Old Finishes Safely

Although the floor may look merely dull, you’ll often find decades of wax, coal-dust grime, and oxidised shellac or varnish sitting above the timber and masking defects, so strip in controlled stages rather than attacking it with an aggressive sander.
Start with dry methods: vacuum using a soft brush, then scrape corners and parquet borders with a sharpened cabinet scraper.
For Wax removal, apply a low-odour mineral spirit or dedicated wax stripper with white pads, keeping the surface just wet; lift slurry with rags before it re-deposits.
For grime cleaning, use warm water with a pH-neutral soap, wrung nearly dry, and change rinse water often.
If shellac remains, switch to alcohol-based remover; if old varnish persists, use a methylene-free gel, then neutralise and dry thoroughly.
Sand Parquet and Floorboards Without Flattening Character
With the wax and oxidised finish off the surface, you can now sand to level wear and open clean timber—but you’re aiming to refine, not to erase.
Start with a fine cut: 80 grit on parquet, 60–80 on boards only where cupped. Keep the drum or belt moving, feathering at thresholds so you don’t dish the field.
On Vintage patterns, sand with the grain direction of each block row, not across the motif, and edge-sand lightly to avoid rounding arrises that define the geometry.
Use a scraper for tight corners and repairs to keep Historical accuracy.
Stop as soon as tool marks and blotches lift; patina isn’t dirt.
Finish with 100–120 grit, then vacuum and tack.
Choose Stains and Sealers That Suit Period Floors
Because period floors already carry colour in their oxidised fibres and old repairs, you’ll get the most authentic result by choosing stains and sealers that add control without masking the timber’s structure.
Start with Color matching: test on offcuts or a discreet board end, and grade samples after 24 hours’ cure under the room’s lighting. Use alcohol or water stains for fine adjustment; avoid heavy pigment that clogs open grain and blurs parquet edges.
If you need warmth, tint the sealer rather than over-staining.
For protection, choose breathable finishes: hardwax oil for historic boards, or shellac with a wax topcoat where reversibility matters.
Check slip resistance and sheen (10–20% for period rooms).
Prefer low-VOC products to reduce environmental impact.
Frequently Asked Questions
How Do I Source Matching Reclaimed Boards or Parquet Blocks Locally?
Start by measuring species, thickness, and wear layer.
Then take a sample to salvage yards, architectural reclamation dealers, and joinery shops so you’re sourcing locally with verified stock.
Ask for matching reclaimed boards or parquet blocks from the same era, ideally air-dried.
Check tongue-and-groove profiles, block geometry, and nail patterns.
Visit building-dismantlers, period renovation sites, and estate clearances.
Insist on moisture readings and insect inspection.
Will Restoration Increase My Home’s Value or Affect Saleability?
Yes, restoration can raise your home’s value and improve saleability, especially if you keep Historical authenticity. You’ll appeal to buyers who want original character, and surveyors often note well-executed repairs as lower risk than patched, mismatched flooring.
Use Sustainable sourcing and document provenance, species, and milling profile to reassure purchasers. You should photograph subfloor condition, moisture readings, and finishes, since clear records help convey workmanship.
Buyers value consistent patina.
What’s the Typical Cost per Square Metre for Full Restoration?
You’ll typically pay £45–£120 per m² for full restoration, depending on your floor’s condition.
For sound boards, sanding, gap filling, and oiling often land at £45–£70 per m².
If you need block re-laying, resin repairs, stain removal, or lacquering, expect £70–£120+.
Your cost estimation hinges on pricing factors like pattern complexity, adhesive type (bitumen vs modern), moisture damage, and access, plus finishing system selection.
How Long Should I Stay off the Floor After Sealing or Oiling?
Stay off the floor at least 24 hours after sealing, and 12–24 hours after oiling.
Keep traffic light for 48–72 hours.
Oil drying time varies with linseed/tung blends, temperature, and draughts; expect longer in cool, damp rooms.
Sealing durability improves if you avoid rugs, washing, and chair legs for 7 days while the film cures.
Use felt pads, and ventilate gently throughout.
Can Underfloor Heating Be Used Safely With Antique Parquet or Boards?
Measure twice, cut once: you can use underfloor heating with antique parquet or boards if you manage floor heating compatibility and antique parquet safety.
Keep surface temperatures under 27°C, raise heat gradually (about 2–3°C per day), and hold humidity 40–60% to limit cupping and gapping.
Prefer engineered sub-assemblies, stable species (oak), thin sections, and vapor control.
Avoid thick bitumen adhesives; use modern elastic, heat-rated systems.
Conclusion
You’ve now taken your parquet and reclaimed boards from “well‑loved” to quietly presentable without erasing their age. You’ve judged when a no‑sand clean will do, pinned loose blocks, replaced missing slips, and eased gaps and squeaks. You’ve lifted wax and old finishes with gentle solvents, then sanded with the grain so the pattern stays crisp, not flattened. Finish with a period‑minded stain and hardwax oil or shellac—enough protection, never too much.
About the Author