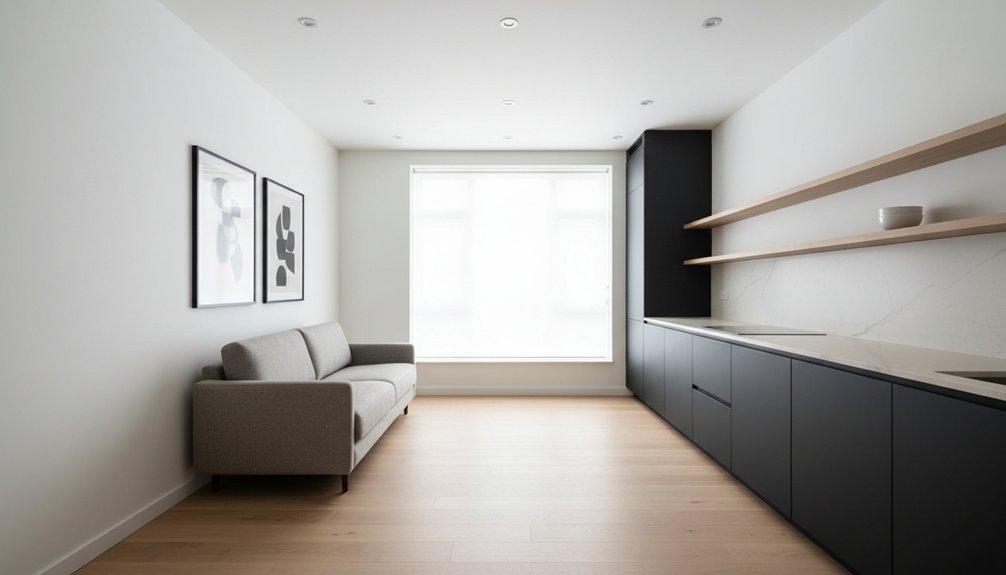
Start by walking each room to spot traffic bottlenecks, dark corners, and wasted niches, then budget for layout, electrical, flooring, and millwork before décor. Brighten everything with warm off-white walls, slightly deeper trim, and a consistent neutral palette throughout. Install light-toned wide-plank floors in a matte-satin finish, aligned with the longest sightlines. Swap dated doors for flat-panel or slim Shaker, and standardize hardware in matte black or brushed nickel. Keep going to see room-by-room upgrades.
Key Takeaways
- Start with a room walkthrough, identify traffic, lighting, and storage pain points, then prioritize fixes by daily impact and budget tiers.
- Brighten with warm off-white walls, slightly deeper white trim, and consistent neutrals across rooms for a clean, cohesive flow.
- Choose light-toned, wide-plank flooring in low-sheen finishes, and align planks with long sightlines to visually expand space.
- Update doors and trim to flat-panel or slim Shaker styles, add square-edged casing, and standardize one modern hardware finish throughout.
- Modernize kitchens and baths with simple cabinetry, durable counters, classic tile, and layered dimmable LED lighting for crisp function and style.
Plan the Modern Update: Priorities, Budget, Order

Before you pick paint swatches or new fixtures, map out what “modern” needs to do for your space: cleaner sightlines, better light, smarter storage, or all three. Walk the room and list pain points—awkward traffic paths, dark corners, wasted niches—then rank them by daily impact.
Set a budget in tiers: must-do structural fixes, performance upgrades, then finish selections. Price big-ticket scope first (demo, electrical, flooring, millwork) so you don’t overspend on statement pieces early.
Choose Sustainable materials where they’re most visible and high-wear, like cabinetry fronts, counters, and flooring. Bake in smart technology early—lighting circuits, data runs, and appliance requirements—so walls aren’t reopened later.
Sequence work: plan, permit, rough-in, surfaces, built-ins, final install.
Modernize a Dated Interior With a Light Palette
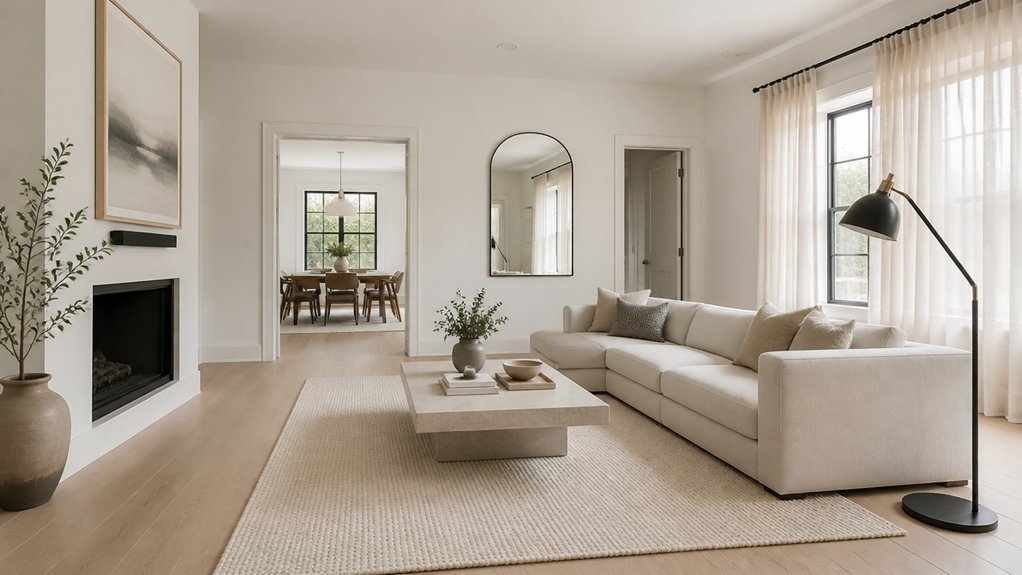
If your rooms feel heavy or visually chopped up, a light palette gives you the fastest modern lift by brightening corners, smoothing shifts, and making dated finishes recede. Start with a warm off-white on main walls and a slightly deeper white on trim to sharpen lines without harsh contrast.
Use one consistent neutral across adjacent spaces to create flow, then layer tonal textiles—ivory, sand, mist gray—for depth that still reads clean. Add matte black or brushed nickel hardware to punctuate the softness and update older cabinetry or doors.
Keep patterns low-contrast and scale-friendly so the room feels larger. Then let Vintage accents shine: a brass mirror, art, or a thrifted chair. Your Eclectic decor looks intentional against calm backdrops.
Choose Modern Flooring That Brightens the Space
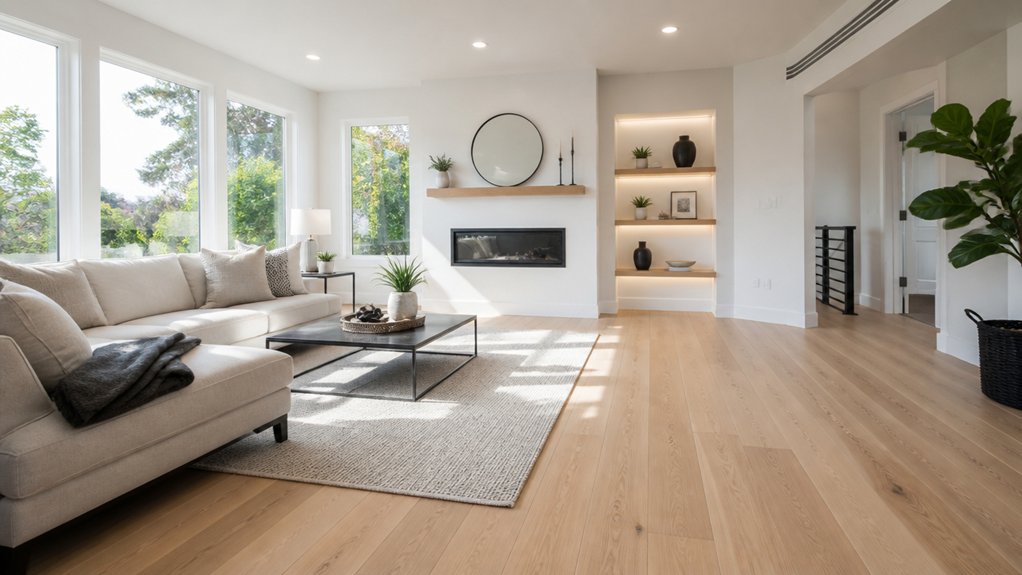
You’ll brighten the whole room when you swap in light-toned flooring like pale oak, whitewashed laminate, or warm, blonde LVP.
Choose subtly reflective finishes and textures—matte-satin, wire-brushed, or low-sheen stone-look—that bounce light without showing every scuff.
Then run seamless planks in a consistent direction with minimal connections to make the space feel larger and more modern.
Light-Toned Flooring Options
How do you make a dated room feel instantly cleaner and more modern? Start from the ground up with light-toned flooring that lifts the whole palette. You’ll get the freshest look from white oak, ash, or maple—especially in natural wood planks that show subtle grain without reading “rustic.” Choose wide boards and longer lengths to minimize seams and visual noise.
If you need durability, consider blonde-toned luxury vinyl plank or light greige porcelain that mimics wood without the maintenance. Keep undertones consistent: pair warm floors with creamy whites, cool floors with crisp whites. Ask for matte finishes so the surface reads contemporary and hides daily scuffs.
Finish with low-contrast grout or trim so the floor feels continuous and calm.
Reflective Finishes And Textures
Once you’ve set a light, consistent base with your flooring tone, the finish and texture determine whether the room reads flat or freshly polished. Lean into satin or low-gloss finishes that catch daylight without telegraphing every scuff, especially in open-plan living areas.
If you want extra lift, choose lightly polished concrete or glazed porcelain that bounces light like subtle mirror accents, but won’t feel slippery underfoot.
Balance reflective choices with tactile contrast: a matte-grained oak look, micro-textured tile, or brushed stone keeps the space modern, not showroom-shiny. Use glossy surfaces sparingly—think a lacquered threshold detail or a reflective baseboard paint—so the floor stays calm while the room still feels brighter, cleaner, and more intentional.
Seamless Plank Layouts
While a fresh color palette modernizes the surfaces, a seamless plank layout modernizes the *flow*. Run the same plank flooring through living, dining, halls, and kitchen to visually widen the footprint and calm busy passages.
You’ll get that current “one continuous plane” look buyers expect, especially with wide boards, low-contrast grain, and a matte finish that bounces light without glare.
Choose pale oak, greige, or blond tones to brighten shadowy rooms and sharpen your wall art. Keep thresholds minimal, align planks with the longest sightline, and stagger seams for an intentional rhythm.
If you’re adding accent walls, let the floor stay quiet so the feature reads crisp, not chaotic. Finish with slim baseboards and matching vents for a clean edge.
Update Doors, Trim, and Hardware for Clean Lines
Even if you keep your existing layout and finishes, swapping dated doors, chunky trim, and mismatched hardware can instantly sharpen the entire home into a clean, modern look. Choose flat-panel or slim Shaker doors for quieter geometry, then commit to one Door hardware finish—matte black, brushed nickel, or unlacquered brass—so every hinge, lever, and strike plate reads intentional.
For trim design, trade ornate profiles for square-edged casing and taller baseboards with minimal reveals; it frames walls like a crisp border instead of visual noise. Align header heights, keep door gaps consistent, and use concealed hinges where appropriate to reduce clutter.
Paint doors and trim the same satin white or soft greige for a seamless, gallery-like backdrop.
Modernize a Dated Kitchen With Timeless Materials
Because the kitchen carries so much visual weight, upgrading it with a few timeless, high-performance materials can pull the whole house into a clean modern lane without chasing short-lived trends.
Start by keeping any historical features you love—arched openings, original hardwoods, or a well-placed built-in—then frame them with quieter finishes.
Choose simple, flat-panel or slim-shaker cabinetry in a warm white or soft greige, and add durable quartz or honed stone counters for a matte, contemporary read.
Swap busy laminates for a classic ceramic or zellige backsplash that nods to vintage charm without feeling theme-y.
Bring in brushed nickel or unlacquered brass for controlled warmth, and ground the room with wide-plank oak or large-format porcelain floors.
Finish with integrated pulls and crisp, layered task lighting throughout.
Refresh Dated Bathrooms With Tile and Lighting
If your bathroom still reads builder-basic or stuck in the early 2000s, tile and lighting will give you the fastest, most convincing modern reset. Start by swapping busy 4×4 squares for large-format porcelain or stacked zellige-look tile to stretch sightlines and calm the room.
Run tile to the ceiling in the shower, and choose warm whites, soft greige, or a deep matte green for a current, spa-leaning vibe.
Then fix the glow. Replace a dated vanity bar with two vertical sconces at eye level, plus a dimmable recessed or flush mount overhead. Opt for 2700–3000K LEDs so skin tones look natural.
Pair clean tile with Vintage fixtures or subtle antique accents to keep it polished, not sterile.
Frequently Asked Questions
Do I Need Permits for Interior Renovations in My Area?
Yes, you’ll often need permits for interior renovations, depending on permit requirements and local regulations in your area.
If you move plumbing, alter electrical, remove walls, change HVAC, or touch structural elements, you’ll likely need approvals and inspections.
Cosmetic updates like paint, flooring, and cabinets usually don’t.
You should call your city/county building department, confirm scope, and keep documentation—this protects resale value and avoids costly stop-work orders.
Ask about condo/HOA rules too.
How Long Should a Full Interior Modernization Renovation Typically Take?
Typically, you should plan 8–16 weeks for a full interior modernization—*not days, not weekends, but coordinated phases*.
You’ll spend 1–3 weeks on interior design, measurements, and approvals.
Then, 4–10 weeks on demolition, electrical/plumbing, drywall, paint, and flooring.
Material selection can add 1–6 weeks if items are backordered.
You’ll finish with 1–2 weeks for cabinetry, fixtures, punch-list, and final styling.
Can I Modernize My Home While Living in It During Construction?
Yes, you can modernize your home while you’re living in it, but you’ll need a phased plan. You’ll stay Living comfortably by sealing work zones, setting up a temporary kitchen, and scheduling dusty tasks when you’re out.
You’ll keep Budgeting effectively by prioritizing high-impact rooms first and locking material lead times early.
You should expect noise, limited access, and weekly check-ins to adjust timelines.
What Renovations Deliver the Highest Resale Value for a Modern Look?
You’ll get the highest resale value by prioritizing kitchens and bathrooms: updated cabinetry, quartz, efficient fixtures, and timeless tile.
Open floorplans can boost perceived space, so remove non-structural walls and add a cohesive lighting plan.
Add Smart home technology—thermostat, video doorbell, smart locks, and dimmers—for a modern edge.
Refresh flooring, paint, and trim in neutral tones, then upgrade curb appeal with a new door and landscaping.
How Do I Choose a Contractor for a Modern Interior Remodel?
Choose your contractor like you’re hiring a magician—one wrong pick and your walls could “vanish” your savings.
Start with Budget planning: define scope, allowances, and a contingency, then compare itemized bids apples-to-apples.
Verify contractor credentials: license, insurance, permits, portfolio, and recent references.
Interview them on timelines, subs, and communication tools.
Demand a clear contract, payment schedule, and change-order process so your remodel stays sleek, on-trend.
Conclusion
When you renovate a dated interior into a clean modern look, you’re not just swapping finishes—you’re clearing visual noise so your life can breathe. You’ve set priorities, protected your budget, and followed the right order like a well-edited playlist. With a light palette, bright flooring, crisp doors and hardware, and kitchens and baths dressed in timeless tile, stone, and lighting, your home shifts from yesterday to next—polished, calm, and unmistakably yours.
About the Author