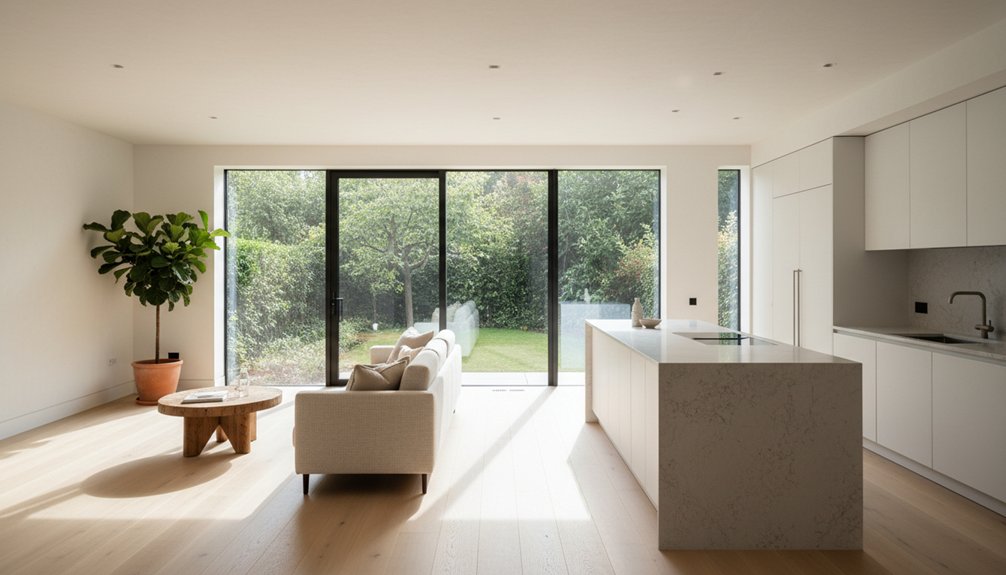
Start by auditing each room at morning/noon/afternoon with a lux meter, then map glare and shadow zones against the seasonal sun path. Clear obstructions, clean or repair windows, and rethink deep reveals that trap light. Boost daylight with larger visible glass, slimmer frames, and high-VT/low-SHGC glazing, then borrow light using glazed doors, transoms, or interior glass. Add exterior shading, open-weave roller shades, and high-LRV finishes to control heat, glare, and privacy—next you’ll see how to sequence costs, permits, and layout changes.
Key Takeaways
- Measure and map daylight in each room across the day, noting glare, shadows, and obstructions to target the biggest gains.
- Use sun-path and orientation data to size overhangs and choose exterior fins or screens that block summer heat while preserving winter light.
- Upgrade windows with higher visible transmittance glazing, slimmer frames, and larger glass areas, while balancing SHGC and energy-code requirements.
- Borrow light with interior glazing, transoms, and fewer opaque partitions, and boost bounce using high-LRV ceilings, pale walls, and reflective finishes.
- Control glare, heat, and privacy with exterior shading and open-weave roller shades, and budget for permits, structural headers, and inspections.
Audit Where Your Home Lacks Natural Light

Where does daylight drop off in your home, and why? Walk each room at morning, noon, and late afternoon, and log light levels with a phone lux meter. Note obstructions: deep eaves, bulky furniture, dark finishes, high partitions, and opaque doors. Photograph glare points and shadow zones, then mark them on a simple floor plan.
Check window condition: dirty glazing, failed seals, heavy screens, or tight blinds that cut visible transmittance. Measure sill heights and wall thickness at openings to spot recessed reveals that trap light.
Review indoor vegetation placement; dense foliage near windows can absorb and scatter daylight.
Finally, inventory artificial lighting circuits and color temperature so you can distinguish true daylight deficits from poor lamp distribution and control.
Plan for Sun Path, Orientation, and Shade

You’ll map your home’s sun path by season and hour, then align glazing, room layouts, and openings to capture useful daylight without overheating.
You’ll quantify orientation impacts—solar angles, obstructions, and reflectance—so window sizing and placement match your comfort and energy targets.
Then you’ll specify shade strategies like overhangs, fins, exterior screens, and deciduous planting to control peak summer sun while preserving winter gain.
Analyze Sun Path
Before you move walls or specify new glazing, map the sun’s path across your property by season and hour so you can align renovations with real light conditions. Start with a site plan and true north, then log sun angles at key dates (solstices and equinoxes). Note where adjacent buildings, trees, and roof overhangs create shadow casting onto target rooms.
Verify conditions at solar noon to understand peak altitude and the shortest shadows, then compare morning and late-afternoon glare risks on east and west elevations. Use a sun-path diagram or app, but ground-truth with photos and time-stamped observations.
Translate findings into orientation decisions: where you’ll prioritize larger openings, where you’ll keep glazing modest, and which spaces deserve borrowing light from brighter zones.
Design Shade Strategies
Once you’ve mapped seasonal sun angles, design shade strategies that admit winter light while cutting summer overheating and glare. Prioritize south glazing: size fixed overhangs using your latitude so the high summer sun is blocked but the lower winter sun penetrates.
On east and west façades, you’ll need vertical fins, exterior blinds, or operable screens, since low-angle sun drives glare and heat. Specify outdoor shading with light-colored, vented surfaces to reduce re-radiation and maintain daylight.
Coordinate plant placement as a performance element: deciduous trees on the south for seasonal control, evergreens as windbreaks, and trellised vines to filter afternoon sun without darkening interiors.
Verify clearances to avoid blocking clerestories, and model interior illuminance to confirm comfort.
Upgrade Windows for More Natural Light
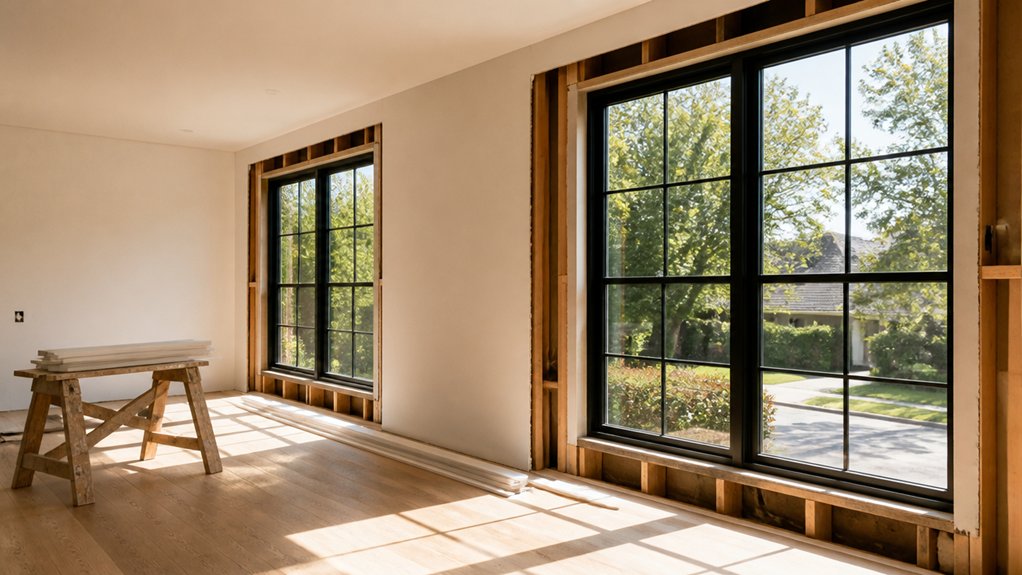
A few targeted window upgrades can deliver a measurable jump in daylight without changing your home’s footprint. Start by increasing visible glass area: specify thinner profiles, larger units, or converting double-hungs to casements that clear more of the opening.
Compare Window frame materials carefully—fiberglass and thermally broken aluminum keep frames slim while controlling heat flow, while vinyl may require bulkier sections that reduce daylight.
Next, select energy efficient glazing that maximizes visible transmittance (VT) without spiking solar heat gain (SHGC). You’ll usually want low-iron glass, optimized low‑E coatings, and warm-edge spacers to limit condensation.
Reframe or square rough openings so you don’t lose glass to oversized shims and trim. Finally, use light-colored interior jamb extensions to bounce daylight deeper into rooms.
Add Skylights or Solar Tubes for Dark Rooms
When wall windows can’t reach an interior bath, hallway, or stair landing, you can introduce daylight from above with a roof-mounted skylight or a solar tube sized to the room’s floor area and roof geometry. Start by confirming rafter spacing, roof pitch, and attic obstructions so you don’t compromise framing or insulation.
For skylight placement, align the unit to avoid valleys and plumbing vents, then specify low-E, laminated glazing and an integrated flashing kit matched to your roofing.
If you want diffuse light with minimal heat gain, consider solar tube types: rigid for maximum output, flexible for tight runs, and ventilating models for baths.
You’ll also plan a properly sealed light well, continuous air barrier, and condensation control to protect finishes.
Open Layouts to Move Natural Light Farther Inside
Skylights and solar tubes can brighten enclosed zones from above, but you’ll get the biggest daylight payoff by removing the interior barriers that stop window light at the perimeter. Start by identifying non-load-bearing partitions between living, dining, and circulation paths, then replace them with wider cased openings or partial-height returns. You’ll push the daylight “throw” deeper while keeping shear and mechanical chases intact.
Coordinate window placement with the new sightlines: align openings to face the longest interior runs and avoid tall obstructions opposite key windows.
Refine furniture arrangement so low profiles sit in the light path and taller pieces hug interior walls. Use consistent ceiling heights and continuous flooring to reduce visual breaks that read as darkness.
Verify code-required egress and smoke compartmentation before demolition begins.
Use Interior Glass to Share Natural Light
Although you can’t add exterior windows on every wall, you can still move daylight through the plan by swapping opaque partitions for interior glass. Use glazed pocket doors, transom lites, or fixed sidelites to extend sightlines while keeping rooms acoustically separated.
Specify tempered or laminated glass where impact risk is higher, and confirm required fire ratings at corridors, stair enclosures, and garage interfaces.
If privacy matters, choose reeded, fritted, or switchable glazing instead of solid walls, so you preserve brightness without exposing views.
Frame openings with slim profiles to maximize visible glass, and align panels with existing window heads for clean daylight continuity.
These light sharing techniques let you redistribute daylight to interior rooms without altering the exterior envelope.
Pick Finishes and Colors That Reflect Daylight
Even if you can’t change window locations, you can noticeably boost daylight by choosing finishes and colors that raise a room’s light reflectance value (LRV) instead of absorbing it.
Start with your ceiling: specify flat or matte white at LRV 85–90 to act as a light “collector.”
For walls, pick color palettes with LRV 60–80; warm off-whites and pale neutrals often read bright without feeling clinical.
Use higher-sheen paints strategically—eggshell or satin on trim and doors—to increase bounce while keeping surfaces durable.
Choose reflective finishes where they won’t look busy: light-toned engineered wood, honed quartz, or polished tile can lift ambient illumination.
Keep floors mid-value to limit contrast, and match large furnishings to the wall tone so daylight spreads evenly.
Control Glare, Privacy, Costs, and Permits
Before you enlarge glazing or add new openings, map out how you’ll manage glare and privacy while keeping the scope—and the paperwork—under control. Model sun angles by season, then specify exterior shading, light shelves, or low-SHGC glazing where afternoon heat and glare peak.
Inside, pair roller shades with open-weave fabrics so you can preserve daylight while addressing privacy concerns at street-facing windows.
Price the work by separating framing, glass, shading, and electrical controls, and add a contingency for structural surprises.
Confirm egress, tempered glass, and energy-code targets early, because they drive unit selection and lead times.
Finally, verify permit requirements for new openings, header changes, or façade alterations, and schedule inspections to avoid costly rework and delays.
Frequently Asked Questions
What Are the Best Indoor Plants for Low-Light Rooms?
You’ll get the best results with snake plant, ZZ plant, pothos, cast-iron plant, and peace lily in low-light rooms.
Optimize indoor plant placement by setting them near north-facing windows or 1–2 meters from brighter openings, avoiding cold drafts.
For low light plant care, you’ll water sparingly, let soil dry between cycles, and use well-draining media.
You’ll rotate monthly for even growth and monitor leaves for stress.
How Can I Reduce Mold Risk When Increasing Daylight and Ventilation?
Like a well-tuned engine, you reduce mold risk by controlling moisture: keep indoor RH at 30–50%, vent baths/kitchens outdoors, and run a dehumidifier as needed.
For Mold prevention, seal window and wall penetrations, insulate cold surfaces, and fix leaks within 24 hours.
For Ventilation strategies, use continuous low-flow exhaust or an HRV/ERV, and verify airflow with a smoke test.
Clean filters, too.
Will Improving Natural Light Increase My Home’s Resale Value?
Yes, improving natural light can increase your home’s resale value, especially when you document measurable upgrades. You’ll get the best return by optimizing window placement to brighten key living areas without overheating bedrooms.
Pair glazing choices with shading and insulation details to protect energy efficiency, since buyers and appraisers factor operating costs.
You should keep permits, specs, and before/after photos to support value during listing and appraisal.
How Do I Keep Artwork and Furniture From Fading in Sunny Rooms?
You’ll keep artwork and furniture from fading by blocking UV rays and softening intensity—think of sunlight as a slow-burning candle near your treasures. Install UV protection film on glazing, and use light filtering shades or lined drapery to cut UV and visible-light exposure.
Rotate art periodically, keep pieces off direct beams, and maintain stable humidity and temperature. Specify museum-grade glass for framed works and UV-rated finishes for wood.
What Smart Lighting Can Mimic Daylight on Cloudy Days?
You’ll get the best results from tunable white LED smart bulbs or fixtures that support daylight simulation (2200–6500K) and high CRI (90+).
Pair them with Smart light sensors that read ambient lux and color temperature, then auto-adjust output via schedules or adaptive lighting modes.
Choose systems with circadian profiles, scene presets, and app-based calibration.
Install in key zones, and validate with a handheld lux meter for consistency.
Conclusion
You don’t need a full gut renovation to boost daylight. Start by confirming where light dies off, then align changes with sun path and exterior shade. Upgrade glazing (low‑E, higher VLT) and add a skylight or solar tube where windows can’t reach. If you worry about glare or privacy, specify tinted interlayers, operable shades, and frosted interior glass. Finish with high‑LRV paints and reflective surfaces, and verify permits, flashing, and costs upfront.
About the Author