Start by mapping circulation and sightlines before you fix walls, keeping primary routes 900–1200 mm clear and protecting a dominant view axis to glazing or a focal point. Zone cooking, dining, and lounging so the kitchen island anchors the plan with a 1000–1200 mm working perimeter and chair clearances. Control noise and fumes with acoustic build-ups and a high-capture hood on short rigid ductwork. Hide clutter with a working-edge pantry and integrated storage. Next, you’ll see how to layer lighting, sockets, and heating.
Key Takeaways
- Plan circulation and sightlines first, keeping main walkways 900–1200 mm clear and protecting a dominant view to glazing or a focal point.
- Define kitchen, dining, and lounge zones with furniture and islands, maintaining 1000–1200 mm clear working and seating perimeters.
- Control noise and smells with acoustic build-ups and a high-capture cooker hood using short, rigid ducting and balanced make-up air.
- Build generous, concealed storage—pantry, pull-outs, and hidden island/banquette compartments—so the open space stays visually calm and clutter-free.
- Coordinate services early: sockets to furniture, lighting on layered circuits, and zoned heating controls to support flexible layouts and future changes.
Plan an Open-Plan Layout and Key Sightlines
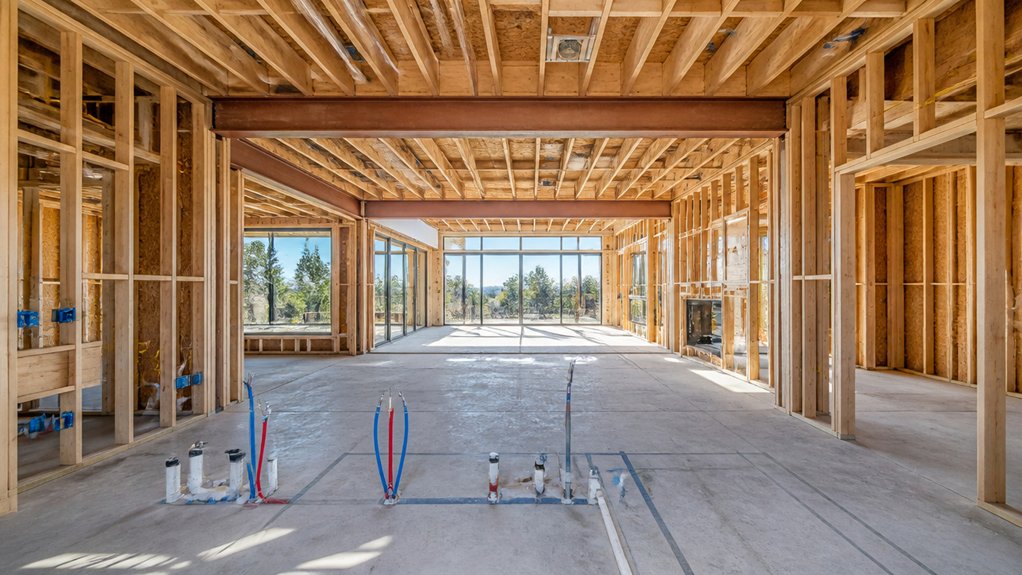
Before you draw walls, map how you’ll move and what you’ll see from each primary zone—kitchen, dining, and living—because an open plan lives or dies on circulation and sightlines.
Set primary paths at 900–1200 mm clear, and align them with door swings, glazing, and stair runs so you don’t create pinch points.
Establish a dominant view axis to a window or focal element, then protect it by keeping tall storage and services outside that cone.
Use Furniture placement to reinforce edges: float a sofa to define depth without blocking sightlines, and keep table corners out of travel arcs.
Coordinate ceiling heights, beam drops, and lighting rows to pull the eye.
Lock in color schemes early to control visual continuity and perceived scale.
Create Zones for Cooking, Dining, and Relaxing
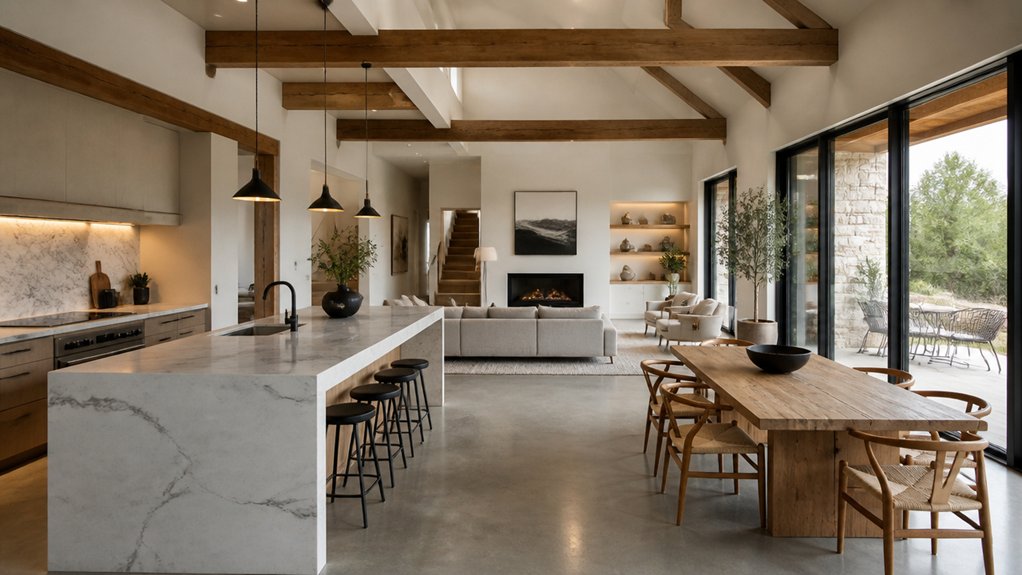
Once you’ve locked circulation routes and protected your main view axis, assign clear zones for cooking, dining, and relaxing so the room reads as intentional rather than as leftover floor area.
Anchor the kitchen with the island and keep a 1000–1200 mm working perimeter clear.
Place the dining table on the island’s long side, aligned to glazing, with 900 mm chair pull-back and 1100 mm behind a primary walkway.
Define the lounge by furniture placement: float the sofa to form a back edge, then align a rug to its front legs to lock the rectangle.
Use color coordination to reinforce boundaries—repeat cabinet tones in dining chairs and echo soft textiles in the lounge—while keeping one continuous floor finish for visual flow.
Add lighting layers to map each zone precisely.
Manage Noise and Ventilation in Open-Plan Spaces
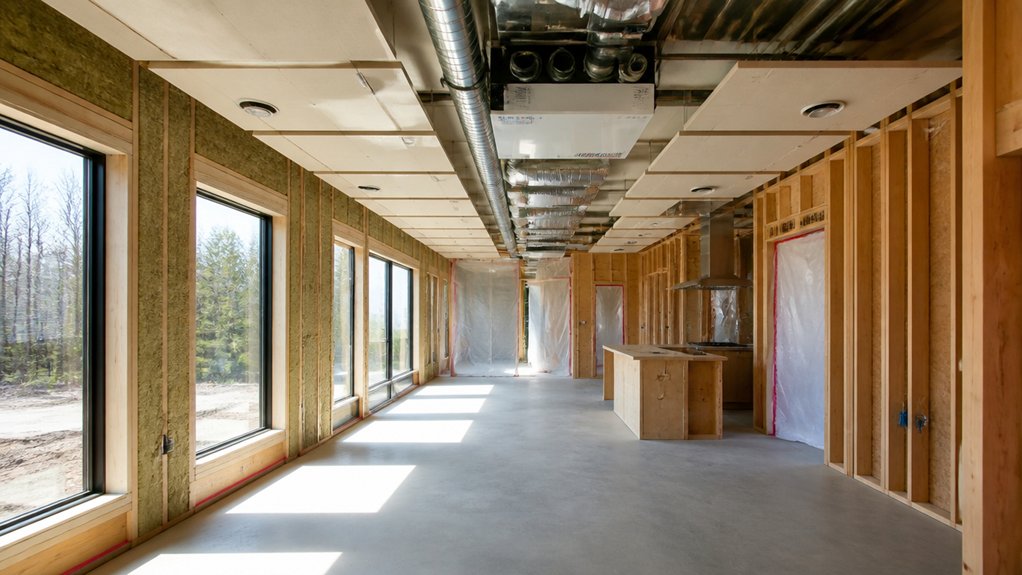
Because open-plan rooms remove the acoustic and air-pressure breaks that separate traditional layouts, you’ll need to control both sound transmission and odour-laden airflow at the plan and specification stage.
Use soundproofing techniques that add mass and absorption where noise originates: specify resilient underlay, dense plasterboard to island backs, and acoustic ceiling rafts above dining.
Break flanking paths by isolating ductwork with flexible connectors and lining service voids.
For airflow management, position a high-capture cooker hood with short, rigid duct runs to an external grille, and balance it with make-up air so extraction doesn’t pull smells across seating.
Add trickle vents or MVHR supply to the perimeter, then return air at high level to sweep heat and fumes away efficiently.
Add Pantry and Hidden Storage That Stays Open
Although open-plan layouts read clean and uncluttered, you’ll rely on a dedicated pantry and concealed, always-accessible storage to stop worktop creep and keep circulation clear.
Place the pantry on the kitchen’s working edge, not the social axis, so doors don’t project into main routes.
In your pantry design, specify full-height pull-outs, labelled zones, and a counter-depth staging shelf for small appliances.
Keep it “always open” by using a pocket door, recessed slider, or open-frame screen that preserves sightlines while masking clutter.
Build hidden compartments into island end panels, banquettes, and bench plinths for trays, linens, and recycling.
Maintain consistent toe-kick heights and align door reveals so storage reads as wall plane, not furniture blocks.
Map Lighting, Sockets, and Heating for Open-Plan Living
Hidden storage keeps the plan visually quiet; the next step is to lay out services so the space works without extension leads, cold spots, or glare. Start with a scaled furniture plan, then place sockets where you’ll actually sit, cook, and clean: floor boxes by the sofa, twin outlets in island end panels, and a high-level point for a wall-mounted TV.
Split lighting into circuits: task downlights over prep runs, pendant drops over dining, and perimeter ambient lighting via dimmable coves or wall washers. Use Smart switches at main entry points and by the kitchen to recall scenes.
Zone heating to match use: underfloor loops for kitchen/living, separate thermostat for dining, and a towel radiator circuit for adjacent WC. Keep controls readable.
Frequently Asked Questions
Will Open-Plan Living Reduce My Home’s Resale Value?
Open-plan living won’t inherently reduce your home’s resale value; its resale impact depends on buyer expectations and execution.
You’ll usually boost market appeal when you keep clear circulation paths, define zones with ceiling drops or flooring changes, and maintain sightlines to focal points.
You should preserve at least one enclosed room for privacy, acoustics, or a home office.
If you oversize the void or sacrifice storage and wall space, you’ll narrow demand.
Do I Need Planning Permission for Open-Plan Structural Changes?
You don’t usually need planning permission for internal open-plan structural alterations, but you must comply with Building regulations and sometimes get consent in protected buildings.
Example: you remove a load‑bearing wall between kitchen and lounge; you’ll need a structural engineer’s calcs, a Building Control application, and appropriate beams, bearings, and fire separation.
You need planning permission if you change the exterior, add extensions, or alter listed/flat layouts.
How Do I Make an Open-Plan Space Feel Cosy in Winter?
You’ll make an open-plan space feel cosy in winter by zoning heat and texture. Anchor the seating zone around a hearth or stove, then refine fireplace decor with a deep mantel shelf and reflective tile to project warmth.
Add cozy textiles—dense wool rugs, lined curtains, and layered throws—to reduce radiant heat loss.
Use low-level, 2700K lighting in clusters.
Block drafts with door sweeps and insulated glazing.
What Flooring Works Best Across Kitchen and Living Areas?
You’ll get the best performance with a single, durable surface: porcelain tile, luxury vinyl plank (LVP), or engineered timber rated for kitchens. These flooring options handle moisture, heat, and traffic while keeping acoustics manageable with an underlay.
Specify a continuous build-up—same thickness, same expansion gaps—to achieve seamless shifts between zones. Use flush thresholds, matching trims, and perimeter movement joints to prevent lipping and cracking.
How Can I Childproof an Open-Plan Kitchen and Living Space?
Start by zoning the plan: install a fixed gate line or low glazed partition to separate the cook run from play space.
Prioritize child safety with drawer/cabinet latches, corner guards, and anti-tip brackets on islands and stools.
Lock ovens and fit hob guards.
Optimize appliance placement: keep hot zones and handles away from traffic paths.
Route cords high, cover outlets, and anchor TVs, shelving, and lamps securely.
Conclusion
You test the open-plan theory: fewer walls can mean more usable space—if you control sightlines and services. You align the kitchen run to a long view, then pin dining under a pendant and set seating to face heat and daylight. You prove it works when extraction holds cooking air, acoustic finishes blunt clatter, and a pantry wall swallows clutter. With mapped sockets, dimmable layers, and zoned heating, the room reads calm, precise, and coherent.
About the Author