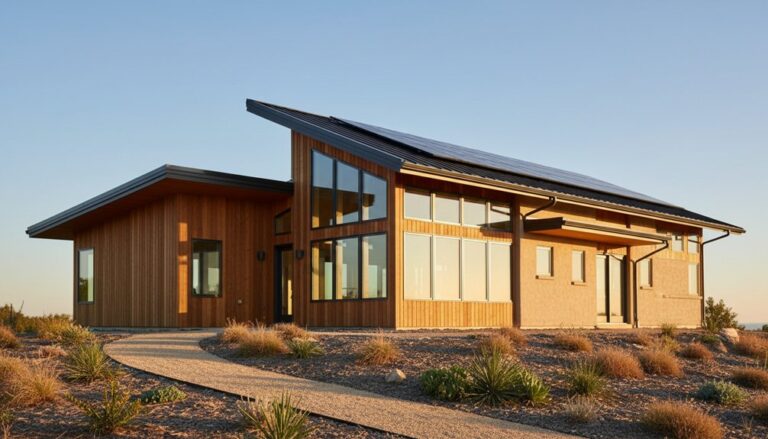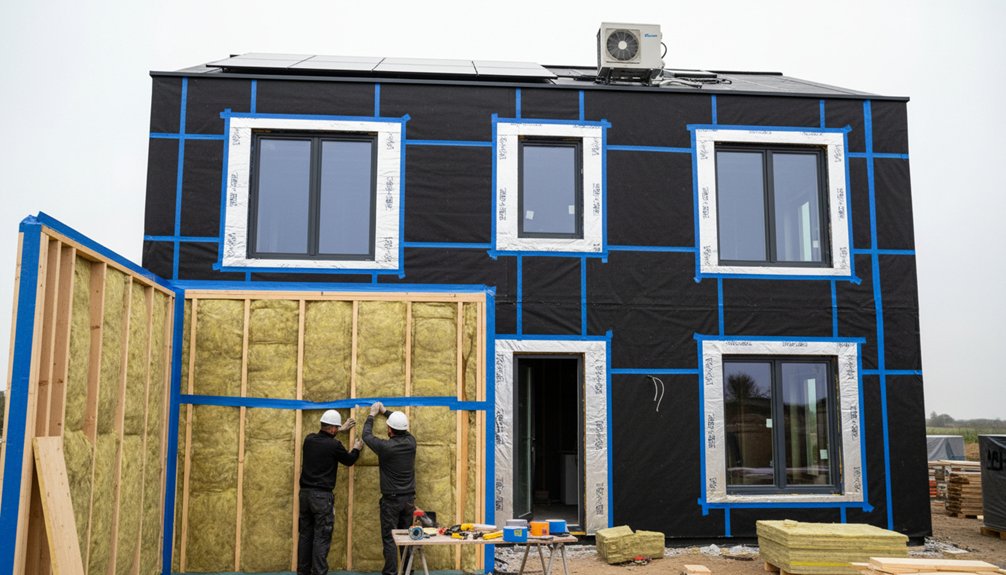
To construct a new build with exceptional energy ratings, you’ll lock a target standard early (SAP/EPC/Passivhaus) and align modelling assumptions, orientation, and renewable credits. You’ll cut heat demand with compact form, simple junctions, and controlled glazing, then deliver performance with a continuous airtight layer, interim blower-door tests, and gap-free insulation. You’ll detail out thermal bridges at every interface, specify high-performance windows, and commission MVHR and low-temperature heat pumps. Next, you’ll see how to prove it at handover.
Key Takeaways
- Choose an energy standard (SAP/EPC/Passivhaus), set measurable targets, and use consistent modelling assumptions for climate, occupancy, and boundaries.
- Design compact massing, simple rooflines, and optimized glazing ratios early to reduce heat-loss area and prevent late envelope changes.
- Specify a continuous airtight layer with detailed junctions, durable seals, interim blower-door tests, and a verified final airtightness result.
- Ensure continuous insulation with correct installation (no gaps or compression) and minimize thermal bridges at all interfaces using structural breaks and verified detailing.
- Install efficient systems: low-temperature heat pump, high-recovery MVHR, insulated hot-water storage, and thorough commissioning with documented handover evidence.
Set the Energy Rating Target (SAP, EPC, Passivhaus)

Before you lock in the envelope spec or MEP strategy, you need to set a measurable energy-rating target—because SAP compliance, an EPC band, and Passivhaus certification each optimise for different metrics, modelling methods, and design constraints.
Define which scheme governs approvals, finance, and marketing, then specify the numeric goal: SAP DER/TER and primary energy, EPC band threshold, or Passivhaus heating demand, primary energy (PER/PE), and airtightness.
Align your modelling toolchain (SAP assessor, SBEM where relevant, PHPP) and freeze boundary conditions, occupancy, and climate data so iterations stay comparable.
Use Building orientation assumptions consistently, since solar gains and PV yield shift outcomes.
State how Renewable sources will be credited (PV, solar thermal, heat pumps) and document evidence requirements for certification and handover.
Shape the Design to Cut Heat Demand Early
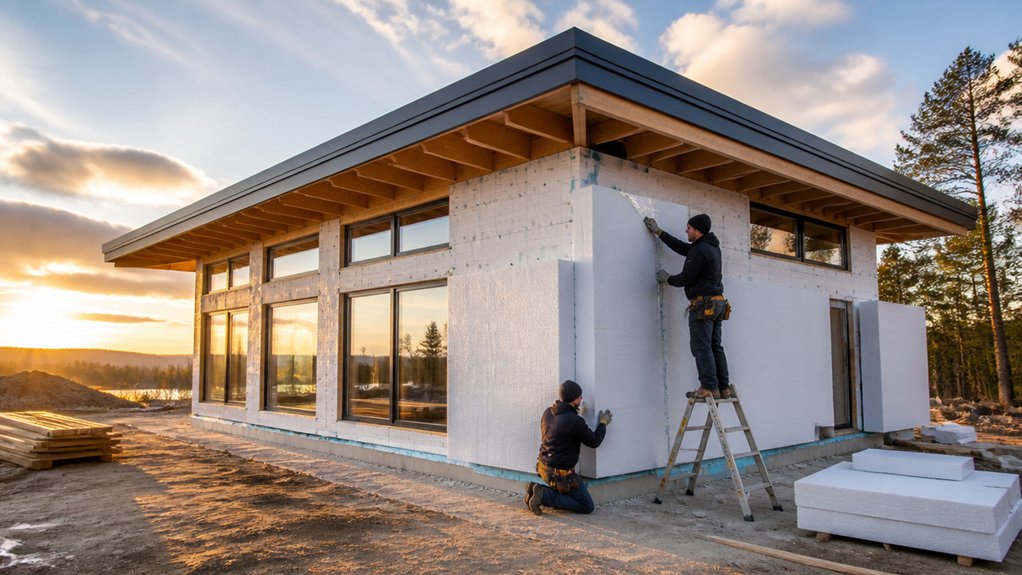
Although you can add insulation and renewables later, you can’t easily undo a poor form factor, so shape the building early to minimise heat-loss area per m² of floor. Favour compact massing, simple rooflines, and aligned storeys; every external corner, dormer, and set-back increases thermal bridge length and raises peak heat load.
Keep the envelope-to-floor ratio low, then place higher glazing ratios on solar-beneficial elevations while controlling summer gains with overhang geometry. Use Design aesthetics to justify disciplined symmetry and proportion rather than articulation that drives junction complexity.
Plan construction sequencing so structural grids, openings, and service zones don’t force late envelope changes that add exposed surface area. Lock window reveals, balconies, and parapets early to protect your heat-demand model and cost plan.
Airtightness Strategy and Your Target Air Test Score

Once you’ve fixed the form, you need an airtightness strategy that treats air leakage as a designed-in performance variable, not a site “finish.” Set a clear target air test score (typically expressed as air permeability at 50 Pa in m³/h·m² or as ACH@50) that aligns with your heating load, ventilation approach, and moisture-risk assumptions.
Then design a continuous airtight layer you can actually build. Map that layer on every drawing and detail each junction: slab-to-wall, wall-to-roof, openings, service penetrations. Specify durable tapes, gaskets, and seals with compatible substrates, and define who’s responsible at each interface.
Plan interim blower-door tests so you find leaks before finishes, then verify the final score. Use controlled ventilation to protect Indoor air quality, and prevent interstitial condensation for robust moisture control year-round.
Insulation Specs That Still Work on Site
Hit your airtightness target and you’ve removed the uncontrolled airflow that can bypass insulation. So the next step is making sure the R-value you specify is the R-value you actually get after trades, tolerances, and fixings do their work.
Specify a continuous thermal insulation layer with named thickness, lambda, and density. Then detail how it stays continuous at junctions, service zones, and structural penetrations.
Write insulation installation rules: no gaps >5 mm, no compression beyond manufacturer limits, and full contact to substrates to avoid convective loops.
Require taped or gasketed seams where boards meet, and stagger joints between layers.
Include fixings schedules that limit thermal bridging, plus a checklist for cavity cleanliness and moisture control so products don’t slump or lose performance.
Verify with photos and spot checks.
Windows and Doors That Meet Your Energy Rating
To hold your target energy rating, you’ll spec high-performance glazing with the right U-value, SHGC, and low‑E coatings for each orientation.
You’ll pair it with airtight frames, continuous gaskets, and verified air‑and‑water seals to control infiltration at every junction.
You’ll then require certified energy-rated installations, with documented flashing, shim, and foam/tape details so the installed performance matches the lab numbers.
Choosing High-Performance Glazing
Where do most new builds quietly lose energy performance? At the glazing line: you’ll feel it in winter heat loss and summer solar gain. Start by matching U-value and SHGC to your climate and window placement.
Put higher-SHGC units on true south elevations where winter sun helps, and choose lower-SHGC on east/west to curb overheating.
Specify triple glazing when heating demand dominates, or high-performance double glazing when budgets and mild climates allow.
Use warm-edge spacers to cut edge losses and reduce condensation risk.
Select glazing coatings deliberately: low‑E for infrared control, spectrally selective coatings for daylight with low solar load, and tuned visible transmittance to avoid overlighting.
Confirm performance is certified to NFRC or equivalent labels.
Airtight Frames And Seals
Even if you’ve specified top-tier glazing, leaky frames and sloppy sealing can erase the rated performance by letting air bypass the insulated glass. You need frames with proven low air-leakage, stiff profiles, and continuous compression gaskets at sash-to-frame and leaf-to-jamb interfaces. Specify multipoint locking to maintain gasket load under wind pressure and repeated cycling.
Detail the perimeter for airtight construction: use a backer rod to control sealant depth, then apply a compatible, elastic sealant with correct joint geometry and tooling.
At the sill, add a sloped, drained pan and end dams so bulk water doesn’t sit against seals. Tape or membrane the frame-to-wall connection, lapping to the WRB, and protect corners with preformed patches.
Certified Energy-Rated Installations
Airtight detailing only pays off if the window or door actually delivers its tested thermal numbers in the field, so you need certified, energy-rated units installed exactly to the conditions behind the label. Specify products with verified U-value, SHGC, air infiltration, and spacer performance, and match glazing to orientation.
You’ll also verify the installation method: continuous air barrier connection, insulated reveals, thermally broken sills, and taped membranes compatible with substrates. Require installer accreditation, torque limits on fixings, and frame packers that prevent distortion.
Commission with blower-door checks, smoke tracing, and infrared scans before interior finishes lock defects in. Document serial numbers and certificates for compliance.
High-performing openings cut peak loads, helping Smart grid control and Renewable integration without comfort penalties.
Thermal-Bridge Details That Protect Performance
Because your insulation layer only performs as well as its weakest junction, you’ve got to treat thermal bridges as design-critical defects rather than minor details. Start with thermal bridge design at every interface: slab-to-wall, balcony penetrations, lintels, corners, and roof eaves.
Maintain continuous insulation and airtightness lines, then specify structural breaks (thermally broken connectors, insulated cavity closers, low‑lambda blocks) wherever load paths cross the envelope.
Detail window installs so frames sit within the insulation zone, with insulated reveals and continuous tapes. Keep fixings minimal, and use stainless or composite where possible.
Model junction ψ‑values, then verify on site with set-out drawings and mockups. Your performance barriers only work if trades follow sequencing, tolerances, and seal continuity.
Heating, Hot Water and Ventilation for Low Bills
You’ll lock in low running costs when you specify the right heat pump type (air-to-water, ground-source, or exhaust-air) and size it to your design heat load and emitter temperatures.
You’ll keep hot water losses down with a well-insulated cylinder, smart controls, and a storage strategy that matches occupancy and tariff windows.
You’ll protect comfort and indoor air quality with mechanical ventilation—typically MVHR—set up for balanced flows, low specific fan power, and verified commissioning.
Heat Pump System Choices
Once you’ve driven heat demand down with insulation, airtight detailing, and good glazing, your heat pump selection becomes a performance exercise: match emitter temperatures, hot water loads, and ventilation strategy so the system runs long, steady cycles at a high seasonal COP.
Favor low-flow-temperature emitters (UFH or oversized radiators) so you can target 30–40°C flow and avoid resistance backup. Size to design heat loss, not floor area, and validate with a room-by-room calc to prevent short cycling.
Choose inverter-driven ASHPs for modulation, or GSHPs where ground conditions suit higher COP. Pair controls with zoning strategies that prioritize stable setpoints over aggressive setbacks.
Plan renewable integration by aligning run windows with PV output and using weather compensation. Coordinate with MVHR so ventilation doesn’t steal heat or add fan energy.
Efficient Hot Water Storage
A well-sized heat pump only holds its seasonal COP if your hot water storage doesn’t force high flow temperatures, frequent reheats, or standby losses. Specify a cylinder with high-grade insulation (low standing loss), stratification baffles, and a correctly sized coil so you can charge at 45–50°C, then use a thermostatic mixing valve to deliver safe tap temperatures without penalising efficiency.
Set reheat schedules around demand and minimise anti-legionella boosts by validating volume, setpoint, and draw-off profile.
Design pipework to cut dead legs, insulate all runs, and fit smart controls that prioritise solar integration when PV or solar thermal is available. You’ll stabilise recovery, reduce kWh per litre, and protect occupant comfort during peak showers.
Mechanical Ventilation Strategies
Because airtight new builds trap moisture and pollutants as effectively as they trap heat, you need a mechanical ventilation strategy that targets low fan power, controlled air change rates, and minimal heat loss.
MVHR usually delivers the best balance: specify ≥85% heat recovery, EC motors, and a measured specific fan power below 0.8 W/l/s. Size ductwork to keep velocities low, then commission to design flow rates room by room; you’ll protect Indoor air quality without over-ventilating.
Use demand control (humidity/CO₂) to reduce run hours, but lock in minimum background rates for bedrooms.
Place intake/exhaust away from flues and traffic, and fit low-pressure filters.
To limit ventilation noise, isolate fans, use attenuators, and avoid sharp bends and undersized terminals.
Handover Proof: SAP, Tests, and Commissioning Docs
Although your new build may look finished on site, you won’t be able to prove (or protect) its energy rating without a clean handover pack that ties the design model to verified as-built performance. Lock down your final SAP with the exact U-values, thermal bridge details, heating plant data, Renewable integration specs, and Smart controls setpoints actually installed—not “or equivalent” placeholders.
Back it with evidence: airtightness certificate (with leakage paths logged and sealed), ventilation flow test results per room, and combustion/CO safety checks where relevant. Include commissioning sheets for heat pumps/boilers, MVHR, cylinder coils, and zoning controls, plus photos of insulation continuity and service penetrations. Record firmware versions, control schedules, and user instructions.
If you can’t evidence it, you can’t claim it.
Frequently Asked Questions
How Much Extra Does an Exceptional Energy Rating Typically Cost Overall?
You’ll typically pay about 3%–10% extra overall for an exceptional energy rating, depending on building materials, climate, and design complexity.
You’ll see construction costs rise from upgraded insulation, airtightness detailing, high-performance windows, heat-pump HVAC, heat-recovery ventilation, and solar-ready electrical work.
You can often offset part of the premium by downsizing mechanical systems and reducing operating energy.
Your payback usually lands around 5–15 years.
Will Lenders or Insurers Offer Better Terms for High-Energy-Rated New Builds?
Yes—you can often secure better mortgage rates, higher loan-to-value, or fee discounts, and sometimes lower premiums, when your new build proves strong efficiency.
You’ll need documented Building certification processes (EPC, Passivhaus, LEED/BREEAM) and specs showing Energy efficient materials, airtightness, and low predicted running costs.
Lenders price lower default risk; insurers may reduce claims assumptions.
Terms vary, so you should compare green products and provide commissioning data.
What Warranties Cover Energy-Performance Defects After Completion?
You’ll usually rely on a new-home structural warranty plus any builder defects liability to cover energy-performance defects, but only if you can prove they breach specified standards. Test the theory that “all efficiency issues are covered” by checking exclusions for design intent, user behavior, and commissioning gaps.
Warranty coverage often applies to envelope failures, air-leakage, insulation voids, and HVAC faults; you’ll trigger post completion repairs via documented snagging and independent test reports.
How Long Does Planning Approval Take for Ultra-Low-Energy Home Designs?
Planning approval for ultra-low-energy home designs typically takes 8–13 weeks after you submit a valid application, but you’ll wait 16–26 weeks if revisions, consultations, or committee review trigger delays.
You can speed up the process by pre-app meetings and submitting energy calculations that align with building codes and insulation standards, plus clear drawings and specs.
You’ll lose time if officers request thermal-bridge details, airtightness targets, or updated reports.
Can I Retrofit Renewables Later Without Harming the Original Energy Rating?
Yes—you can retrofit renewables later without harming the original energy rating, if you protect fabric performance and document changes.
Here’s the catch: renewable integration can quietly raise heat loss if you breach airtight layers or compromise insulation continuity.
Tackle retrofit challenges by planning cable routes, penetrations, and mounting points, then reseal to verified air-permeability targets.
Update commissioning data, metering, and controls settings so the assessor models actual system efficiency.
Conclusion
You don’t get exceptional energy ratings by luck—you earn them by locking the target (SAP/EPC/Passivhaus), then driving every detail to match. Shape the form to minimise heat loss, hit your airtightness number on test day, and specify insulation that installs cleanly. Choose high-performance windows, eliminate thermal bridges, and size heating, DHW, and MVHR for real loads. Like a calibrated instrument, your build only performs when you prove it with SAP, test results, and commissioning evidence.
About the Author