You build a custom new‑build interior by translating routines into a dimensioned program: room functions, net square footage, storage volume, furniture footprints, and 42–48 in circulation clearances. You lock mandatory adjacencies and map daily traffic lines to remove pinch points at door swings and appliance zones. You freeze window and door locations from fixed references before issuing millwork, electrical, and HVAC zoning. You zone noise, coordinate the structural grid, and pre‑wire for future changes. Keep going to refine each step.
Key Takeaways
- Translate household routines into a measured room program: functions, net areas, clear widths, storage volume, and furniture circulation clearances.
- Plan adjacencies and circulation early, mapping daily routes and eliminating pinch points at doors, appliances, and corridor transitions.
- Fix window and door locations before finalizing room sizes, coordinating rough openings, swings, and cross-floor alignment with structure and cabinetry.
- Zone spaces for daylight, acoustics, HVAC, and power/data needs, separating noisy areas from bedrooms using partitions and soundproofing strategies.
- Coordinate materials, systems, and inspections for durability and code compliance, pre-wiring and installing conduit to support future technology and layout changes.
Define Your Custom Interior Layout Needs List
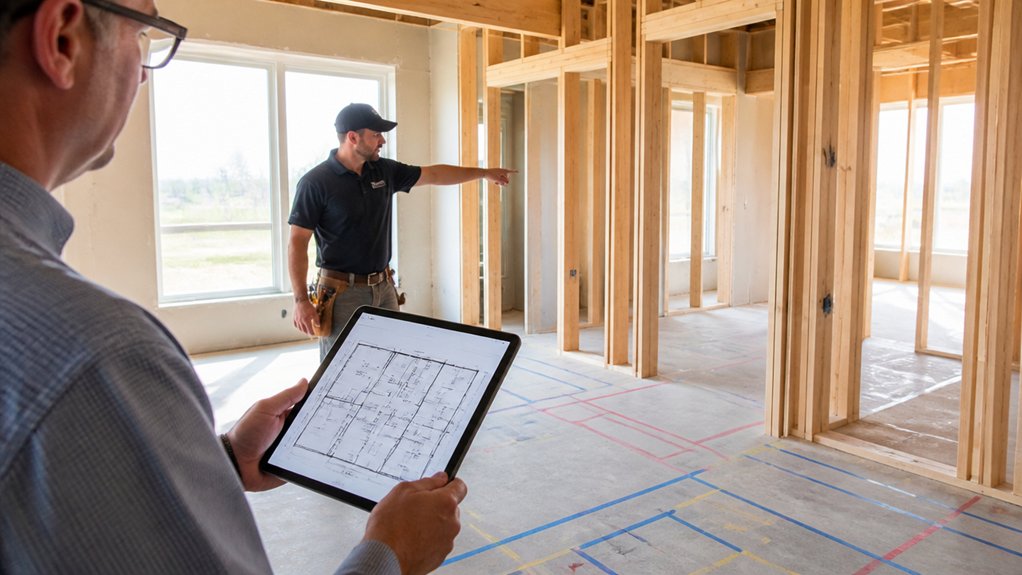
Before you draw a single wall line, define a custom interior layout needs list that converts how you live into measurable program requirements.
Start with occupants, daily cycles, and peak-use overlaps, then translate them into room functions, target net square footage, minimum clear widths, and required storage volume in cubic feet.
Specify furniture footprints and circulation envelopes so you don’t undercut clearances at doors, beds, and worktops.
Assign performance criteria: daylight targets, acoustic isolation ratings, HVAC zoning intent, and power/data counts per wall.
Log special constraints such as accessibility turning radii, wet-area waterproofing extents, and sightline control.
Note Decorative accents and Color schemes as finish-level directives only, flagged “non-structural,” so they don’t distort the base program.
Output the list as a table for plan verification.
Set Adjacencies: What Rooms Must Connect

You’ll set adjacencies by mapping which rooms must connect with direct doors or short corridors, such as kitchen-to-pantry, garage-to-mudroom, and primary suite-to-bath.
You’ll then specify privacy and noise buffers by inserting closets, bathrooms, or hall segments between high-traffic zones and quiet rooms.
You’ll lock these relationships into the plan’s circulation paths so access stays efficient without compromising acoustic separation.
Essential Room Connections
Where do you start when you’re mapping a custom interior layout—room sizes or the paths between them? Start with mandatory adjacencies and draw circulation lines first. You’ll connect garage to mudroom and pantry, then pantry to kitchen. You’ll link kitchen to dining and an outdoor access point.
You’ll place a powder room off the main hall, within one turn of living spaces. You’ll connect laundry to bedrooms or a linen core to reduce travel distance. You’ll align mechanical room to utility runs and provide direct service access.
You’ll group wet rooms: kitchen, baths, laundry, and mechanical along a shared plumbing wall stack. You’ll coordinate Decorative accents and lighting design with these nodes, reserving ceiling zones for runs and fixture spacing.
Privacy And Noise Buffers
Circulation lines lock in the shortest routes; next, you’ll control how sound and sight travel across those routes by setting privacy and noise buffers.
On your plan, keep bedrooms and studies off primary traffic spines, and separate them from kitchen, living, and laundry by closets, baths, stairs, or built-ins acting as buffer blocks.
Avoid direct door-to-door alignment between public and private rooms; offset openings and use short vestibules to break sightlines.
Specify Soundproofing strategies at adjacency points: staggered-stud or double-stud partitions, resilient channels, insulated cavities, sealed electrical boxes, and solid-core doors with perimeter gaskets.
Add Acoustic treatments where reverberation builds—ceilings, stair halls, and media zones—using absorptive panels, rugs, and baffles.
Place mechanical rooms away from sleeping walls and route ducts to limit cross-talk.
Lock Window and Door Placement Early

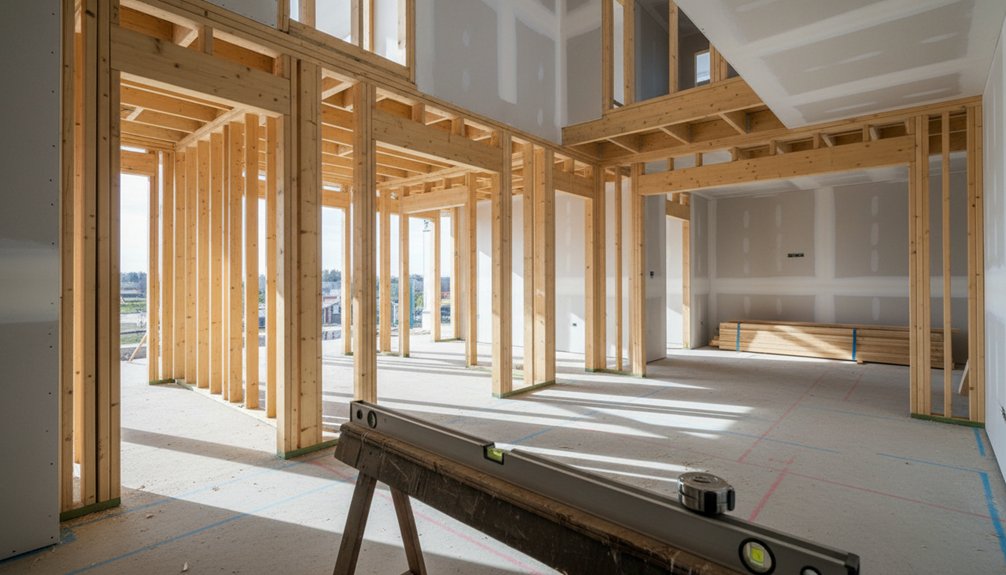
Before you refine room dimensions or commit to built-ins, lock the window and door locations on the plan and elevation sheets. Window placement and door placement control wall line continuity, header sizing, and structural load paths, so you’ll prevent late beam revisions and reframing.
Dimension openings from fixed references (gridlines or exterior corners), then tag each unit with rough opening, sill height, and head height. Coordinate swing, handing, and clearances with adjacent cabinetry, plumbing walls, and HVAC chases so you won’t violate minimum setbacks.
Verify alignment across floors, especially stacked windows and stair landings, to keep elevations rational and flashing details repeatable. Freeze these decisions before you issue electrical, millwork, and reflected ceiling plans, since trims and casing returns depend on them.
Map Daily Traffic Flow Through the Layout
Once you’ve fixed the major openings, trace the actual daily routes on the floor plan—entry to drop zone, kitchen to pantry, bedrooms to baths, garage to mudroom, and laundry to closets—then convert those paths into dimensioned clearances.
Draft each path as a centerline, then offset for shoulder width and carry items: 42 in typical, 48 in where two-way passing occurs. Mark pinch points at door swings, casing returns, and appliance/service zones; revise with pocket doors or hinge flips as needed.
Keep turning radii at corners and at closet entries, and align circulation with structural grids to avoid jogs. Verify Outdoor integration by mapping patio and yard access against muddy-shoe routes.
Maintain aesthetic harmony by keeping axes straight and sightlines uncluttered throughout.
Plan the Open Public Zone (Kitchen + Living)
You’ll set the kitchen and living zone as a single open volume. Then dimension circulation paths to protect the cook line and maintain clear egress.
You’ll align the work triangle with the main traffic spine so cross-traffic doesn’t cut through prep, sink, or range clearances.
You’ll also zone for noise by positioning appliances, hard surfaces, and speaker/TV walls away from quiet edges, using partitions or buffering elements to control sound transmission.
Workflow And Circulation
Because the kitchen and living area operate as one continuous public zone, you should lay out circulation first, then lock in fixture and furniture locations around it. Draw primary paths from entry to sink, range, refrigerator, dining, and seating; hold 42–48 in clear widths, and keep pinch points above 36 in.
Set the work triangle at 12–26 ft total, with uninterrupted counter runs between nodes. Place the island to preserve 42 in prep aisles and 48 in appliance aisles; align stools outside traffic.
In plan, coordinate door swings, drawer pulls, and appliance clearances. Finalize material selection where thresholds meet to avoid lippage and trip edges.
Complete lighting design after paths: task over counters, ambient over seating, and switched layers for wayfinding. Maintain consistent datum lines throughout.
Zoning For Noise Control
While an open kitchen–living plan reads as one room, treat it as two acoustic zones and draw control lines in plan before you place furniture. Set the kitchen zone to the hard-surface perimeter; keep the living zone toward the soft-core center.
Place the noisiest sources (hood, dishwasher, fridge) on an exterior or buffered wall, not back-to-back with seating. Specify Acoustic insulation in the shared ceiling cavity and around plumbing chases; detail resilient channels where the plan meets bedrooms.
Use Soundproofing techniques: gasketed door to pantry/laundry, underlayment at tile-to-wood transitions, and sealed recessed lighting to stop flanking.
In plan, add a rug field, upholstered runs, and bookcase mass along the control line to damp reflections.
Future-Proof Your Custom Interior Layout (WFH, Aging)
How will your floor plan perform when your work setup changes or mobility needs shift? Draft a flex room on a shared wet wall so you can convert office-to-guest without rerouting plumbing.
Specify 42-inch corridors, 36-inch doors, and a zero-threshold entry; align framing for future grab bars.
Place a stacked-closet chase for a later lift or dumbwaiter, and reserve a 5-foot turning radius in one ground-floor bath.
For WFH, route Cat6 to two wall locations, add a dedicated 20A circuit, and isolate HVAC returns for acoustic control.
Choose Sustainable materials with low-VOC finishes and durable wear layers.
Plan Smart home integration: conduit to panels, sensor-ready lighting zones, and accessible control heights.
Frequently Asked Questions
How Much Do Custom Interior Layouts Typically Add to Construction Costs?
Custom interior layouts typically add 5%–20% to your construction costs, depending on complexity, interior materials, and budget planning.
You’ll pay more when you shift load paths, relocate plumbing stacks, or re-route HVAC ductwork and electrical runs.
You can expect higher soft costs too: extra architectural drafting, structural calculations, and MEP coordination.
You’ll control the premium by locking dimensions early, standardizing wet-wall locations, and limiting bespoke cabinetry.
Do Custom Layouts Require Special Permits or Additional Inspections?
Yes—you’ll often need revised permits and extra inspections when you change structural, egress, MEP, or fire-rated wall layouts.
You submit updated plan sets per local permitting procedures, showing load paths, wall types, HVAC runs, plumbing venting, and electrical circuits.
The building department may trigger added inspection requirements: framing, rough-in MEP, fireblocking, insulation, and final.
If you relocate bathrooms or alter stairs, expect plan review and field verification.
When Should I Hire an Interior Designer Versus Relying on My Architect?
Hire an interior designer when you need detailed Furniture arrangement plans, ergonomic clearances, and coordinated Color schemes tied to finishes, lighting, and furnishings.
Rely on your architect when you’re finalizing structural grids, wall locations, code paths, and MEP coordination.
Bring the designer in at schematic design, before DD, so selections align with electrical switching, outlet placement, reflected ceiling plans, and millwork shop drawings.
If budget’s tight, hire for key rooms.
How Do Structural Constraints Limit Moving Walls, Plumbing, or HVAC Runs?
Structural constraints limit changes because you can’t freely relocate elements tied to the building’s primary system. With load bearing considerations, you must keep support walls aligned over beams, columns, and continuous load paths. Moving them triggers new headers, point loads, and framing revisions.
Foundation restrictions constrain new posts, thicker footings, and slab penetrations. You can’t shift plumbing without maintaining slope, vent stacks, and chase space. HVAC reroutes require duct clearances, soffits, and static-pressure recalculations.
What Is the Typical Timeline Impact of Choosing a Fully Custom Layout?
You’ll typically add 6–16 weeks with a fully custom layout; it’s the domino line on your plan set.
You’ll spend 2–6 weeks on iterative drafting, engineering coordination, and permit resubmittals.
Then, 2–8 weeks on revised trade rough-ins and inspections.
Interior material choices can trigger lead-time extensions, while Lighting design considerations add coordination for circuits, switching, and fixture locations, raising rework risk.
Conclusion
You’re the drafter steering a ship through tight channels: your needs list is the manifest, adjacencies are bulkheads, and early door/window locks are watertight seams. You chart traffic flow like currents, then frame an open public zone where kitchen and living share the main deck. Finally, you spec future loads—WFH stations, wider clearances, zero-step routes—so the hull won’t twist later. Build it once, and it’ll sail.
About the Author