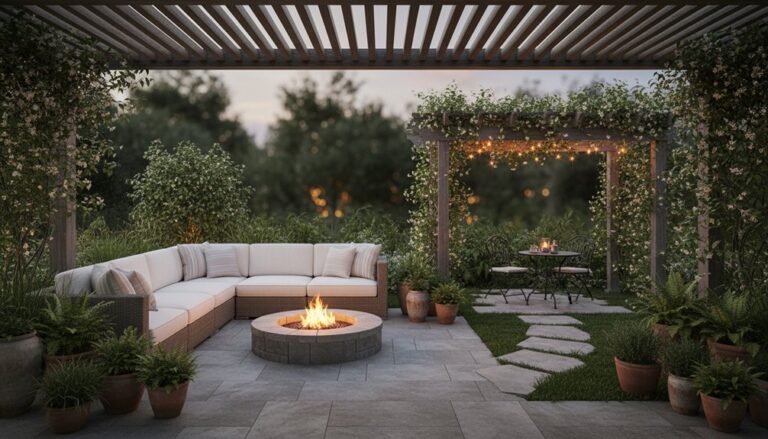
Redesign your garden by mapping where you already walk and pause—door to gate, coffee spot, prep patio, play patch, and a quiet corner—then sketch those zones with dimensions and direct connections. Place seating for morning or evening sun, keep edible planters in six hours of light, and tuck utilities downwind. Build clear paths with gravel or pavers sized for carts, lock edges with steel or brick, and add layered screens for privacy. Next, you’ll see how to refine details.
Key Takeaways
- Map outdoor zones around daily routines, tracing how you move between doors, seating, cooking, play, and quiet areas.
- Use microclimates: place coffee in morning sun, dining in evening warmth, and edibles where they get six hours of light.
- Design clear circulation using desire lines, with primary paths wide and stable enough for two people and a wheelbarrow.
- Define each zone with hardscape thresholds—patios, edging, pavers, or gravel bands—to separate functions and control soil creep.
- Improve comfort and privacy by screening key sightlines with layered plants or porous panels matched to each zone’s purpose.
Choose Your Garden Zones by Daily Routines

Before you sketch beds or pick materials, map your garden zones to the way you actually move through the day: where you drink coffee, where you prep food, where kids or pets burn energy, and where you want quiet. Walk the site at those times and note paths, pinch points, and views you’ll want to keep or block.
Then assign zone activity zones: an entry strip that stays tidy, a hard-surfaced prep patio near the door, a resilient play patch, and a sheltered reading corner.
Choose garden zone themes that match use and maintenance: gravel for high-traffic routes, pavers for rolling carts, mulch where you garden, and dense edging to contain mess.
Draft a simple plan with dimensions and clear connections.
Use Sun, Shade, and Wind to Place Garden Zones
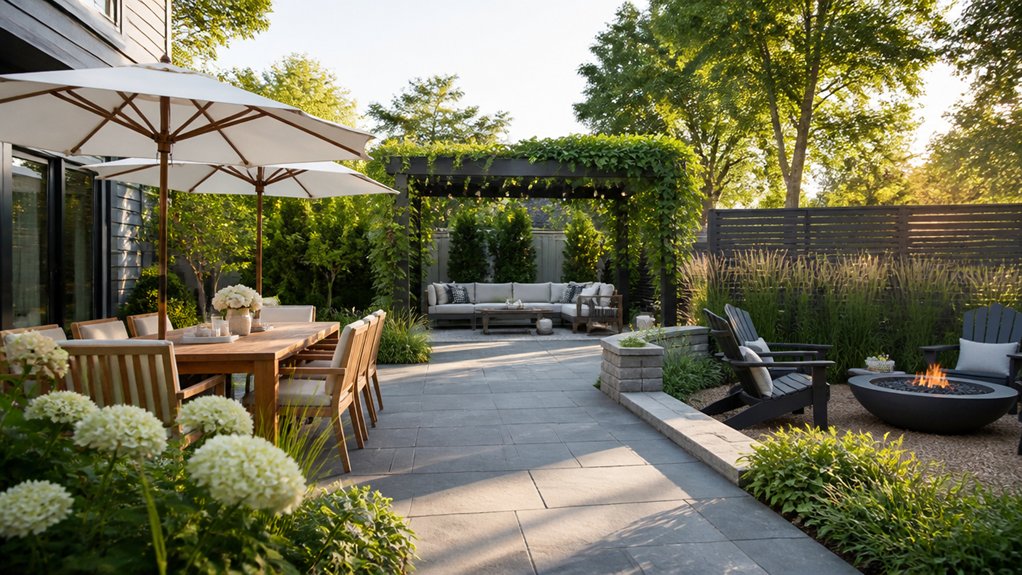
Once you’ve matched zones to your routines, anchor them to the site’s microclimates so each space works with less effort. Start with Sun orientation: place a dining terrace where evening light stays warm, and keep a morning coffee nook on the east side.
Map summer shade from buildings and trees; tuck seating under high canopy or a pergola you can skin with slats or vine wires. Put kitchen-adjacent planters where they’ll get six hours of sun, and shift leafy greens to dappled shade to slow bolting.
Read prevailing winds, then design wind protection using hedges, fence boards with small gaps, or a low masonry wall that deflects gusts. Keep compost and utility areas downwind, away from doors and windows.
Create Clear Paths Between Garden Zones

After you’ve set each zone in its best microclimate, lay out circulation so you can move between spaces without cutting through beds or squeezing past furniture. Sketch desire lines from doors, seating, and gates, then straighten them into efficient runs that respect roots, slopes, and drainage.
Keep primary routes wide enough for a wheelbarrow and two people to pass; tighten secondary routes only where you’re willing to slow down. Choose stable, permeable surfaces that suit your soil and rainfall, and align joints or boards to shed water.
Use lighting and sightlines to pull you forward, aiming views toward focal points like Water features. Anchor turns and pauses with Garden furniture, positioned so traffic flows behind chairs, not through conversations.
Define Garden Zones With Patios, Edging, Gravel
Although your zones may already sit in the right microclimates, you’ll make the plan legible by drawing hard edges: set a patio pad for gathering, run edging to hold beds and define turns, and use gravel to stitch shifts where you need drainage and flexibility.
Size the patio to your furniture footprint plus circulation, then align it to existing grades so runoff sheds away from structures.
Choose Garden zone materials that match use: pavers for high wear, poured concrete for a clean datum, decomposed granite where you want permeability.
Use steel, brick, or stone edging to lock lines and prevent soil creep.
Let gravel bands mark thresholds at gates, corners, or service areas—simple zone identification techniques that read clearly from the house and on your plan.
Add Privacy to Garden Zones With Plants/Screens
Once you’ve set each zone with patios and edging, you’ll want privacy that fits your site’s sun, wind, and sightlines.
You can build a living screen with layered planting—tall shrubs or clumping grasses behind, mid-height perennials in front—to block views without closing the space in.
Where you need an instant boundary, you can install stylish privacy screens in wood, metal, or composite and then soften them with climbers or planters to match your garden materials.
Layered Planting For Screening
Even if you’ve already carved the garden into distinct zones, you’ll need screening that feels built into the plan, not tacked on. Start by mapping sightlines from windows, seating, and paths, then set planting bands that match your soil and exposure.
Use vertical layering: a light canopy for overhead filter, a mid-story for body, and a low edge to seal gaps at ground level. Choose plant combinations that work as a system—evergreen structure, seasonal texture, and narrow forms where space pinches.
Keep clearances off paving and boundaries, and align root runs with irrigation lines and mulch zones. Stagger spacing to close views quickly without overcrowding, and leave access strips for pruning and maintenance.
Stylish Garden Privacy Screens
Because privacy works best when it doubles as structure, you should treat screens as part of the layout—set their height and porosity to match each zone’s function, then choose materials that suit the site.
For dining, block seated sightlines with 1.6–1.8 m panels; for paths, keep 30–50% openness to hold light and airflow.
Use Decorative lattice on the shady edge to soften wind without creating damp pockets, and align posts with paving joints so the plan reads clean.
In exposed areas, specify slatted hardwood or powder-coated aluminum for durability and consistent spacing.
Add Trellis privacy where you want seasonal change: fix a rigid frame, then plant climbers or trained espaliers to thicken coverage over time.
Anchor footings below frost line.
Finish Garden Zones With Lighting, Storage, Upkeep
Once your zones are defined, you’ll finish them with a layered lighting plan—path lights for safe circulation, task lighting where you cook or work, and soft accent fixtures to shape views after dark.
You’ll lock in order with storage that fits the site and materials, like weather-rated benches, slim sheds, or wall racks placed at zone edges to keep tools and cushions close but out of the way.
You’ll also plan upkeep from the start, choosing durable finishes and setting simple access routes and routines so each zone stays functional season to season.
Layered Zone Lighting Plan
While you map each garden zone for seating, cooking, or circulation, layer the lighting the same way—start with a practical base of path and step lights, add focused task fixtures where hands work, then finish with low-glare accents that pick up key plants, walls, and edges.
Tie fixture spacing to your paving grid and riser heights so beams land cleanly on stone, brick, or gravel without glare. Put bollards or shielded downlights on the windward side to reduce flare, and keep color temperature consistent to maintain an ambient glow.
Over counters and grills, aim adjustable heads for true task illumination, then dim them separately for dining. Use grazing light on timber screens, washed light on stucco, and narrow uplights to silhouette specimen trunks.
Draft circuits by zone for control.
Storage Solutions And Upkeep
Where do the tools, cushions, and grill gear go when you’re done using each zone? Build storage into the plan so every item has a weatherproof home. Place a slim resin shed near the utility path, and add a teak or powder-coated bench with lift-up seat beside your Garden furniture. Use sealed deck boxes for textiles; choose marine-grade hinges and drainage channels. Mount a galvanized rail system for hand tools, and keep a lidded caddy for grill brushes and fuel.
For upkeep, zone your waste: position compost bins downwind, on pavers, close to the kitchen door for easy drops. Set a weekly reset—wipe surfaces, sweep hardscape, oil wood, and check fasteners—so each zone stays ready year-round.
Frequently Asked Questions
How Much Does a Full Garden Zone Redesign Typically Cost?
You’ll typically pay $10,000–$50,000+ for a full garden zone redesign, with small yards closer to $5,000–$15,000 and high-end builds exceeding $100,000.
You’ll set costs through a plan: grading, drainage, hardscape square footage, and utilities.
You’ll choose materials—pavers, stone, timber—and lock in labor.
You’ll refine garden aesthetics with plant selection, irrigation, lighting, and soil amendments.
Permits can add more.
Do I Need a Permit to Add a Patio or Outdoor Kitchen?
Yes—you often need a permit, especially if you’re running gas, electric, plumbing, or pouring a new slab; it’s a red tape maze.
You’ll follow the Permitting process through your city or county, and zoning regulations may limit setbacks, coverage, and height.
Submit a scaled site plan showing dimensions, materials (pavers, concrete, masonry), drainage, and utility routes.
If you’re replacing in-kind hardscape, you might skip permits—verify first.
Which Materials Last Longest in Freeze-Thaw Climates for Outdoor Zones?
For freeze-thaw climates, you’ll get the longest life from dense, low-absorption materials: air-entrained concrete, clay brick rated for severe exposure, granite, and frost-proof porcelain pavers.
Specify proper base depth, compacted angular gravel, and positive drainage to boost material durability and climate resilience.
Use polymeric sand or flexible joints, avoid soft limestone and porous sandstone, and seal only where recommended.
Detail edge restraints, pitch, and snowmelt runoff.
How Can I Design Zones to Be Accessible for Wheelchairs or Walkers?
Design zones with accessible pathways so smooth they feel like a runway to the stars. Plan 36–48 inch routes with 60 inch turning circles, under 5% slopes, and frequent level landings.
Specify firm, non-slip, freeze-thaw-rated surfaces: broom-finished concrete, resin-bound gravel, or tight pavers on compacted base.
Add curb edges, high-contrast joints, and drainage falls.
Place wheelchair-friendly seating on pads, with armrests and clear side transfer space.
What Are the Best Ways to Manage Drainage and Prevent Water Pooling?
To manage drainage and prevent pooling, you’ll regrade the site to shed water, aiming for a 1–2% slope away from structures.
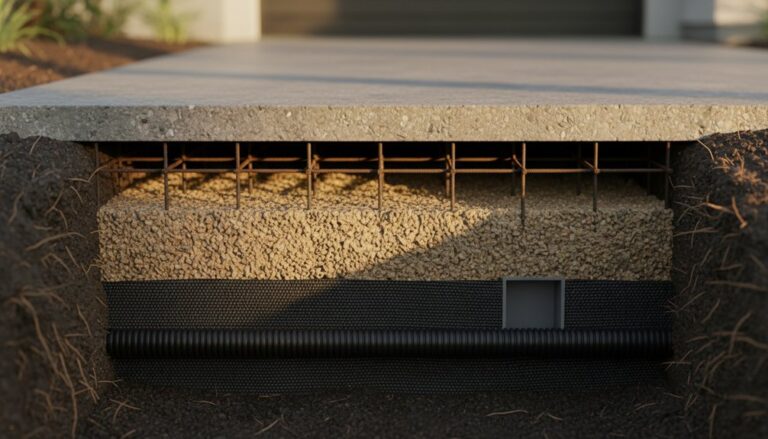
You’ll map low spots on a plan, then specify rainwater management: swales, rain gardens, and permeable paving over a compacted, open-graded aggregate base.
You’ll add French drains with cleanouts where soils stay saturated.
You’ll connect overflow to a soakaway or storm line.
Include curb cuts for flow.
Conclusion
When you redesign your garden into functional outdoor zones, you’re laying out a living floor plan. Let your routines set the dining, play, and quiet corners, then place each zone where sun, shade, and wind behave. Connect everything with clear paths, and lock edges in with patio pavers, gravel bands, or crisp metal edging. Add privacy with layered planting or screens, then finish with lighting, storage, and simple upkeep.
About the Author