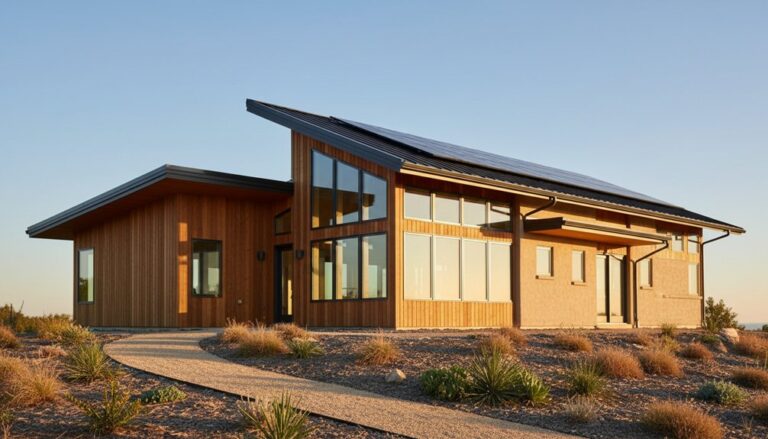
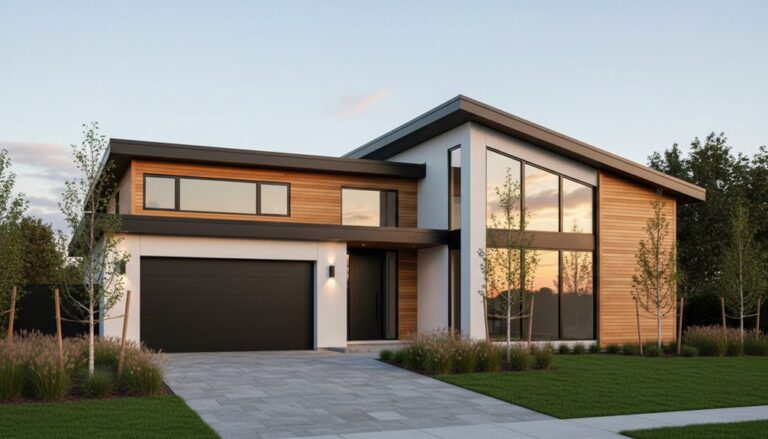
You’ll build a modern open-plan family home by locking a 1.0–1.2 m circulation spine from entry to kitchen and outdoor doors, keeping appliances and swing doors off that path. Zone lounge, dining, and kitchen with sofa backs, islands, credenzas, rugs, and centered pendants, while maintaining 900 mm around the table. Run a hot wall and wet wall kitchen, with 1100–1300 mm island clearances and separate lighting circuits. Next, you’ll refine acoustics, storage, and HVAC routing.
Key Takeaways
- Plan a 1.0–1.2 m circulation spine from entry to kitchen and outdoors, keeping doors and appliances off main traffic paths.
- Define zones without walls using sofa backs, islands, rugs, pendants, and finish changes to signal dining, lounging, and work areas.
- Protect sightlines and comfort with 900 mm minimum pinch points and 2400–3000 mm between opposing faces for openness and acoustics.
- Optimize the kitchen by separating hot and wet walls, placing fridge on approach, and keeping 1100–1300 mm aisles around the island.
- Layer lighting and acoustics with zoned circuits, task and ambient scenes, plus rugs and drapery to reduce echo in large open spaces.
Plan an Open Plan Layout for Family Life
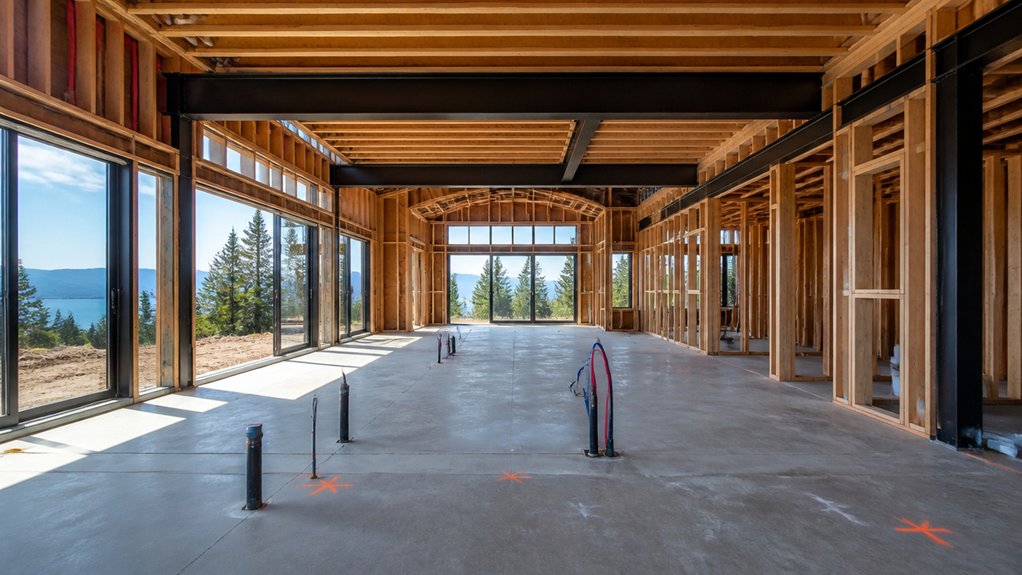
How do you make one large space work for real family routines without it feeling chaotic? You start with circulation: map a clear 1.0–1.2 m path from entry to kitchen, dining, and outdoor access, then keep appliances and doors off that spine.
Place the kitchen on the shortest service run, with the island parallel to traffic so stools don’t pinch flow. Your furniture arrangement should anchor sightlines: float the sofa to face a focal wall, align dining to the kitchen work triangle, and maintain 900 mm clearances around the table.
Build privacy solutions into edges, not partitions: use a back-to-back storage wall, acoustic ceiling panels above play/TV, and layered lighting to separate tasks without breaking volume.
Zone an Open Plan Without Walls

Once your circulation spine and clearances work, the next step is to zone the same volume so each activity reads as intentional without adding walls. Use furniture placement to establish “rooms” by aligning sofa backs, credenzas, and kitchen islands as edges, keeping their long faces parallel to primary axes.
Anchor each zone with a rug sized so front legs sit fully on it, and center a ceiling pendant or track head cluster to reinforce that footprint. Shift floor finishes at thresholds—timber to tile, or a 10–15 mm reveal strip—to signal program changes while staying flush.
Calibrate lighting layers: task at counters, low glare ambient at seating, and wall wash at dining. Add decorative accents—art, plants, and shelving—to mark endpoints and soften passages.
Set Traffic Flow, Sightlines, and Distances
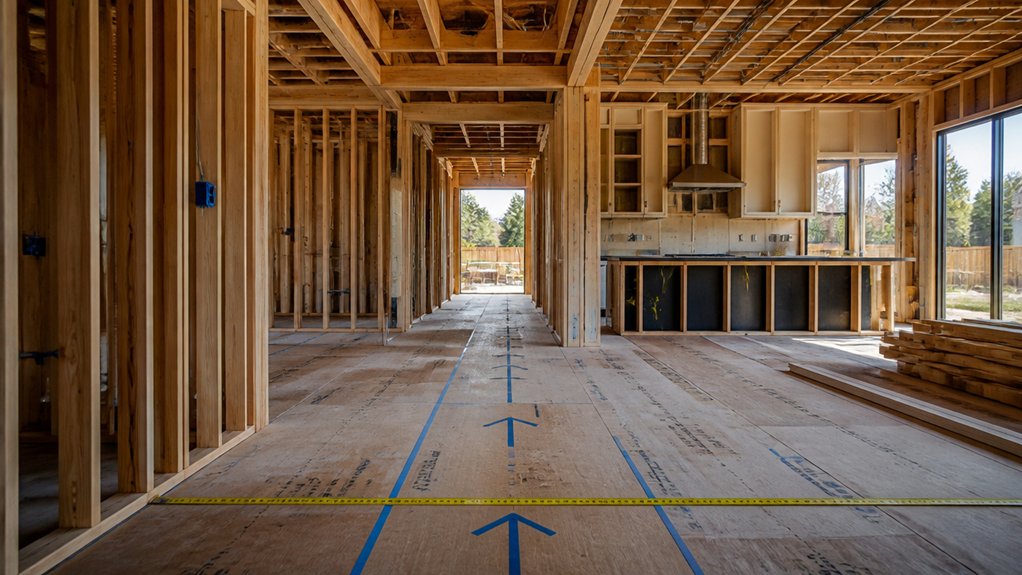
Before you lock in furniture and joinery, map the primary traffic routes and protect the key sightlines so the plan feels effortless rather than congested. Sketch desire lines between entry, storage, dining, lounging, and outdoor doors, then size clear paths to 1000–1200 mm for two-way movement.
Keep pinch points at thresholds and around seating above 900 mm, and avoid cross-traffic through conversation zones. Use Traffic patterns to position rugs and low elements as soft guides, not barriers.
For Sightline optimization, align the main axis to daylight and a focal point, and keep tall pieces outside that cone. Maintain 2400–3000 mm between opposing faces to prevent glare, noise bounce, and crowding.
Design the Open Plan Kitchen and Island
Although an open-plan kitchen reads as one room, you’ll get better performance by zoning it like a compact workspace wrapped by circulation. Set a “hot” wall for cooktop/oven and a “wet” wall for sink/dishwasher, then keep the fridge on the approach side to reduce cross-traffic.
Maintain 1000–1200 mm aisles at the perimeter and 1100–1300 mm between runs and island for two-person passing. Use continuous Kitchen cabinetry heights to control sightlines; reserve tall units for pantry and integrated appliances, and keep uppers minimal on open edges.
Size the island to 2400 x 1000 mm where possible, with 300 mm overhang and 600 mm per place for island seating, facing the social zone.
Layer Lighting for Kitchen, Dining, Living
Because an open-plan kitchen, dining, and living area behaves like one continuous volume, you’ll get predictable comfort by layering light to match each zone’s task and sightline.
Start with ambient: dimmable downlights or a low-glare track grid, spaced to avoid scalloping on tall cabinetry and to keep circulation evenly lit.
Add task lighting: under-cabinet LED strips aimed to the backsplash for shadow-free prep, and pendants centered over the island with controlled beam angles to protect seated sightlines.
Define dining with a suspended fixture hung to clear views yet concentrate lux on the table.
In the living zone, use Accent lighting—wall washers for art, toe-kick grazers for depth—and tune Mood lighting via warm dimming and scene presets.
Use separate circuits per zone.
Reduce Noise and Echoes in Open Plan Rooms
Once you remove partitions, hard surfaces in the kitchen–dining–living volume start reflecting sound in long paths, so speech intelligibility drops and the room feels “loud” even at moderate activity.
You’ll fix this by adding distributed sound absorption rather than one token panel. Specify an absorptive ceiling zone above the seating area, then balance it with wall panels on the longest parallel runs to break flutter echo.
Use thick rugs with underlay to tame footfall and mid/high frequencies, and add full-height drapery on large glazing to shorten reverberation time.
Place bookcases or slatted timber screens near the dining end to diffuse reflections without blocking sightlines.
Keep appliances on resilient pads.
Choose acoustic treatments with published NRC values so you can target RT60 for family comfort.
Plan HVAC, Storage, and Hardwearing Finishes
When you lock the floor plan, you should also lock the service routes—HVAC trunks, plumbing stacks, and electrical chases—so you don’t sacrifice ceiling height or storage later. Keep main trunks in dropped corridors or stair zones, then branch with short, straight runs to reduce static pressure and noise.
Use HVAC zoning to separate the open living volume from bedrooms and sun-facing rooms; place returns high in tall spaces and supplies at perimeter glazing to offset loads.
Build storage solutions into thickened walls: full-height pantry bays, under-stair drawers, and flush utility closets sized for filters and manifolds.
Specify hardwearing finishes where traffic concentrates: matte porcelain, microcement, or engineered wood with durable topcoat, plus washable paint and impact-resistant skirting.
Frequently Asked Questions
How Much Does an Open Plan Extension Typically Cost per Square Metre?
You’ll typically pay £2,000–£3,500 per m² for an open plan extension in the UK.
This cost can rise to £4,000+ per m² for high-spec glazing and structural steel.
You’ll drive costs up with longer spans, larger openings, and upgraded foundations.
Budget separately for Interior lighting layouts and controls, plus Acoustic treatment (ceilings, wall linings, soft finishes) to manage reverberation across the enlarged volume.
Planning fees add too.
Do Open Plan Homes Reduce Resale Value Compared to Traditional Layouts?
No, open plan homes don’t usually reduce resale value; they often increase it when you prove performance. Test the theory: buyers reject “echoey boxes,” not openness.
You protect value by zoning with ceiling breaks, cabinetry, and sightlines that separate kitchen, dining, and lounge. Pair interior decor with durable finishes and acoustics.
Optimize lighting design using layered ambient, task, and accent circuits to define areas and improve usability.
What Planning Permissions Are Required for Removing Internal Load-Bearing Walls?
You usually won’t need full planning permission to remove an internal load-bearing wall, but you must get Building Regulations approval and, if applicable, listed-building consent.
You’ll submit structural calculations, beam specs, and a method statement showing structural reinforcements (RSJ/LVL, padstones, temporary propping).
Your inspector checks fire protection, deflection, and connections.
If you’re in a flat, you’ll also need freeholder consent.
Plan for interior acoustics changes.
How Do You Ensure Open Plan Spaces Are Safe for Toddlers and Pets?
You guarantee open plan spaces are safe by zoning circulation paths, anchoring furniture, and controlling access.
Use childproofing tips: fit stair gates, cover outlets, radius sharp edges, and lock low cabinets.
Add pet safety measures: conceal cables in trunking, choose non-toxic plants, secure bins, and provide a defined feeding station away from play zones.
Specify slip-resistant flooring, soft-close doors, and maintain clear sightlines to hazards.
Which Home Insurance Considerations Change After Converting to Open Plan?
After you convert to open plan, you’ll update rebuild cost, declare structural alterations, and adjust liability and contents cover. You’ll document removed load‑bearing walls, new beams, and altered room layout so your insurer rates risk accurately.
Open volumes change fire safety: smoke/heat detector zoning, compartmentation loss, and kitchen-to-living spread. You’ll also note acoustic insulation upgrades, since sound transfer affects tenant/office use classifications and potential claims.
Conclusion
You’re not just removing walls; you’re tuning a living machine. When you plan zones, you’ll let furniture, rugs, and ceiling changes act like quiet partitions. You’ll set clear circulation paths, protect sightlines, and keep work triangles tight around the island. Layer task, ambient, and accent lighting to steer attention. Tame echoes with soft finishes and absorption. Finally, size HVAC, add hidden storage, and choose durable surfaces so daily life runs smoothly.
About the Author