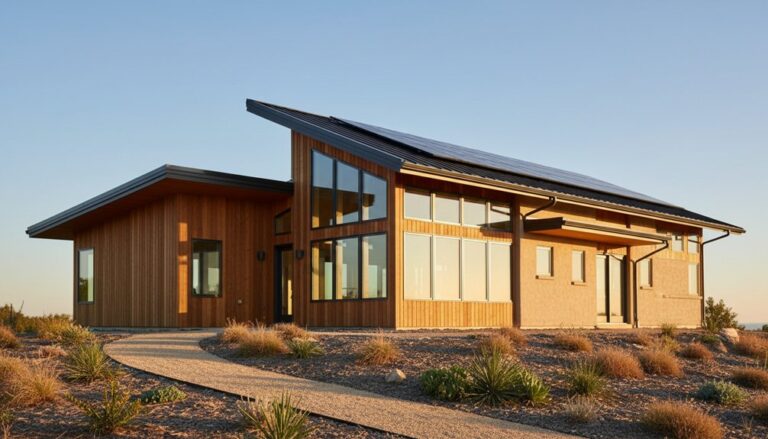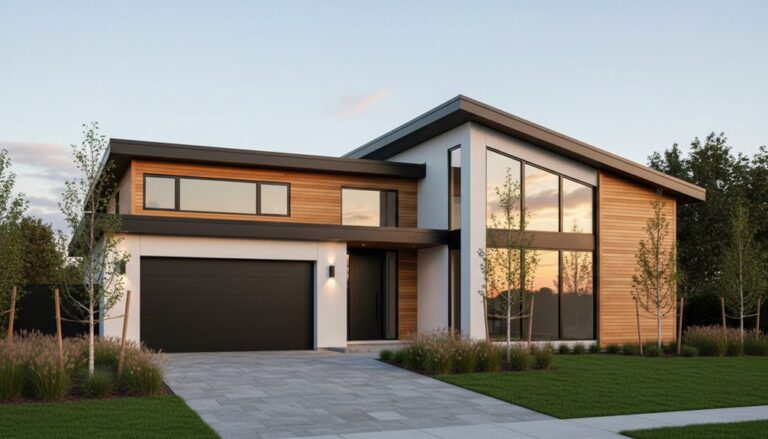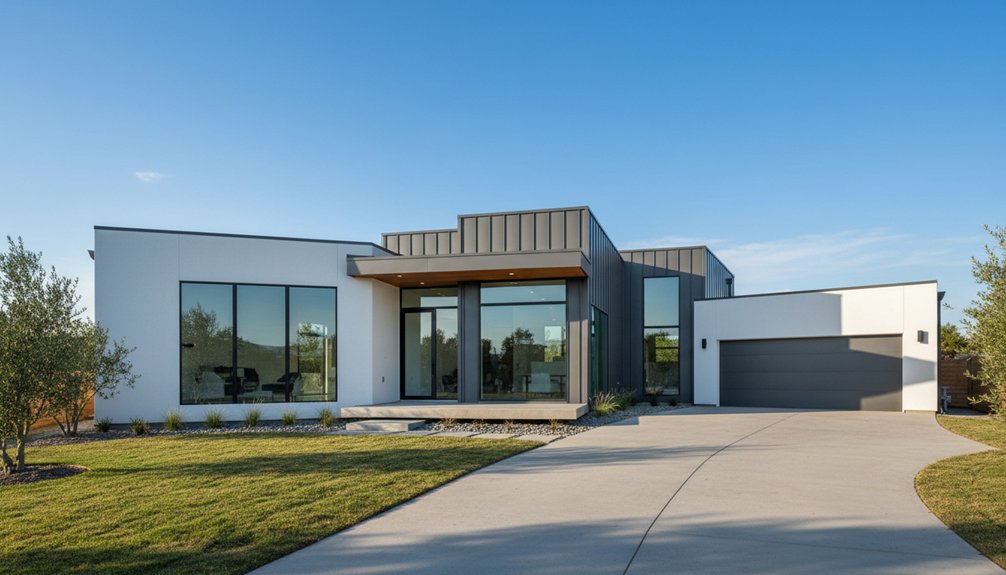
You’ll get sleek contemporary styling by locking a clean layout first: set a grid, align circulation, cores, and wet walls, and prevent pinch points. Then simplify massing with primary and secondary volumes, consistent roof datums, and disciplined eaves or parapets. Limit the palette to three finishes and detail junctions with crisp shadow gaps. Use orientation-tuned glazing, airtight frame tapes, and MVHR-ready service zones. Keep kitchens handleless with hidden storage and durable slabs. Next, you’ll see how to tighten every interface.
Key Takeaways
- Finalize a contemporary plan first: clear circulation, aligned doors, zoned public/private areas, and coordinated structural spans to keep ceilings clean.
- Keep massing simple: primary and secondary volumes, consistent datums, limited roof pitch changes, and step-backs for depth without clutter.
- Limit materials to three complementary finishes, using crisp tolerances, shadow gaps, and disciplined joints to create calm, precise surfaces.
- Specify orientation-based glazing: thermally broken frames, airtight installation, low-U values, and tuned solar gain to balance light, privacy, and heat.
- Design minimalist kitchens and storage: efficient work zones, integrated appliances, concealed utilities, durable low-maintenance surfaces, and hidden compartments to preserve clean sightlines.
Start With a Contemporary New Build Layout Plan
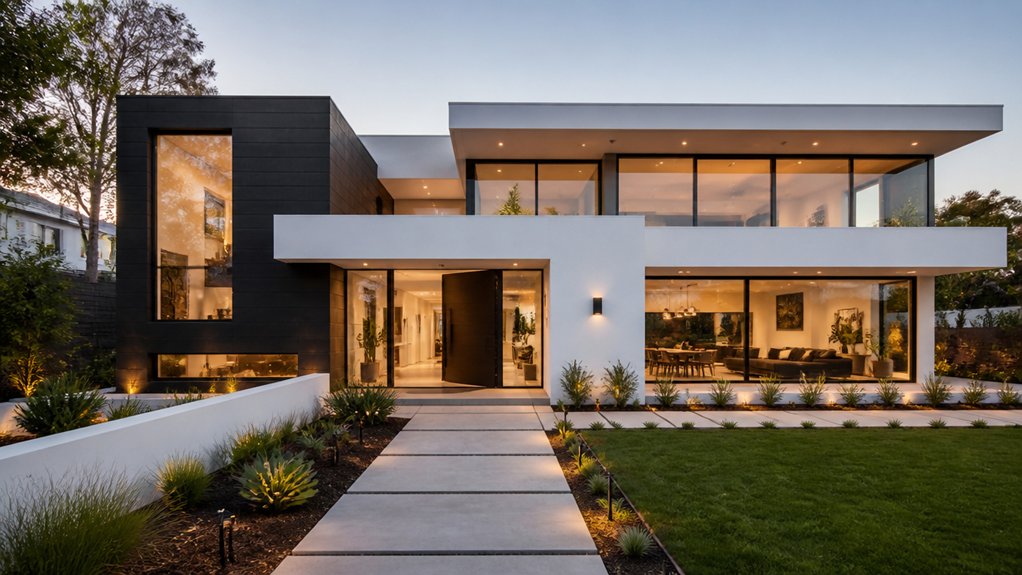
Although you might be enthusiastic to choose finishes, start by locking down a contemporary layout plan that maps circulation, sightlines, and core service zones before any elevations change. Set a clear grid, then place stairs, wet walls, and risers to shorten runs and reduce penetrations. Size primary paths to avoid pinch points and align door swings with movement.
Zone public, private, and utility areas by acoustic separation and daylight demand. Use glazing locations to frame interior views and control glare; verify privacy offsets early. Coordinate structural spans with room proportions so you don’t force beams into ceilings.
Let Artistic expression come from disciplined proportions, not decoration. Acknowledge historical influences by reusing proven adjacencies—hearth, courtyard, gallery—then refine them for present-day performance.
Define the Contemporary Exterior Massing and Rooflines
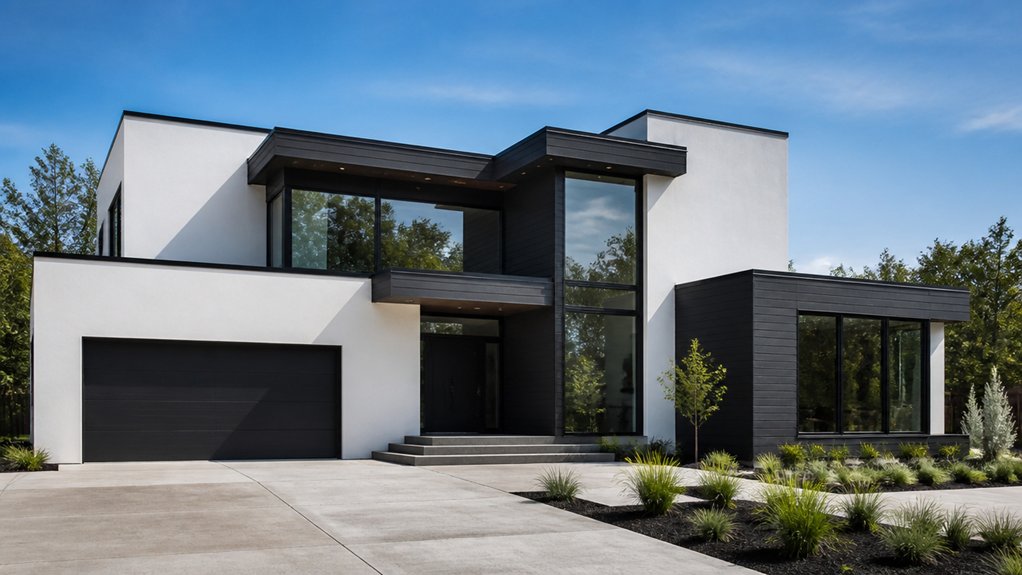
You’ll lock in balanced massing proportions by setting clear primary and secondary volumes with controlled height-to-width ratios.
You’ll keep roofline geometry clean by limiting pitch changes, aligning ridges, and maintaining consistent eave and parapet datums.
You’ll then build layered volumes and planes with calibrated step-backs and offsets that create depth without visual noise.
Balanced Massing Proportions
When you set the exterior massing early, you control how the house reads from the street and how the rooflines resolve at the edges. You’ll balance primary and secondary volumes so no face feels top-heavy or over-carved.
Start with one dominant block, then add subordinate wings at 60–80% of its height and depth to keep hierarchy legible.
You’ll align floor plates, window heads, and parapet lines to establish stable datum levels. Use step-backs to reduce perceived bulk at corners and entries.
Keep projections shallow and intentional; every cantilever needs a structural reason and a shadow line payoff.
Let Artistic expression show through proportion, not ornament. Respect Cultural influences by matching local scale, setbacks, and street rhythm while staying contemporary.
Clean Roofline Geometry
Once the primary volumes lock in, set roof planes as clean, continuous geometries that terminate decisively at corners and overhangs. You’ll control pitch, ridge length, and fascia thickness to keep edges sharp and legible from the street.
Favor simple gable, shed, or low-slope forms, then align ridges and eaves to establish roofline symmetry without ornament. Keep progressions limited: one ridge height, one dominant pitch, and minimal step-ups.
Detail parapets, drip edges, and gutters so water management doesn’t interrupt geometric clarity. You should integrate vents, skylights, and photovoltaic arrays on consistent modules, flush where possible, and hidden from key sightlines when not.
Confirm the geometry with reflected roof plans, elevation datums, and corner sections. Test shadows at solstice angles.
Layered Volumes And Planes
With roof planes resolved into clean, continuous geometries, build the exterior massing by stacking and sliding volumes as discrete planes rather than a single wrapped form. You’ll define primary and secondary blocks by height, depth, and setback, then lock their roof edges to a shared datum to keep lines crisp.
Use Layered facades to express program: recess glazing, project solid cladding, and align vertical joints to volume breaks. Favor asymmetrical forms, but control them with consistent reveals and a limited module. Step upper stories to reduce apparent bulk and to create terraces under extended roof planes. Terminate planes cleanly: no exposed rafter tails, no fussy trim.
You’ll detail shadow gaps at transitions, conceal gutters, and maintain continuous parapet caps where roofs flatten. Keep intersections orthogonal and tolerances tight.
Use Warm Contemporary Materials for the New Build Shell
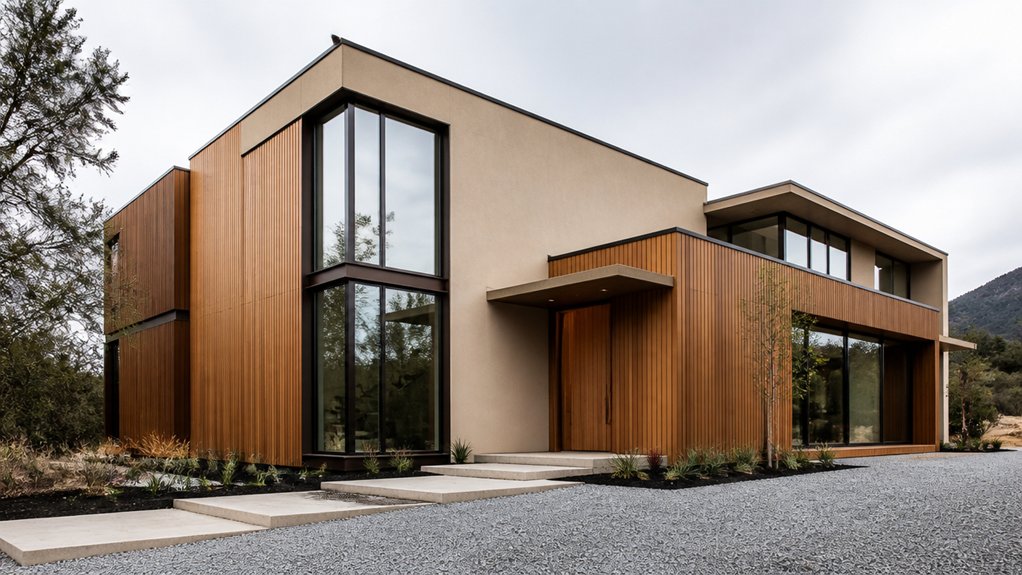
Although the structural shell sets your home’s performance, the material palette controls how it feels and ages. Specify warm, contemporary cladding that still reads precise: timber rainscreen, thin brick slips, or pre-patinated zinc with tight joints.
Use Traditional craftsmanship to keep tolerances sharp—shadow gaps, crisp arrises, and disciplined coursing—so minimal forms don’t look cheap. Reference Historical influences through proportion and texture, not pastiche; choose bricks with subtle variation or lime-toned renders that sit comfortably in context.
Detail robust interfaces: ventilated cavities, stainless fixings, drained bases, and protected end grain. Limit finishes to three, and repeat them across volumes to unify planes. Select matte surfaces that hide patch repairs and weather evenly over decades.
Keep maintenance access designed in.
Choose New Build Glazing for Light, Privacy, and Heat
Because glazing drives both comfort and perception, you should specify it as a performance system: orientation-based glass selection, frame U-values, airtight installation, and deliberate sightlines.
Put higher g-value glass to the south for passive gain, and lower g-value to east/west to limit summer spikes.
Use warm-edge spacers and thermally broken frames; target low U-values without oversized profiles that cut daylight.
Detail reveals to maintain continuous insulation and taped air barriers at the frame line.
For privacy, control viewing angles with sill heights, frit bands, or Smart glass that switches by zone, not whole elevations.
Add Acoustic glazing on street-facing panes, and match it with sealed trickle vents or MVHR to avoid leakage and noise bridges.
Design a Minimalist New Build Kitchen That Functions
You’ll start with a streamlined layout plan that locks in clear work zones, tight circulation, and efficient appliance positioning.
You’ll build hidden storage into full-height cabinetry, integrated panels, and toe-kick or pull-out systems so counters stay empty.
You’ll specify durable minimalist materials—quartz or sintered stone, sealed hardwood or porcelain tile, and matte laminates or Fenix—so the kitchen wears hard without visual noise.
Streamlined Layout Planning
When you plan the layout first, every later minimalist decision—cabinetry, lighting, and finishes—stays functional instead of decorative.
Start by fixing the work triangle’s legs at 1.2–2.7 m, then size aisles to 1.0–1.2 m for single-cook flow.
Lock appliance landing zones: 380–450 mm beside the cooktop, 450 mm at the sink, and 380 mm at the fridge.
Place the sink on an exterior wall when possible to support landscape integration and reduce duct runs.
Align the cooktop with a short, straight vent path and specify makeup air early.
Coordinate interior lighting with task geometry: continuous under-cabinet lines, glare-controlled downlights over circulation, and a clean 3000–3500K layer plan throughout.
Hidden Storage Solutions
A tight layout only stays minimalist if storage absorbs the clutter it creates, so build hidden capacity into every run before you lock elevations. Specify full-height units to the ceiling, then allocate zones by task: prep, cook, clean, serve. Use innovative cabinetry with push-latch doors to eliminate handles and keep sightlines uninterrupted.
Convert dead space into concealed compartments: fit toe-kick drawers for trays, add pull-out caddies beside appliances, and route a shallow utilities bay for boards, foil, and bins. Choose corner solutions that pull fully into the room so you don’t lose reach.
Integrate an appliance garage with a retracting door, plus a vertical slot for baking sheets. Assign every item a measured home, and you’ll avoid countertop spillover.
Durable Minimalist Materials
Because minimalist kitchens expose every surface, specify materials that resist heat, impact, staining, and UV before you commit to the palette. Choose sintered stone or porcelain slabs for countertops; they’re nonporous, stable, and tolerate hot pans.
For fronts, specify HPL or PET-laminate over MR MDF, or anodized aluminum on high-touch zones to prevent edge chipping. Use 304/316 stainless at sinks and drainers, and specify undermount seals rated for caustic cleaners.
Keep sustainable materials credible: FSC plywood carcasses, recycled-content steel, and low-VOC adhesives. Add textured finishes sparingly—micro-etched laminate, honed stone, or bead-blasted metal—so you hide fingerprints without visual noise.
Detail every junction with shadow gaps and replaceable toe-kicks to manage wear.
Build In Hidden Storage to Keep Lines Clean
Although you can’t see it in the finished room, integrated hidden storage does most of the work in keeping sightlines clean and surfaces empty. You’ll plan it early, aligning it with stud bays, service zones, and structural spans so fronts stay flush and reveals stay tight.
Use full-height joinery with push-latch doors, rebated shadow gaps, and continuous skirting to avoid visual breaks. Build hidden compartments into window seats, stair risers, and toe-kicks for small items that otherwise clutter counters.
Specify concealed shelving behind mirror panels, sliding wall sections, or pocket doors, and keep shelf depths consistent to prevent bulging faces. Route cable paths inside carcasses, add soft-close hardware, and set access points where your circulation naturally pauses.
Detail handles out; let planes read unbroken throughout.
Add Slim Energy Features (Insulation, MVHR, Solar)
Clean lines depend on what you hide in the structure, and energy upgrades work the same way when you keep them slim and planned early. Specify high-performance insulation with minimal thickness: PIR in rafters, insulated plasterboard where space is tight, and continuous airtight membranes to cut thermal bridging.
Pair it with MVHR sized to your air change rate, routed through shallow service zones or ceiling voids, with short, straight duct runs to reduce pressure loss and noise.
For solar, use in-roof PV for a flush plane, and pre-wire for battery and EV charging.
Link MVHR boost, heating zones, and generation data through Smart home integration.
Document U-values, airtightness targets, and commissioning as part of sustainable building practices, and lock performance in.
Finish With Contemporary Textures and Shadow-Gap Details
Once your airtight layer and services are locked in, you can finish with textures and shadow-gap details that keep junctions crisp without relying on bulky trims. Set a 10–15 mm recess at skirting lines, door casings, and ceiling perimeters; back it with straight battens or metal shadow beads to hold tolerance. Keep plasterboard edges square, and specify corner beads that won’t telegraph through paint.
Use Texture contrast deliberately: pair fine microcement with matte paint, or ribbed timber with smooth plaster, but control progressions with consistent reveals. Build Shadow detail with aligned joints, not ornament.
Coordinate lighting: linear grazers exaggerate imperfections, so you’ll need higher skim quality and flatness checks. Seal gaps where required for acoustic and fire performance.
Frequently Asked Questions
What Planning Permissions Are Needed for a Contemporary New Build Home?
You’ll typically need full planning permission for a new build, plus approvals under Planning regulations. You must submit site and floor plans, elevations, access, drainage, and heritage/ecology reports if triggered.
You’ll also need Building permits (or building control approval) covering structure, fire safety, energy performance, and sanitation.
Check local zoning, setbacks, height limits, and materials rules. If you’re in a conservation area, expect extra constraints and longer determination.
How Long Does a Contemporary New Build Typically Take From Start to Finish?
You’ll typically need 9–18 months from design start to move-in; complex sites can push 24 months.
You’ll spend 2–4 months on concept, surveys, and approvals.
1–2 months on tendering.
6–10 months on shell and services.
1–3 months on fit-out, including Interior lighting commissioning.
And 2–6 weeks on snagging and handover.
Landscaping design often runs parallel but finishes last, weather-dependent.
What Is the Typical Cost per Square Metre for Contemporary New Builds?
You’ll typically pay £2,200–£3,500 per m² for a contemporary new build in the UK. Push £3,500–£5,500 per m² with luxury finishes and complex modern design.
Your cost shifts with structure (steel vs timber), glazing ratio, airtightness spec, MEP complexity, site access, groundworks risk, and regional labour rates.
Add 10–15% for professional fees, plus 5–10% contingency, and VAT where applicable too.
How Do You Choose the Right Builder for High-Spec Contemporary Detailing?
You choose the right builder by verifying proven high-spec detailing on completed projects.
30% of defects stem from poor workmanship, not design.
You’ll shortlist teams with tight tolerances, documented QC checklists, and mock-up capability.
You’ll review sample junctions, shadow gaps, and façade interfaces, plus coordination for interior lighting layouts.
You’ll confirm supply-chain access to sustainable materials and ask for EPDs.
You’ll check references, warranties, programme realism, and change-control discipline.
What Warranties and Certifications Should a New Build House Include?
You should get a 10-year structural warranty plus defects cover (typically 2 years), manufacturer warranties for roof, windows, HVAC, and Home automation systems, and documented commissioning.
Require building control completion, EPC, air-tightness test, electrical (NICEIC/EICR), gas (Gas Safe), plumbing (WRAS), and fire-stopping certification.
Ask for Sustainable materials documentation: FSC/PEFC timber, EPDs, and warranties for insulation and membranes.
Keep all certificates indexed digitally.
Conclusion
You’ve set your new build up for sleek contemporary performance: plan crisp circulation, then lock in massing and rooflines. Pair warm, durable cladding with high-spec glazing that balances daylight, privacy, and U-values. Keep the kitchen minimalist and workflow-driven, and hide storage so elevations stay clean. Add thin, high-impact energy layers—airtight insulation, MVHR, and roof PV—early. As the adage goes, measure twice, cut once, then finish with textures and shadow-gap joints.
About the Author