You’ll get a bespoke new-build layout by locking room areas (m²), adjacencies, door swings, and 42-inch circulation into a budgeted internal area cap. Zone public, semi-private, and private spaces by routine, noise, and dB separation, using a service spine (laundry, pantry, WC, storage) to buffer sound and stack wet rooms. Orient rooms to true north for daylight and solar control, then tune sightlines, storage dimensions, and step-free accessibility—next, you’ll see how to set each parameter.
Key Takeaways
- Define a room schedule with target areas, adjacency rules, circulation widths, door swings, and an internal area budget cap.
- Zone the plan by routine, noise, and privacy, using a service spine (laundry, pantry, WC, storage) as buffer and circulation.
- Optimize orientation and daylight: kitchens east/southeast, living south/southwest, bedrooms north/northeast, and services on colder north/west edges.
- Plan circulation and sightlines: 42-inch primary routes, offset openings, vestibules, and wall returns to prevent views into private rooms.
- Build in flexibility and storage: sized closets/pantries, adaptable room proportions, step-free routes, 900mm doorways, and redundant power/data for future changes.
Write a Bespoke New Build Layout Brief (Needs, Budget, Constraints)

Before you sketch a single wall line, write a bespoke layout brief that locks down your needs, your budget ceiling, and your non-negotiable constraints in measurable terms.
Specify room list, target areas (m²), adjacency rules, circulation widths, and door swings.
Set performance criteria: daylight factor targets, W/C stacking, and service runs to minimize penetrations.
If you want an Open plan, define the maximum span, structural grid, and furniture clearances so it drafts cleanly at 1:50.
Demand Acoustic separation where required by listing dB targets between key spaces and indicating wall/door build-ups.
Tie every requirement to cost: cap total internal area, identify high-cost zones (wet rooms, glazing), and set allowance bands.
Include site limits, planning setbacks, and eaves heights.
Zone the Home by Routine, Noise, and Privacy
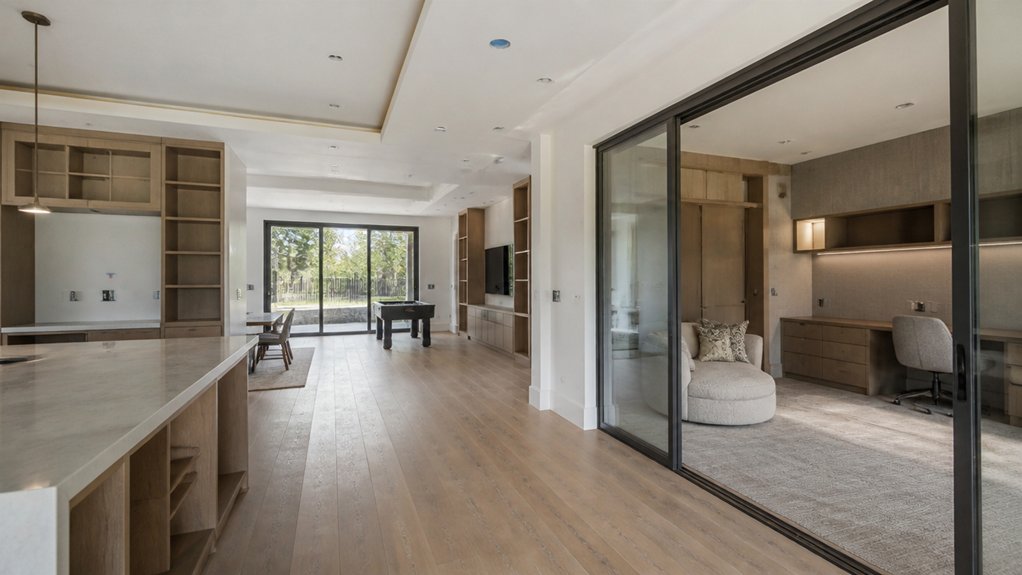
Although you’ll refine room shapes later, you should zone the plan now by mapping your daily routine against noise sources and privacy thresholds, then locking those zones into the layout grid.
Draft three bands: public, semi-private, and private, and assign activities by time-of-day and decibel tolerance.
Keep open plan living/dining/kitchen in the public band, but buffer it with a service spine—laundry, pantry, WC, storage—to absorb sound and manage circulation.
Place bedrooms, study, and bath stacks in the private band behind a door line; specify acoustic partitions, solid-core doors, and staggered studs where zones meet.
Route high-traffic paths along the spine, not through quiet rooms.
Use natural materials as internal “mass”: timber slats, cork underlay, and clay plaster to dampen reverberation.
Place Key Rooms for Daylight and Plot Orientation
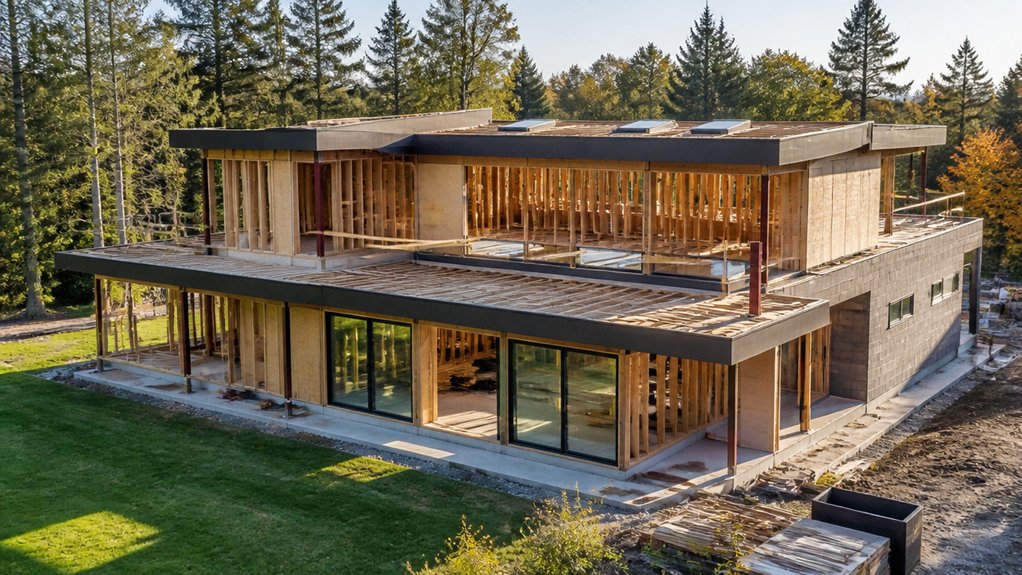
Once you’ve fixed your public/semi-private/private zones, rotate and pin the plan to your plot’s true north so each key room earns the right daylight at the right time. Map solar paths and seasonal altitude angles; then assign glazing and room priority accordingly.
Put kitchens and breakfast areas on east or southeast for early Natural light, and place living rooms south or southwest for long winter gains. Shift bedrooms north or northeast to limit overheating and support cooler sleep.
Keep utility, storage, stairs, and garages on the cold north/west edges as thermal buffers. Use plot orientation to frame views without sacrificing sun access; check overshadowing from trees and neighboring roofs.
Set window head heights and overhang depths to control glare, provide consistent lux levels, and protect privacy.
Create Smooth Flow, Sightlines, and Privacy Breaks
As you lock the plan to true north, you also need to engineer circulation so people move from entry to public zones without cutting through private rooms. Draw a primary path at least 42 inches wide, then branch secondary corridors to bedrooms and baths with door swings kept out of the travel line.
Control sightlines by offsetting openings, using short vestibules, and aligning wall returns so the front door doesn’t frame sleeping areas. For privacy breaks, place powder rooms and laundry as acoustic buffers between living and bedroom zones.
Coordinate furniture placement to preserve clearances around seating groups and dining pull-backs. Integrate lighting design to guide movement: brighter layers on the main axis, dimmer pools at retreats, and glare-free task light at thresholds.
Build in Storage and Flexible Rooms From Day One
Before you finalize wall locations and structural spans, you should dimension storage and flex space as programmed square footage—not leftover gaps—so framing, MEP chases, and door swings support it cleanly.
Call out closets, pantries, and built-ins on plan with clear widths, shelving depths, and reach-in versus walk-in clearances, then align studs for continuous backing and cabinet fastening.
Specify Storage solutions at entries, mudroom, laundry, and kitchen with stacked zones: boots, coats, hampers, brooms, and small appliances.
For Interior flexibility, design a flex room with neutral proportions, multiple furniture walls, and redundant power/data on at least two walls.
Use pocket or double doors to control acoustics and circulation, and place return-air paths so closing the room won’t starve HVAC.
Coordinate lighting zones for task and ambient modes.
Future-Proof the Layout for Accessibility and Life Changes
You’ll future-proof the plan by specifying a step-free route from driveway to main living zones, with flush thresholds and no grade breaks at primary entries.
You’ll widen circulation—hallways, doorways, and turning nodes—so mobility aids clear corners and approach swings without rework.
You’ll also design adaptable rooms now, like a ground-floor flex space sized and wired to convert into a bedroom with an adjacent full bath as aging needs change.
Step-Free, Wider Circulation
How do you keep a new build livable through injuries, aging, strollers, and furniture moves without redesigning later? You design circulation like a clear, continuous route: zero thresholds, no internal steps, and flush progressions from slab to floor finish.
Specify 1000–1200mm corridors, 900mm clear door openings, and 1500mm turning circles at key nodes (entry, kitchen pinch points, landing zones).
Keep level changes outside the main path; where unavoidable, set 1:20 gradients and drain details.
Coordinate garden integration with exterior design by aligning patio, threshold, and internal FFLs so you get a step-free line from parking to entrance to garden.
Detail non-slip surfaces, recessed mats, and guarded edge conditions.
Adaptable Rooms For Aging
Step-free circulation solves movement, but adaptable rooms keep the house usable when your needs change. Plan a flex room on the main level with a 5′ turning radius, 36″ door, and reinforced walls for future grab bars. Specify pocket or swing-clear hinges to preserve clear width.
Locate a stacked-closet chase for a future lift, or at least align closets for straight duct and plumbing runs.
Design bedrooms with two furniture layouts: one for a queen, one for a hospital-style bed plus caregiver access on both sides.
In the bath, rough-in a curbless shower pan, 2x blocking at 33–36″ AFF, and a movable vanity zone.
Add switch-height outlets and lever hardware. That’s adaptive living with aging friendly design.
Frequently Asked Questions
What Permissions Are Required Before Altering a Custom New Build Floor Plan?
Before you alter a custom new build floor plan, you’ll need local planning approval (if the footprint, elevations, or use changes).
Building control/building permit sign-off is also required for structural, fire, egress, and energy compliance.
Additionally, you need your lender/insurer’s consent if applicable.
You must also get your architect/engineer’s revised stamped drawings.
Update electrical and MEP permits to coordinate interior lighting circuits and switches, and confirm furniture placement clearances on the revised plan set.
How Long Does It Take to Finalize Bespoke Interior Layouts With an Architect?
You’ll typically finalize bespoke interior layouts with an architect in 4–12 weeks, depending on revision cycles and decision speed. Like a compass needle settling, your plan locks in once key dimensions stop moving.
You’ll move through schematic layouts, Interior design coordination, and Space optimization studies, then freeze room adjacencies, wall lines, and service cores.
Expect 2–4 design workshops, weekly markups, and a final checked set for planning and construction drawings.
What Professional Fees Should I Expect for Custom Layout Design and Revisions?
You should expect professional fees of 8–15% of construction cost for full custom layout design, or hourly rates around $120–$250 for revisions.
You’ll often pay per stage: schematic plans, design development, construction drawings, then change orders.
Revisions beyond an agreed round get billed hourly.
Coordinate Interior lighting layouts and Material selections early, since late swaps force redraws and trigger extra drafting charges.
Ask for capped hours.
Can I Change the Interior Layout During Construction Without Major Delays?
Can you change the interior layout mid-build without major delays? Yes, but you must issue a formal change order before framing, MEP rough-ins, and inspections lock the plan.
You’ll re-coordinate Interior lighting runs, switch locations, and load paths, then update drawings, schedules, and permits.
You also must recheck Furniture arrangement clearances against revised wall lines.
If you move plumbing or HVAC trunks, expect lead-time impacts and rework.
How Do Mortgage Lenders Value Bespoke Layouts Compared to Standard Developer Plans?
Mortgage lenders typically value bespoke layouts against comparable sales, but they’ll discount nonstandard plans if marketability drops. You’ll get the best outcome when your interior design aligns with common bedroom/bath counts, egress, and functional adjacencies.
Space optimization that improves net usable area can support a higher appraisal, yet you must document costs, permits, and as-built drawings.
If your plan reduces comps, you’ll face lower LTV or more scrutiny.
Conclusion
Lock your bespoke new-build layout into a clear brief, then keep testing it against routine, noise, privacy, and sun path. You’ll get more value by moving walls on paper than on site—because changes after framing can spike costs fast. Significantly, over 80% of a home’s lifetime cost is operation and maintenance****, so you should orient glazing, stack wet zones, and size service routes correctly. Add storage “cores,” flexible rooms, and step-free circulation now.
About the Author