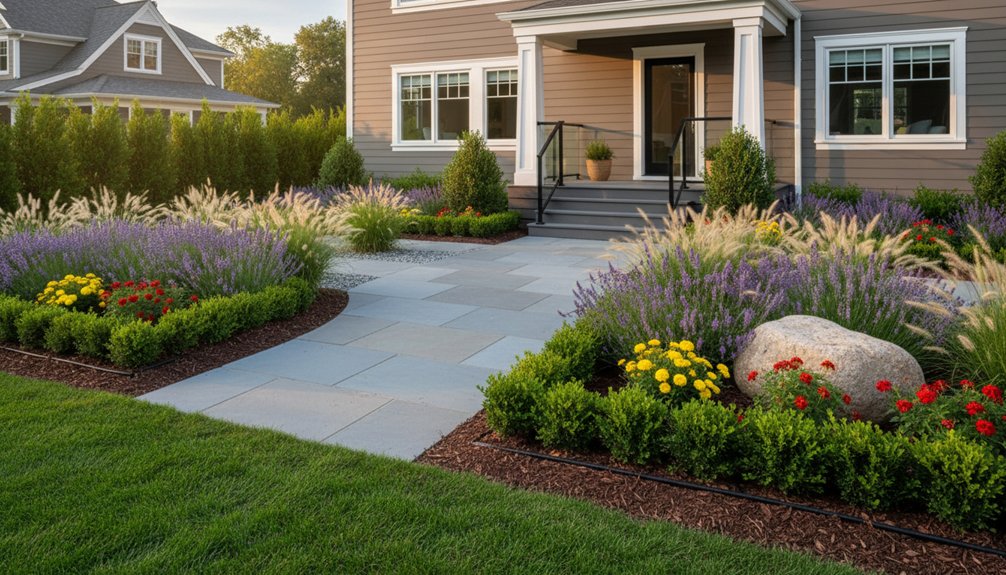
Start by auditing your front garden’s constraints: snagged sightlines (bins, cars, utilities), sun and wind exposure, splash zones, and drainage or compaction. Lock in circulation next by setting a clear desire-line entry path (42–48 inches wide) and tying bed edges to that geometry so the approach feels intentional and the door stays visible. Then choose a tight, climate-fit plant palette sized for maturity, and finish with crisp edging, 2–3 inches of mulch, and warm shielded lighting. Keep going to see how to map zones and build low-maintenance layers.
Key Takeaways
- Audit curb appeal constraints: sightlines, clutter, solar exposure, wind, splash zones, and drainage problems before changing beds or plants.
- Set the entry path on the strongest desire line; use 42–48 inch width and gentle turns for clear, comfortable circulation.
- Shape beds to frame the approach with consistent offsets; keep door, house number, and façade visible by limiting tall plant masses.
- Choose climate-fit, low-water plants; repeat a tight palette of evergreens, grasses, and layered perennials sized for mature dimensions.
- Finish with crisp edging, 2–3 inches mulch kept off stems, and warm shielded lighting to highlight paths and prevent erosion and rot.
Audit Your Front Garden’s Biggest Curb Appeal Issues

Before you buy plants or sketch new beds, audit what’s actually hurting your curb appeal by viewing the front garden as a set of site constraints: sightlines from the street, path hierarchy to the entry, and the balance of hardscape to planting mass.
Walk the approach and log where views snag: trash bins, parked cars, exposed utilities, or cluttered ornaments. Measure solar exposure, wind funneling, and splash zones under eaves; these dictate why turf thins or shrubs gap out.
Check grades and drainage: ponding at walk edges, downspout discharge, and soil compaction at parking strips. Inventory materials and scale—oversized edging, mismatched pavers, or under-scaled containers.
Finally, flag mislocated garden art and decorative statues that interrupt rhythm, block sightlines, or read as noise.
Plan the Entry Path, Beds, and Sightlines First
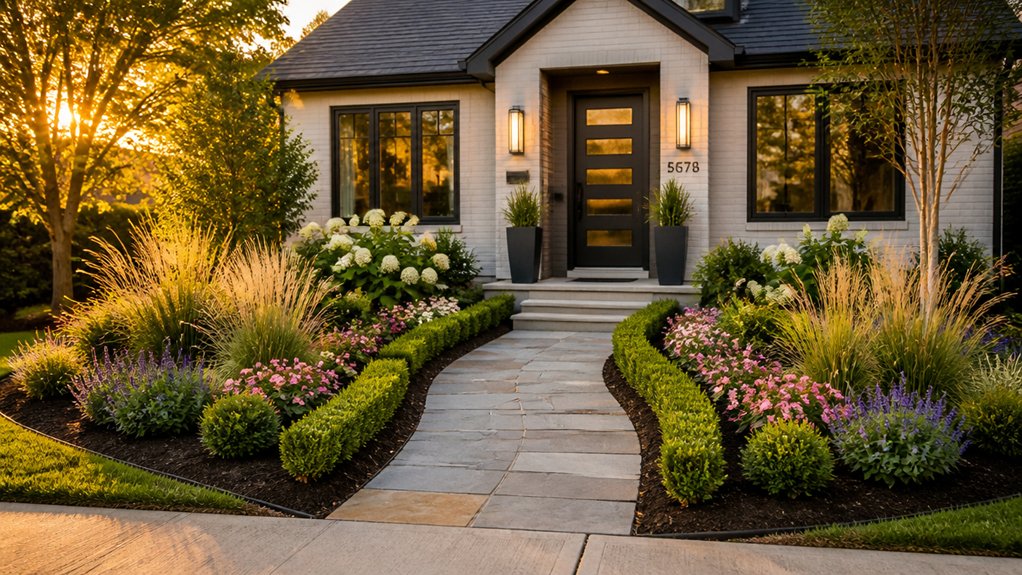
Although it’s tempting to start with plants, you’ll get a cleaner, more legible front garden by locking in circulation and views first: set the entry path on the strongest desire line from sidewalk/drive to the door, then anchor bed edges to that geometry so they frame (not fight) the approach.
Establish path width for two-way passing (typically 42–48 in) and keep turns generous for comfortable movement and snow/leaf clearing. Use bedlines to create clear “rooms” without pinching the walk; maintain a consistent offset so edges read intentional.
Protect key sightlines: keep the door, house number, and primary façade plane visible from the curb, and avoid tall masses at corners that block views. This garden layout supports crisp entryway design and simpler maintenance.
Choose Climate-Fit Plants for Year-Round Curb Appeal

Once your path and bed geometry set the framework, match plant choices to your site’s climate and exposures so the front garden reads intentional in every season. Start by mapping sun hours, wind corridors, drainage, and reflected heat from pavement or walls; then select species by hardiness zone and summer water demand.
Prioritize native species that already handle your soil chemistry and local pests, reducing replacement gaps that hurt curb appeal. Build structure with evergreen shrubs and clumping grasses, then layer mid-height perennials for massing and rhythm along the facade.
Add timed accents with seasonal blooms: early bulbs, summer pollinator plants, and fall seedheads for texture. Keep a tight palette, repeat key forms, and size plants to mature dimensions so the composition stays proportional without constant pruning.
Finish the Front Garden With Edging, Mulch, and Lighting
After you lock in plant placement, define every bed with crisp edging, protect the soil with a purpose-built mulch layer, and use low-glare lighting to control how the frontage reads at dusk.
Set garden edging to suit site conditions: steel for tight radii, brick on sand for formal lines, or spade-cut edges where frost heave is common.
Hold grades by stepping edges on slopes and keeping soil 1 inch below the top to prevent washouts onto walks.
For mulch installation, lay 2–3 inches of shredded bark or pine fines to knit on inclines, but keep it 2 inches off stems and trunks.
Finish with shielded, warm LEDs: aim downlight at entries, graze textured walls, and place path lights on the outside edge to widen circulation visually.
Keep Front Garden Curb Appeal With Low-Maintenance Care
Because curb appeal lives or dies in the “in-between” weeks, you’ll keep the front garden sharp by building a care routine around the site’s constraints—sun, exposure, soil texture, and foot traffic—rather than chasing constant touch-ups.
Match irrigation to hydrozones, then set drip on a seasonal controller so you’re not overwatering foundation beds.
Top-dress mulch to a consistent 2–3 inches, but keep it off crowns and siding to prevent rot and splashback.
Prune for form: shear hedges lightly for crisp lines, and thin shrubs to preserve airflow and sightlines.
Deadhead perennials on a set pass, not ad hoc.
Sweep hardscape edges weekly so gravel and bark don’t migrate.
Anchor garden art and decorative accents on stable pads so wind, mowers, and snow loads don’t shift them.
Frequently Asked Questions
How Much Does a Front Garden Redesign Typically Cost?
You’ll typically spend $3,000–$15,000 for a front garden redesign, depending on scope and materials. If you add hardscape, grading, or irrigation, you can hit $20,000+.
Your plant selection drives cost through specimen sizes, density, and soil prep specs.
Landscape lighting adds $800–$5,000 based on transformer load, fixture count, and trenching.
Expect design fees around 8%–15% or $500–$3,000.
Do I Need a Permit to Change My Front Garden Layout?
You might need a permit, depending on scope and local codes. If you regrade, add retaining walls, alter drainage, widen driveways, or modify sidewalks, you’ll often trigger review.
If you’re only adjusting Plant selection, edging, or Garden lighting on low-voltage circuits, you usually won’t.
You should check zoning setbacks, right-of-way limits, and utility easements; then submit a simple site plan showing grades, hardscape, and electrical runs.
How Can I Redesign for Privacy Without Blocking Natural Light?
You can redesign for privacy without sacrificing daylight by layering Privacy screens with strategic gaps and using Light permitting shrubs as the foreground.
Set slatted panels perpendicular to key views, keep 40–60% open area, and stop them below window-sill height where possible.
Plant airy species (e.g., multi-stem serviceberry, dwarf bamboo, or boxwood cloud-pruned) to filter sightlines.
Maintain 1–1.5 m setbacks to preserve solar angles.
What Front Garden Upgrades Add the Most Home Resale Value?
Like a well-cut suit, the highest-value front garden upgrades sharpen first impressions: install a clear entry path, add layered hardscape lighting, and refresh edging for crisp lines.
Use Landscaping ideas that frame views—low hedges, sculptural trees, and permeable pavers for drainage performance.
Prioritize Plant selection: drought-tolerant natives, year-round structure, and coordinated color seasons.
You’ll boost curb appeal, reduce maintenance, and signal quality construction to buyers.
How Long Does a Typical Front Garden Redesign Take to Complete?
A typical front garden redesign takes 2–6 weeks, but you’ll adjust that range based on scope and site conditions.
You’ll spend 1–2 weeks on design, permitting, and material lead times.
Then, spend 1–3 weeks on demolition, grading, hardscape, and irrigation.
Add 2–5 days for sustainable planting and soil amendments.
If you’re integrating landscape lighting, plan another 1–3 days for trenching, wiring, and commissioning.
Conclusion
When you redesign your front garden, you’re really rebuilding a threshold—like a lighthouse correcting its beam. You’ve audited the glare, set the path’s geometry, and tuned beds to guide sightlines, not clutter them. You’ve chosen climate-fit species so the “signal” holds through heat, frost, and drought. Now you lock it in with crisp edging, calibrated mulch depth, and layered lighting. Keep the beam steady with simple, scheduled maintenance.
About the Author