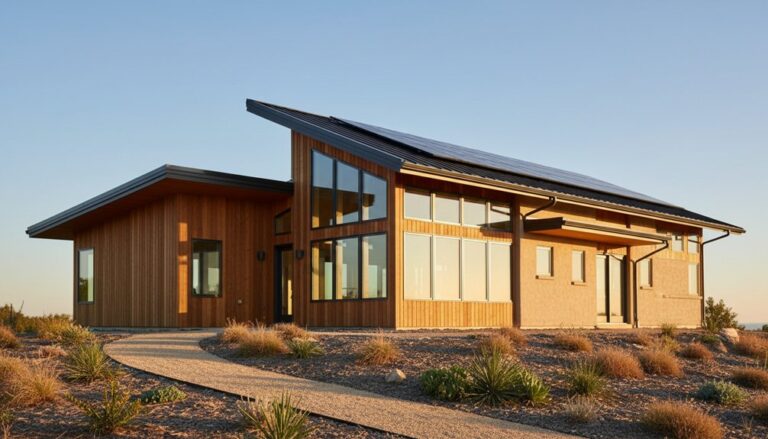
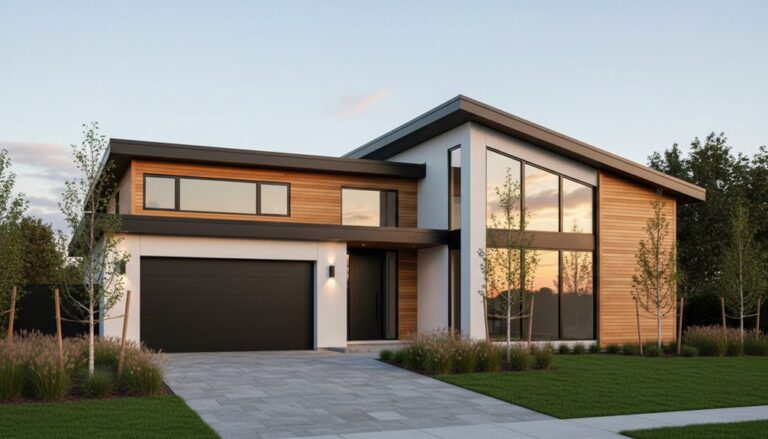
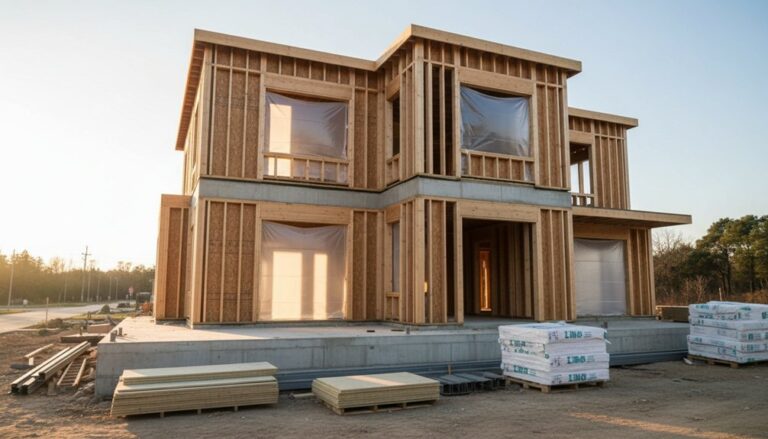
You’ll get the best result when you plan feature windows from day one: map sun path, prevailing winds, view corridors, and privacy lines before you fix the grid. Choose sliders, corner glazing, or a picture window, then lock sill heights, ceiling datum, and panel travel so sightlines stay clean. Control glare and overheating with overhangs, fins, and deep reveals, then specify low U-values and tuned g-values. Next, conceal slim steel and perfect thresholds for inside–out flow—there’s more to sharpen.
Key Takeaways
- Map sun path, winds, views, and privacy constraints early to place large feature windows where they perform best.
- Lock window heights, sightlines, and panel travel to align with structure, furniture layouts, and unobstructed views.
- Control overheating and glare with correctly sized overhangs, vertical fins on east/west façades, and exterior shading before internal blinds.
- Specify high-performance glazing using low U-values, appropriate g-values, warm-edge spacers, and acoustic laminates to meet comfort and compliance.
- Coordinate structure and detailing—slim steel/LVL headers, concealed supports, sill pans, end dams, and continuous air/vapor seals—for drainage, airtightness, and longevity.
Map Sun, Views, and Key Rooms First

Before you sketch a single wall, map the site’s solar path and prevailing winds, then plot the strongest view corridors and privacy constraints so you can anchor the plan with intent.
You’ll place primary living zones where winter sun penetrates deeply and summer gain stays controllable via overhang geometry and deciduous planting.
Set service rooms as thermal buffers on harsh exposures, and align circulation to frame long axes toward the best outlooks while shielding neighbors with berms, screens, and level changes.
Prioritize key rooms by daylight demand: kitchen and living get balanced east/south light; bedrooms favor softer morning exposure; bathrooms borrow light through courtyards.
Lock floor-to-ceiling heights and sill lines early to preserve view bands.
Coordinate Landscape integration with grading and planting.
Finalize Material selection to manage reflectance, heat, and glare.
Choose a Feature Window Style (Sliders, Corner, Picture)

Now you’ll set the feature window logic by choosing sliders, a corner condition, or a fixed picture unit. You’ll align it to your plan grid, openings, and furniture clearances.
You can run sliding window configurations as single, XO, or multi-panel stacks to control net opening width, sightlines, and the wall’s shear segments.
You’ll use corner window statements to erase a datum line at the junction, while a picture window framing strategy locks the view into a precise horizontal and vertical crop.
Sliding Window Configurations
Because a sliding unit can stack, bypass, or disappear into a pocket, your window configuration becomes a spatial decision as much as an aesthetic one. You’ll map panel travel to furniture zones, circulation paths, and exterior decking so the open position doesn’t block views or ventilation.
Choose two-track bypass sliders for simple spans, or multi-track stacking for wide apertures where you want a larger clear opening. Specify sash sizes that keep mullions aligned with structural posts and head beams to control deflection.
For Window security, use multi-point locks, anti-lift blocks, and laminated glazing on accessible elevations.
For Maintenance considerations, detail removable screens, accessible rollers, and flush sill pans with weep paths so you can clean tracks and manage water without pulling trim.
Corner Window Statements
If you want a single feature window to define a room’s geometry, a corner window turns the wall plane into a wraparound aperture and forces you to resolve structure, drainage, and sightlines as one system.
You’ll decide whether you can eliminate the corner post or need a slim mullion; either way, size the header, check lateral bracing, and coordinate the load path to the foundation.
Keep the sill continuous, slope it to drains, and detail end dams so water can’t track into the junction.
You’ll control glare and privacy by rotating the opening toward north light or filtered views, using deep reveals and exterior fins.
Artistic window framing can emphasize the turn, while Historical design influences guide proportion and offset from adjacent planes.
Picture Window Framing
While a corner window bends the view, a picture window locks it into a single, rigid frame, so you’ll treat the opening as a calibrated aperture rather than a glazed hole in a wall. You’ll set the rough opening square within the structural grid, then specify header depth and jamb studs to limit deflection under wind load.
Choose framing materials to match span: LVL or steel for long heads, thermally broken aluminum or composite for the window frame, and high-density insulation at the perimeter.
You’ll detail a sloped sill pan, end dams, and continuous air/vapor connection so the glass reads as a flush plane. Plan Window maintenance with interior access: removable stops, clear drainage paths, and durable sealants at mitered corners over time.
Set Window Size, Height, and Sightlines

Before you finalise elevations, lock in window size, head height, and sill height as a single system tied to structure, furniture layout, and the key views you want to frame.
Set head heights to align with ceiling datum, steel lintels, and door heads so glazing reads continuous.
Place sills from seated eye level and countertop heights; a 450–600 mm sill suits lounging, while higher sills protect joinery runs.
Test sightlines from entry, sofa, and kitchen work zone, then adjust mullion positions so they don’t bisect focal points.
Scale panes to room depth: deeper rooms tolerate taller glass without glare dominance.
Coordinate reveal depths with Color palettes and Interior textures; thick reveals intensify shadow lines and material grain.
Confirm structural opening sizes early to control frame build-up and tolerances.
Build In Privacy With Angles, Screens, and Glazing
Because contemporary glazing often sits close to boundaries and public sightlines, you’ll get better results by designing privacy into the geometry rather than relying on add-on blinds. Cant the window wall or rotate corner glazing so oblique views from the street skim past the opening, while your primary internal sightline stays orthogonal to the glass.
Use deep reveals, wing walls, and return panels to create a visual baffle at the perimeter. Add Privacy screens as perforated metal, timber battens, or brick fins, spaced to block eye-level views while preserving daylight and cross-views to the sky.
Specify patterned, reeded, or fritted glazing at lower zones, with clear glass above for outlook. Pair these with Acoustic treatments—laminated acoustic interlayers or secondary panes—to reduce boundary noise without changing the façade rhythm.
Control Glare and Overheating With Shading
Privacy geometry can double as a solar-control strategy, but you’ll still need dedicated shading to keep large contemporary glazing comfortable. Map sun paths to each elevation, then size overhangs to block high summer sun while admitting lower winter angles.
On east and west façades, prefer vertical fins or sliding screens to intercept low-angle glare before it penetrates deep into the plan. Use exterior shading first: it stops heat at the façade, reduces luminance contrast, and protects finishes in the sun strip.
Add adjustable internal blinds only for fine control and nighttime privacy. Where you can’t mount devices—frameless corners, minimal eaves—specify Window tinting to temper peak brightness without changing the spatial reading of the opening.
Coordinate shading pockets, guides, and drainage early.
Specify Glass Performance (U-Value, G-Value, Acoustics)
Where should you start when you’re specifying big contemporary panes—comfort or compliance? Begin with U-value: it governs insulation performance across the whole glazed area, so you’ll feel draught risk and surface temperature at the seating line. Target low U-values with warm-edge spacers and argon or krypton fills, but verify frame-and-glass calculations, not centre-pane claims.
Next, set g-value (solar factor) by orientation and room depth: higher g boosts passive gains on shaded south façades; lower g limits peak loads on exposed west glazing. Pair it with visible transmittance so daylight penetrates without washing out finishes.
For acoustics, specify Rw or Rw+Ctr to match road noise spectra, using asymmetric laminates and sealed cavities. Confirm Glass durability via heat-soak where needed.
Support Large Openings With Minimal Structure
When you’re setting out large apertures for sliding or pivoting glazing, you’ll need slim structural steel solutions that carry roof and floor loads without thickening the perimeter.
You can run knife-plate columns in jamb zones and specify concealed support beam strategies—flush beams in floor/ceiling voids or hidden flitch plates within deep lintels—to keep soffits and sightlines clean.
You’ll coordinate bearing lengths, lateral restraint, and deflection limits so frames stay square and movement joints remain tight across the full opening.
Slim Structural Steel Solutions
Although wide-span glazing and open-plan layouts demand serious load paths, you can keep the structure visually quiet by specifying slim steel solutions—typically UB/UC beams, tapered plate girders, or concealed flitch beams—designed to carry floor and roof reactions across large openings with minimal depth.
You’ll coordinate member depth with joist zones, insulation build-ups, and headroom so the window line stays crisp. Specify higher-grade steel where it reduces section size, and check lateral-torsional buckling with restraint from floor diaphragms and stiffeners.
Detail end bearings and padstones to spread reactions into blockwork or RC cores, and confirm deflection limits to protect glazing seals and sightlines. During steel fabrication, set tolerances for camber, splice locations, and connection plates to simplify structural integration on site.
Concealed Support Beam Strategies
Because you don’t want the structure to interrupt the glazing line, you can hide primary support by pulling beams up into the floor zone, tucking them into ceiling voids, or burying them within wall build-ups so the opening reads as a clean cut through the envelope.
You’ll coordinate hidden support early: align beam depth with joist zones, allow for services, and maintain insulation continuity around flanges. Specify flush plates, bolted end connections, and recessed bearings so the frame stays within the thermal layer and the reveal remains tight.
Use slender UC/UB sections, or paired channels, and pack out with engineered timber to receive plaster and window liners. You’ll detail movement joints, intumescent protection, and acoustic breaks.
Careful beam integration keeps sightlines uninterrupted and loads cleanly transferred.
Detail Thresholds and Reveals for Inside-Out Flow
To achieve a true inside–out flow, you’ll need to treat thresholds and reveals as aligned datum lines rather than afterthought trims. Set finished floor levels so internal screed, insulation, and external paving meet on one plane, then coordinate drainage falls and door upstands without creating trip edges.
In your threshold detailing, specify a thermally broken sill, continuous DPM/DPC laps, and a linear slot drain where exposure demands it.
Carry the same logic into reveal design: recess frames to hide the outer leaf, extend plaster returns tight to the profile, and align cladding junctions with mullion centers.
You’ll improve airtightness by taping membranes to the frame, then protecting them with a shadow-gap bead. Keep tolerances explicit so installers can hit the datum.
Frequently Asked Questions
What Planning Permissions Affect Large Feature Windows in New Build Homes?
You’ll face planning controls on glazing size, window placement, overlooking, and street-scene impact.
If your feature window sits near a boundary, planners may require obscure glass, fixed panes, or set-backs to protect neighbours’ privacy.
Conservation areas and Article 4 directions can restrict proportions, frames, and reflectivity.
You must also meet Building regulations for structural support, safety glazing, thermal performance, ventilation, and fire egress, especially on upper floors.
How Much Do Large Feature Windows Increase Overall Build Costs?
Large feature windows typically add 5–15% to your overall build cost, depending on span, glazing spec, and structural openings.
You’ll pay more for engineered lintels/steel, heavier frames, and specialist window installation with lifting access and temporary bracing.
Triple glazing, warm-edge spacers, and airtight tapes raise costs but improve energy efficiency and reduce heat loss across that large glazed plane.
Expect higher detailing time at junctions.
What Maintenance Do Different Window Frame Materials Require Over Time?
You’ll maintain frames differently as seasons wash across the glass. Timber needs repainting or re-staining every 3–7 years, plus sealant checks to protect window durability.
uPVC needs mild washing and gasket lubrication; watch for UV chalking.
Aluminum needs periodic rinsing and coating inspection to prevent frame corrosion, especially near coasts.
Steel demands rust spot treatment and repainting.
Fiberglass needs minimal cleaning; inspect joints, drainage paths.
Tighten hardware annually.
How Long Is the Lead Time for Custom Large Glazing Units?
You’ll typically wait 6–12 weeks for custom large glazing units, but complex shapes, triple glazing, or advanced Glazing technology can push it to 14–20 weeks.
You’ll shorten delays if you freeze dimensions early, submit structural calcs, and confirm glass make-up, spacers, coatings, and edge tolerances.
Coordinate delivery with cranage, access routes, and safe storage so Window installation aligns with your weather-tight envelope.
Plan contingencies for QA.
Will Large Feature Windows Affect Home Insurance Premiums or Valuations?
Yes, they can nudge premiums up or down and shift valuation. Like Icarus chasing the sun, you’ll want control, not just Natural light.
Insurers price higher where glazing boosts break-in risk or storm exposure, but you can offset it with laminated glass, certified locks, and monitored alarms.
Valuers often credit Energy efficiency, solar-gain control, and views, yet discount poor U-values, overheating, or privacy loss in tight plots.
Conclusion
You’ve mapped sun, views, and the rooms that matter, then dialed in sliders, corners, or a clean picture frame. You’ve locked sightlines, tuned head heights, and sharpened reveals. Privacy comes from angled returns, screens, and selective glazing; comfort comes from shading, low g-values, and tight U-values. Structure disappears into slim beams and posts, thresholds sit flush for inside-out flow. Now pause—because one last tweak decides whether the window performs… or merely looks.
About the Author