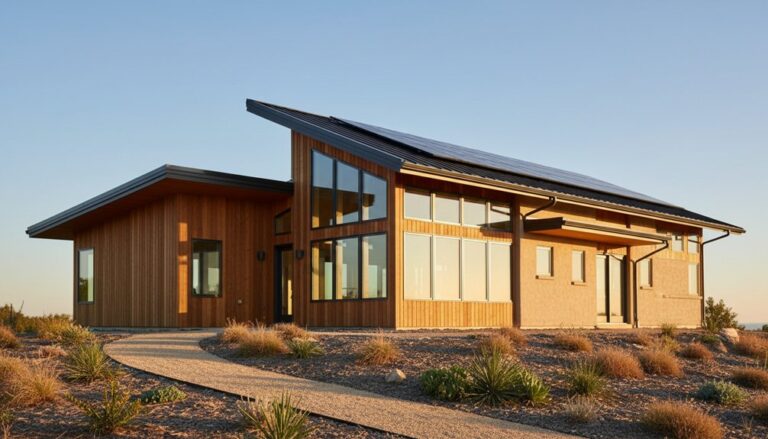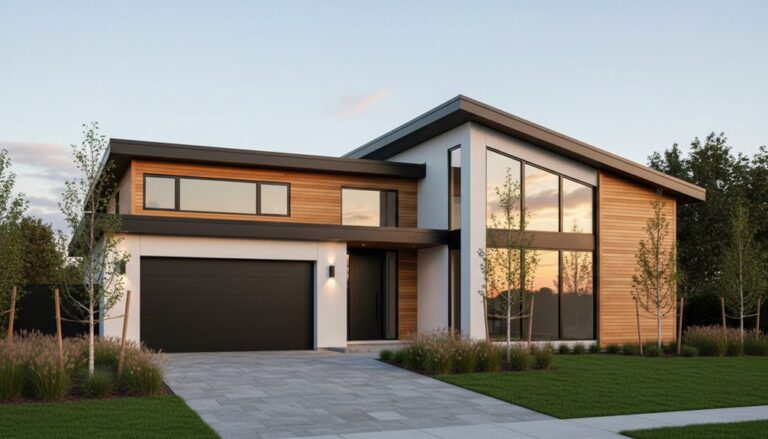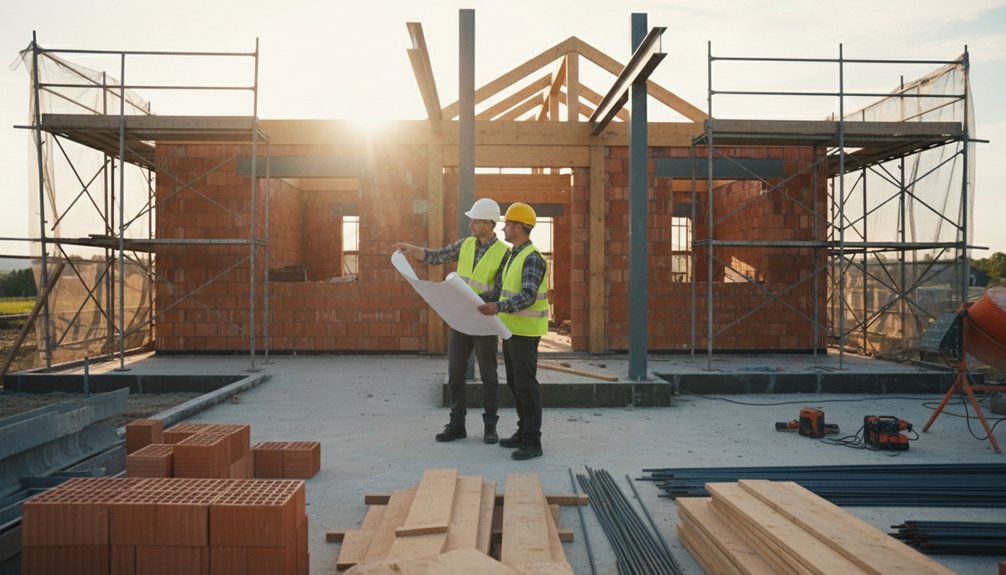
You start by fixing your buildable envelope: map easements, access widths for plant, survey levels and boundaries, then confirm zoning setbacks, ridge height, parking, and overlook/daylight limits. Next, you build a cost plan that separates land, fees, utilities, and risk, and you pick a contract route that matches your control needs. You then lock a brief with room standards, lighting, and performance targets, design for low energy, and enforce change control plus inspections—there’s more ahead on each step.
Key Takeaways
- Confirm plot feasibility with surveys, access checks, zoning limits, and environmental constraints to define a realistic buildable envelope.
- Build a cost plan covering land, fees, utilities, contingencies, and cashflow, and choose a build route matching desired control and risk.
- Create a detailed brief defining spaces, adjacencies, performance targets, and non-negotiables, with clear decision owners to prevent costly variations.
- Design for planning compliance, comfort, and low energy using optimized orientation, glazing, U-values, airtightness, shading, and efficient MVHR.
- Control quality on site with a tight contract scope, change-control process, stage inspections, testing targets, and photo logs to catch defects early.
Check the Plot for Constraints and Feasibility

Before you commit to a bespoke design, validate the plot’s constraints and feasibility by mapping what you can build, where, and under which conditions. Pull title plans, easements, and rights-of-way, then confirm access widths for construction vehicles and permanent drive gradients.
Check Zoning regulations for use class, setbacks, ridge-height limits, site coverage, and parking ratios, and translate them into a buildable envelope.
Commission a topographic survey to lock levels, boundaries, and adjacent overlook lines, then test massing against daylight and privacy constraints.
Verify utilities capacity and connection points, including foul, surface water, power, and telecom routes.
Screen Environmental restrictions: flood zone, contamination, protected trees, habitats, and drainage constraints. If risks appear, adjust siting and orientation early.
Set Your Budget and Choose a Build Route

How much can you spend—and where will you allocate it to protect design intent through to handover? Set a total cost plan that separates land, fees, surveys, utility connections, and a risk allowance. Then ring-fence the items that carry architectural value: envelope performance, glazing ratios, junction detailing, and key internal finishes.
Tie Materials selection to measurable outcomes (U-values, durability class, embodied carbon) and price volatility, so substitutions don’t erode the concept.
Choose a build route that matches your risk appetite and control needs. A traditional contract gives design control but demands tighter coordination. Design-and-build can shorten the Construction timeline but requires explicit performance specs and robust employer’s requirements.
Track cashflow against stage payments, and stress-test programme, procurement lead times, and contingency triggers.
Write a Bespoke New Build Brief That Works

With your cost plan and build route set, you can now lock the project’s intent into a brief that stays intact through planning, tender, and site decisions. Write it as a controlled document: objectives, spatial schedule, adjacencies, and measurable performance targets, all referenced to drawing revisions.
Define room-by-room requirements, then pin down non-negotiables: structural grid, ceiling heights, door widths, acoustic expectations, and service zones. Specify Interior lighting intent early—task/ambient ratios, glare limits, circuiting, and control strategy—so layouts and wiring don’t drift.
Drive Material selection with a schedule: product benchmarks, durability class, slip resistance, maintenance regime, and supplier lead times. Include acceptance criteria, mock-ups, and sample sign-off points.
Finally, assign decision owners and response times, so variations don’t erode the design.
Design for Planning, Comfort, and Low Energy
Where will the planners, the sun, and your comfort targets collide—site lines, daylight, overheating risk, and neighbour impact? Start with massing and window-to-wall ratios that respect overlooking and shadowing, then set orientation and glazing by solar gain modelling.
You’ll tune U-values, airtightness, and thermal bridge details so fabric heat loss stays low and condensation risk stays controlled. Use external shading, night purge, and careful glazing g-values to prevent summertime peaks without over-relying on cooling.
Specify MVHR with short, balanced duct runs, low specific fan power, and room-by-room rates aligned to occupancy. Choose sustainable materials with verified EPDs and moisture-open build-ups where appropriate.
Integrate a Smart home layer for zoned setpoints, CO₂-driven ventilation, and live energy monitoring.
Build With Cost Control: Contract, Changes, Inspections
Once you’ve locked the fabric spec, glazing strategy, and ventilation concept, cost control becomes a build-system problem: you must convert drawings and performance targets into a contract that prices the right scope, fixes assumptions, and makes quality measurable.
Drive Contract negotiation around inclusions, provisional sums, and tolerances: define airtightness targets, thermal-bridge details, commissioning, and test evidence as deliverables with hold points.
For Cost management, lock a change-control workflow: price variations before instruction, track impact on programme, and protect performance-critical sequences (slab edge, window install, service penetrations).
Set inspection gates tied to drawings: pre-pour reinforcement and insulation, membrane continuity, window tapes, duct routes, and MVHR balancing.
Use photo logs, checklists, and independent site visits so defects don’t become hidden, expensive rework later.
Frequently Asked Questions
What Warranties or Guarantees Should I Expect on a Bespoke New Build?
You should expect a structural warranty (typically 10 years) covering foundations, frame, and weatherproof envelope.
Additionally, there should be 2 years for builder defects under a defects-liability period.
You’ll also need manufacturer warranties for roofing, windows, boilers, heat pumps, and appliances.
Require certificates for electrical and plumbing compliance.
Confirm snagging and retention terms for Interior finishes.
Demand written guarantees on drainage and landscaping plans establishment, plus timelines and remedies.
How Do I Insure the Project During Construction and After Completion?
Picture your site as a ship in shifting seas: you’ll insure it with Construction insurance during the build, then switch to buildings/contents cover at handover.
You’ll arrange a contract works policy covering materials, theft, fire, and storm, plus public liability and employers’ liability; confirm the builder’s policies and limits.
After completion, you’ll activate buildings insurance on reinstatement value, note lender interests, and retain Builder warranties for structural defects.
What Taxes and Fees Apply, Including VAT, Stamp Duty, and CIL?
You’ll face VAT, Stamp Duty Land Tax (SDLT), and Community Infrastructure Levy (CIL), plus planning and Building permits fees.
New dwellings can be zero-rated for VAT on construction, but professional fees and some materials may carry 20%; you can reclaim VAT via the DIY scheme if eligible.
SDLT applies to land purchase, with rates based on consideration.
CIL depends on floor area and local charging schedules; factor it into Construction finance.
How Long Does a Bespoke New Build Typically Take From Start to Finish?
You’re looking at 12–24 months end-to-end; it’s not over till the fat lady sings.
You’ll spend 3–6 months on concept, planning, and detailed design, then 6–12 months on construction, plus 1–3 months for commissioning and snagging.
Add time for complex Home automation integration, MVHR tuning, and Sustainable features like heat pumps, PV, or airtightness testing.
Ground conditions, utilities, and approvals can stretch the critical path.
What Documents Are Needed for Mortgage Approval on a Self-Build?
You’ll need proof of ID, income, and deposits, plus land title, purchase contract, and planning consent.
Provide Site planning outputs: drawings, specifications, and a build schedule with staged costings.
Submit a detailed budget, contingency, and valuation or appraisal.
For Builder selection, include the signed build contract, builder’s credentials, insurance, and warranties.
Add structural engineer reports, building regs approvals, and a self-build mortgage offer application pack.
Conclusion
You’ll get the best bespoke new build outcome when you prove feasibility early, lock a realistic budget, and translate your brief into measurable performance targets (U-values, airtightness, daylight, overheating). Keep the design planning-compliant and buildable, then control risk with a clear contract, variation rules, and staged inspections. For example, a self-builder who agreed a fixed-price shell, then changed window sizes mid-frame, triggered re-engineering and a two-week delay—avoid that by freezing elevations before tender.
About the Author