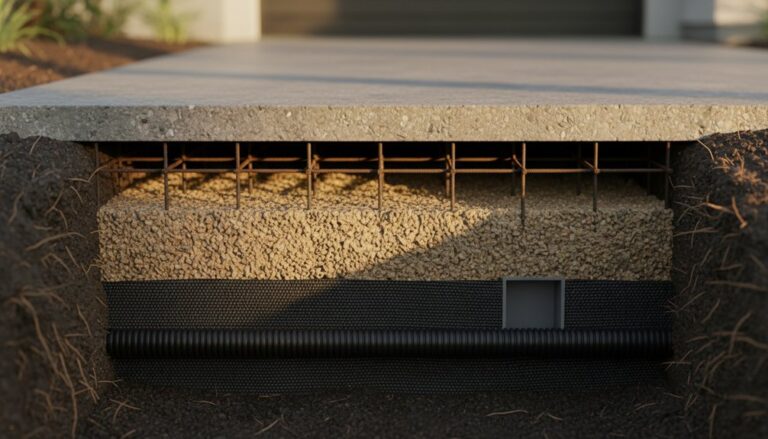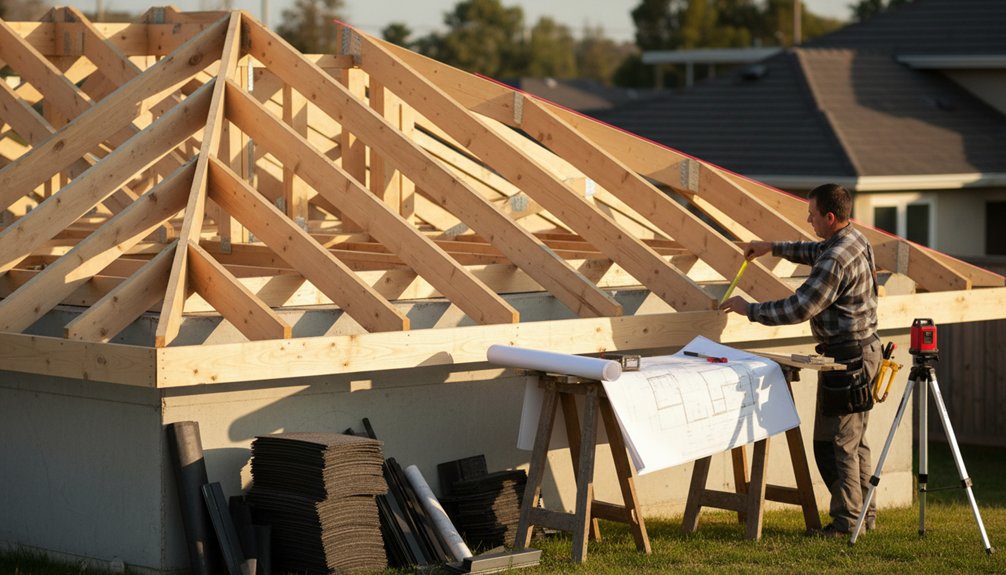
Start by confirming permits, zoning setbacks, height limits, and required inspections, then check site constraints like easements, drainage, soil capacity, and delivery access. Size framing and connectors for local snow, wind uplift, and seismic loads, and document assumptions. Choose a roof style and pitch that meet code and shed water fast, then coordinate insulation, heel height, and ventilation to prevent condensation and ice dams. Finish with rated underlayment, drip edge, kickout flashing, and gutters—next you’ll see how to calculate spans and details.
Key Takeaways
- Confirm permits, zoning, HOA limits, and required inspections before finalizing roof height, setbacks, and attachment details.
- Design for local snow, wind, and seismic loads; size rafters, sheathing, and connectors using species/grade and span tables.
- Choose roof style and pitch for climate and roofing type; avoid slopes under 2:12 unless using a rated membrane system.
- Plan insulation and ventilation together to meet energy code and prevent condensation, ice dams, and premature sheathing damage.
- Detail water management with underlayment, drip edge, kickout flashing, and properly sized gutters directing runoff away from siding and foundations.
Check Permits, Codes, and Site Constraints
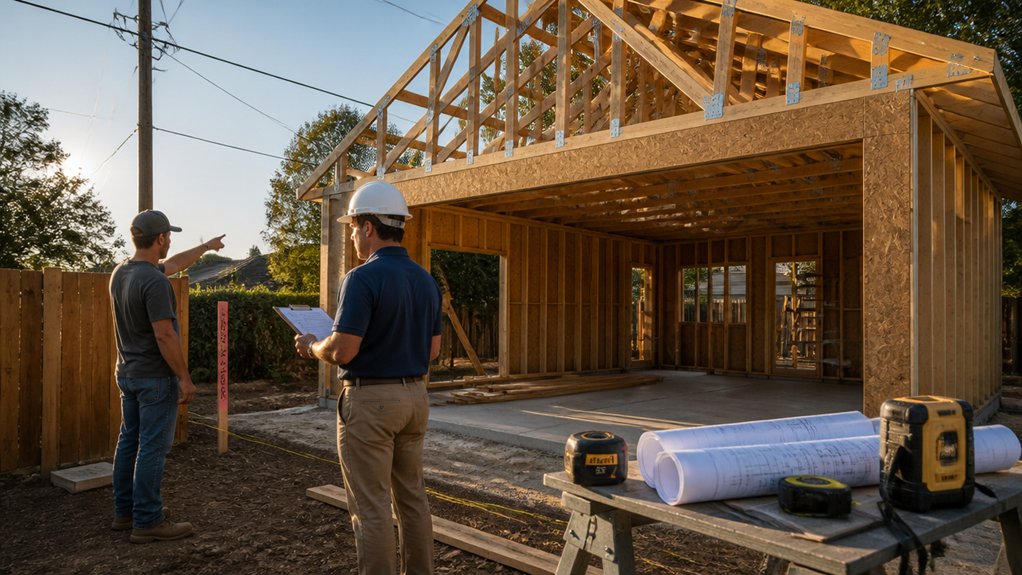
Before you finalize any garage roof design, confirm what your local building department and zoning office will allow on your lot. Verify required Building permits, plan submittal sets, and inspections for framing, sheathing, and final.
Check local regulations for setbacks, height limits, lot coverage, fire-separation distance, and any HOA design controls.
Confirm code loads for snow, wind, and seismic; size rafters, trusses, connectors, and uplift tie-downs accordingly.
Review roofing material ratings, underlayment, flashing, and ice-barrier requirements for your climate zone.
Identify site constraints: overhead utilities, easements, drainage paths, soil bearing capacity, and access for delivery and staging.
If the garage is attached, verify firewall, eave projections, and opening protections.
Document approvals before ordering trusses or shingles.
Set Your Garage Roof Goals and Budget
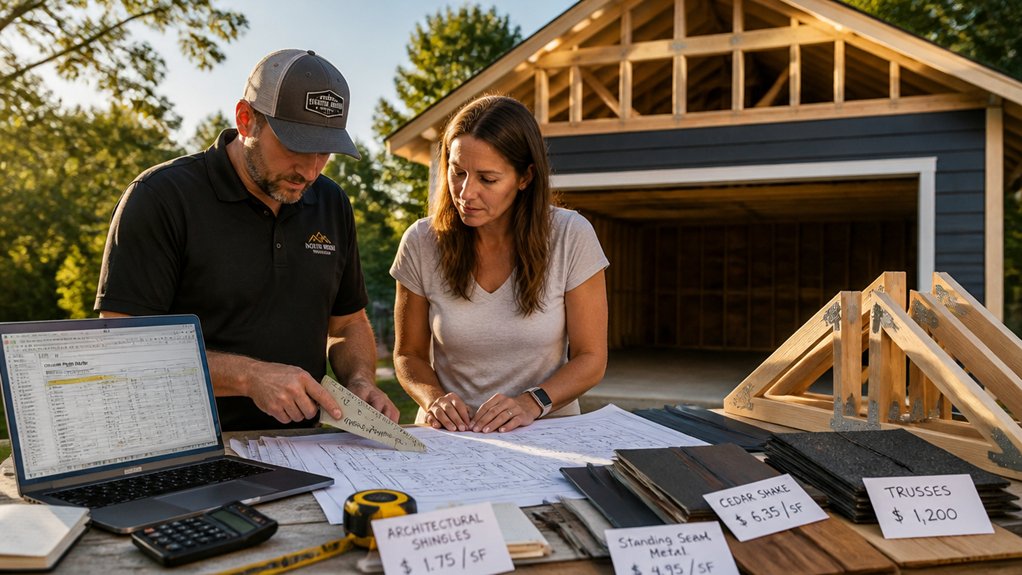
Once you’ve confirmed permits, code loads, and site limits, set clear performance goals for the garage roof and match them to a realistic budget. Decide whether you need storage loads, rooftop equipment support, or enhanced fire resistance, and price the required framing, sheathing, and rated assemblies accordingly.
Specify durability targets for wind uplift, ice dam control, and corrosion resistance, then align them with warranty terms and inspection access. Plan Garage insulation to meet local energy provisions and prevent condensation at roof decks and penetrations.
Include compliant ventilation systems—balanced intake and exhaust, minimum net free area, and baffle protection—so moisture doesn’t compromise structural members. Budget for fall protection, edge blocking, and safe staging; these are mandatory jobsite costs, not optional extras.
Choose a Garage Roof Style for Your Layout
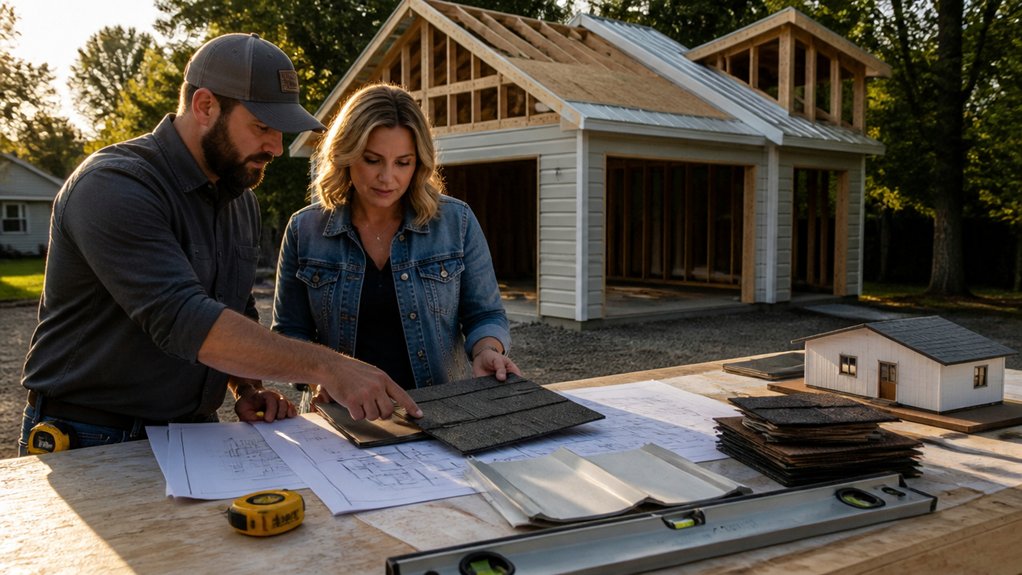
Choose a garage roof style by matching the roof pitch to your footprint, drainage path, and local code requirements for wind, snow, and minimum slope.
You’ll confirm the pitch supports your roofing material and safe access for installation and maintenance while keeping eave heights and clearances compliant.
Then compare attached versus detached configurations, because tie-in flashing, fire separation, and load transfer details change your structural and waterproofing requirements.
Match Roof Pitch To Layout
Because roof pitch controls both drainage performance and structural loading, you should match it to your garage’s footprint, openings, and setback limits before you commit to a style.
Use code-required minimum slopes for your roof covering; low-slope membranes need different details than shingles.
Verify that taller ridges won’t violate height limits or block door tracks, windows, or service clearances.
Steeper pitches shed snow faster but increase wind uplift, so specify rated fasteners, clips, and bracing.
If you’re spanning a wide bay, confirm rafter depth, ties, and bearing points meet span tables or engineered truss design.
Coordinate Roof insulation thickness with heel height so you don’t pinch eave airflow.
Choose Ventilation options—ridge, soffit, or gable—sized to code for moisture control.
Compare Attached Vs Detached
After you’ve set a roof pitch that meets drainage and span requirements, compare an attached garage roof to a detached one so you don’t create code or water-management problems at the connection points.
With an attached roof, you’ll need flashed step and counterflashing at the wall, a continuous air/water barrier tie-in, and gutters sized for combined roof area. Verify fire-resistance at the separation wall and protect penetrations per local code.
For a detached roof, you’ll simplify moisture detailing and reduce fire-spread risk, but you must design independent lateral bracing, uplift connections, and a footing system for wind and seismic loads.
Consider Garage aesthetics: an attached roof can match the main façade, while detached lets you vary form.
Evaluate insulation options based on conditioned space, vapor control, and ventilation pathways.
Pick a Garage Roof Pitch for Rain and Snow
How steep should your garage roof be to shed water fast and keep snow loads from overstressing the framing? Start with local code and climate: in rainy regions, don’t go flatter than 2:12 unless you use a low-slope membrane rated for it.
For shingles, many jurisdictions require 4:12 or approved underlayment details at 2:12–4:12.
In snow country, choose a steeper pitch (often 6:12 or more) to encourage shedding, reduce ice dam risk, and keep drainage paths clear.
Pair the pitch with continuous roof insulation and correct ventilation to limit melt-refreeze cycles.
Plan gutter installation for the slope you pick, using rated hangers, overflow paths, and ice-resistant detailing at eaves.
Calculate Rafters, Spans, and Roof Loads
Next, you’ll calculate rafter length from your roof pitch and run, then add ridge, seat cut, and overhang allowances so every member fits without weakening the bearing points.
You’ll verify allowable rafter spans against applicable code span tables and your lumber grade/species, then confirm spacing and connections meet fastening and uplift requirements.
Finally, you’ll size the system for total roof loads—dead, live, snow, and wind—so you’re not relying on guesswork where structural safety is mandatory.
Rafter Length Calculations
Because rafter sizing and layout directly control roof strength and deflection, you’ll want to calculate rafter length, span, and design loads before you cut a single board.
Start with the building half-span (run) and the roof pitch; use the Pythagorean method: rafter length = √(run² + rise²).
Where rise = run × (pitch/12).
Add overhang by extending the run and recomputing, then account for the ridge thickness and your seat cut so the plumb cut lands cleanly on the ridge and the birdsmouth bears fully on the top plate per code limits.
Verify layout against your truss design or stick-built framing techniques, and keep cuts square and consistent to prevent twist and uneven sheathing bearing.
Span And Load Requirements
Before you finalize your cut list, confirm that each rafter meets the required span and design loads for your site. Use your local code tables (IRC/IBC) for species, grade, spacing, and unbraced length, then verify allowable span for your roof pitch and overhangs.
Calculate dead load from sheathing, underlayment, roofing, and roof insulation, plus ceiling finishes if applicable.
Add design live loads: snow, roof live, and wind uplift per your jurisdiction.
Don’t ignore concentrated loads from PV, HVAC, or storage platforms.
Check bearing at ridge, walls, and hangers; size fasteners and connectors for uplift and lateral forces.
Coordinate ventilation strategies so baffles don’t reduce effective rafter depth or compromise required insulation clearances.
Document assumptions and keep a safety margin.
Choose Materials and Details to Prevent Leaks
Although a garage roof can look watertight from the ground, leak resistance comes down to selecting code-listed materials and detailing every shift—eaves, rakes, valleys, penetrations, and wall tie-ins—with continuous underlayment, properly overlapped flashings, and compatible fasteners so you don’t create hidden capillary paths or galvanic corrosion that defeats the assembly.
Match underlayment to your covering (ice-barrier at eaves where required, synthetic felt elsewhere) and follow manufacturer lap and nail schedules. Use step flashing at walls, boots at pipes, and preformed valley metal or membrane where planes meet.
Seal only where specified; don’t rely on caulk as primary defense. Add drip edge and kickout flashing to protect siding.
Prioritize gutter and drainage to move water off fast, and inspect seams safely.
Frequently Asked Questions
How Do I Match the Garage Roof Design to My Home’s Architecture?
Match your garage roof to your home by mirroring pitch, eave depth, ridge height, and overhang details for Architectural harmony.
Select Garage roof materials that match existing shingles, metal profile, or tile color and meet local fire and wind ratings.
Align fascia, soffit vents, and gutter profiles to maintain consistent drainage.
Verify truss or rafter loads per code.
Guarantee proper flashing at intersections.
Keep safe access for maintenance.
Can I Add Skylights or a Roof Window Without Weakening the Structure?
Yes—you can add skylights or a roof window without weakening the structure if you frame it correctly; it’s like cutting a careful window in a ship’s hull.
Follow skylight installation considerations: locate between rafters/trusses, never cut truss members without an engineer, and add double headers/trimmers per code.
Verify flashing, ice-and-water shield, and egress rules.
Check solar panel compatibility so layouts and loads don’t conflict, and confirm uplift ratings.
What’s the Best Way to Insulate and Ventilate a Garage Roof Properly?
Insulate with continuous Roof insulation sized to meet local R-value requirements, then protect it with an air/vapor control layer sealed at all penetrations.
You’ll prevent condensation by maintaining a clear soffit-to-ridge air channel using baffles and code-approved Ventilation systems.
Target balanced intake and exhaust, keep vents unobstructed, and add fire-blocking where required.
Don’t compress batts; use rigid foam or spray foam when depth is limited.
Verify with inspections.
How Long Will My Garage Roof Last With Different Roofing Materials?
You can expect garage roof life to vary by material: asphalt shingles last 15–30 years, architectural 25–35; metal panels 40–70; EPDM/TPO membranes 20–30; wood shakes 20–40; slate or clay tile 75–100+.
Roof durability depends on code-compliant underlayment, correct fastening, flashing per manufacturer, and safe roof pitch limits.
Material longevity improves when you maintain drainage, replace damaged pieces promptly, and keep ventilation balanced.
Will Rooftop Solar Panels Work on My Garage Roof, and How Do I Plan Them?
Yes, rooftop solar panels can work on your garage roof if you confirm solar panel compatibility with slope, azimuth, shading, and structural capacity.
You’ll plan by pulling permits, using a stamped load calcs when required, and following NEC 690/705, grounding, and rapid-shutdown rules.
Choose rooftop material options that accept flashed, lagged mounts (asphalt, metal) or engineered attachments (tile).
Keep fire setbacks, wind uplift ratings, and safe roof access.
Conclusion
When you’ve checked permits, set a budget, chosen the right style and pitch, and sized rafters for code-required loads, you’re ready to build a garage roof that performs. Don’t cut corners on flashing, underlayment, and ventilation—most roof leaks trace back to details, not shingles. In fact, industry studies commonly report that roughly 90% of premature roof failures relate to installation errors. Follow manufacturer specs, use fall protection, and schedule inspections—you’ll pass safely.
About the Author