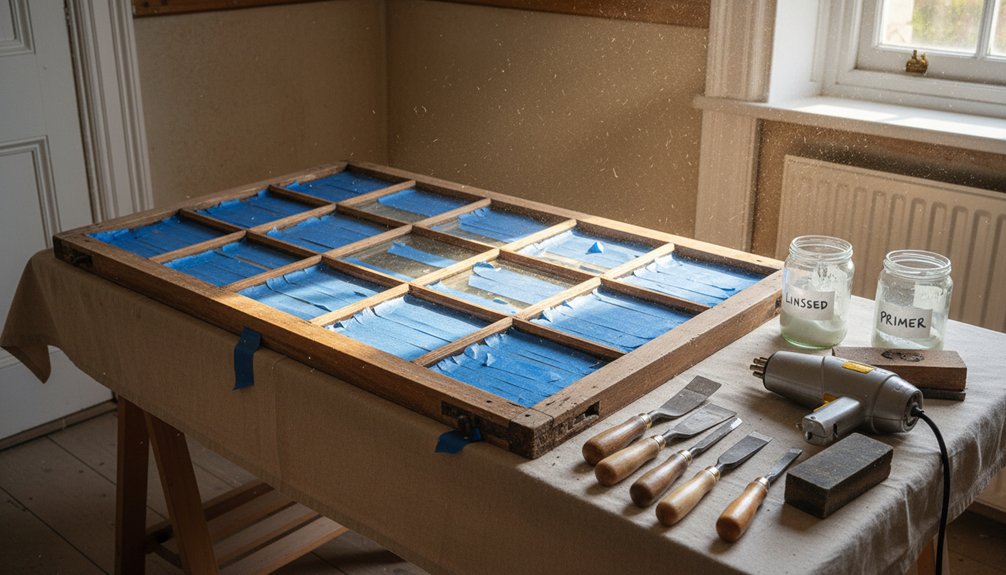
Start by inspecting stiles, rails, beads, cills, and trim for open joints, hidden splits, and soft fiber; probe with an awl and tap for hollow thuds, then mark and photograph defects. Treat pre‑1978 paint as lead, contain dust, and remove sashes and glass carefully. Strip paint with low heat or gel to keep profiles crisp, square rot to sound timber, and patch with matching Dutchmen. Re-cord, tune pulleys/weights, reglaze with linseed putty, then draught-proof, prime, and topcoat—there’s more to refine your finish.
Key Takeaways
- Inspect stiles, rails, cills, putty lines, and joints; probe with an awl, tap for hollows, and photograph defects for records.
- Set up lead-safe containment, wear P100 PPE, and remove stops, cords, and sashes carefully; label and protect historic glass for reuse.
- Decide repair versus replacement by decay depth and joint integrity; keep at least two-thirds sound timber, otherwise splice or replace members.
- Cut out rot to clean fibers, consolidate shallow decay, and fit matching Dutchman patches; clamp, pin, and re-tighten joints with sash cramps.
- Record weights, replace cords, service pulleys, reglaze with linseed putty, and add discreet draught-proofing before priming and repainting for durability.
Inspect Sash Windows and Timber Trim Damage
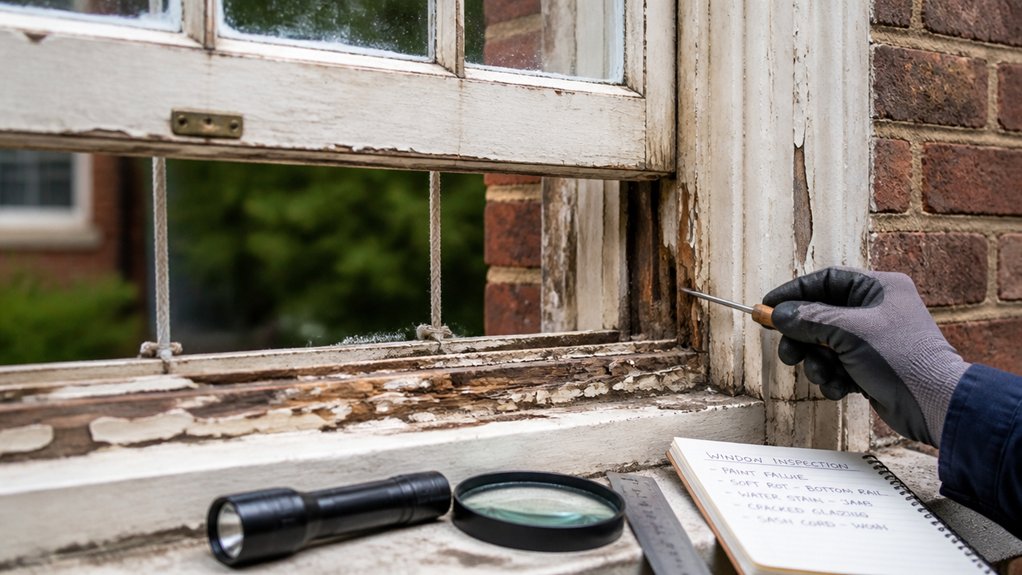
Before you pick up a scraper or order replacement timber, inspect the sash and surrounding trim with the care a joiner would’ve used when it was first fitted.
You’ll start by checking stiles, rails, and meeting bars for open joints, bruised arrises, and thin paint ridges that hide splits.
Run a thin blade along glazing putty to spot hollows, failed bedding, and hairline cracks at the glass line.
Probe cills, bottom rails, and pulley stiles with an awl for softness, then note where water tracks from drip edges and sash cords.
Examine beads, architraves, and corner blocks for movement and past patching.
Photograph findings for Historical preservation and record profiles to respect Cultural significance.
Mark all defects clearly on site notes.
Repair vs Replace: Quick Tests and Thresholds

You’ll start with timber soundness: press an awl into the sill, meeting rails, and lower corners—if it bites deep or the fibers crumble past the paint line, you’ve crossed from consolidation into replacement stock.
Then you’ll weigh cost against lifespan by measuring how much section is lost and how many joints have opened; when repairs would require piecing more than a third of a member or chasing rot into multiple faces, new matching timber usually lasts longer for the money.
Finally, you’ll judge repairability component by component—sash cords, parting beads, glazing bars, and pulleys often mend or replicate cleanly, while distorted stiles, failed tenons, or split rails often won’t hold a proper joint again.
Assess Timber Soundness
How do you tell whether that soft, paint-cracked sill wants a careful splice or a full replacement? Start with soundness testing. Strip a small patch to bare wood, then probe along the grain with a bradawl or thin screwdriver. Sound timber resists and leaves crisp, bright shavings; timber decay yields a dull, crumbly depression.
Tap with a small hammer: a sharp ring suggests firm fibers, while a hollow thud points to internal voids. Check end grain at joints, glazing bars, and the outer sill’s drip—these Victorian weak points trap water.
If your probe sinks past the first growth rings or the fibers lift in sheets, you’re beyond a neat dutchman repair. Mark boundaries, then open up carefully.
Cost And Lifespan Thresholds
Once you’ve proved the timber’s condition, weigh the repair against what it’ll realistically cost and how long it’ll last in service. Price your time as carefully as your materials: strip, reglaze, splice, prime, and repaint can rival replacement when access is awkward or mouldings are elaborate.
Use a simple threshold: if repair labour and materials exceed about 60–70% of a like-for-like unit, replacement starts to make financial sense—unless Historical significance demands retention.
Estimate service life honestly. A well-executed repair with sound joinery, breathable paint, and proper detailing should give you 15–25 years before major attention; a poor match can fail in five.
Keep Material compatibility tight, so new timber, primers, and glazing compounds move and shed moisture like the old work.
Repairability Of Components
Although cost and service life set the broad limit, the real decision often comes down to whether each sash and trim component still has enough sound fibre and crisp detail to justify work at the bench.
Start with a knife and an awl: if you can’t lift splinters and the point stops within 3–5 mm, you’ve likely got repairable timber. If the tool sinks, the grain crushes, or rails flex under hand pressure, mark the decay line and measure what’s left.
Keep any member with at least two-thirds sound section, intact joinery shoulders, and profile you can re-cut with plane and scratch stock.
Replace when muntins are hollow, tenons are gone, or checks run through glazing rebates.
For Historical preservation, splice like-for-like; reserve Modern materials for concealed consolidants only.
Make It Safe: Lead Paint, Glass, and Sash Removal

Before you lift a pry bar or score a paint line, treat every pre-1978 sash as a lead job and every pane as a knife: set up containment with poly sheeting, tape off the work zone, and keep a HEPA vac and a spray bottle of water at hand to control dust.
For Lead safety, suit up with a P100 respirator, gloves, and disposable coveralls, and bag debris as you go.
For Glass handling, wear cut-resistant gloves, keep panes vertical, and label any wavy or cylinder glass for reuse.
Score paint at stops and parting beads with a sharp knife, then ease them free with a thin putty knife and small pry bar.
Remove sash cords at the knot, pin weights, and lift each sash straight out.
Strip Paint Without Rounding Sash Profiles
To strip paint without softening crisp ovolo and lamb’s-tongue profiles, you’ll choose gentle methods—low-heat, solvent gel, or steam—so the timber stays sharp.
You’ll work with profile-safe tools like shaped scrapers, pull blades, and brass brushes, keeping your stroke with the grain and off the arrises.
You’ll protect edges and fine details by masking shoulders, easing pressure at corners, and stopping short of bare wood where the original profile must remain exact.
Choose Gentle Stripping Methods
Since every pass of sandpaper can soften an ogee or chamfer that’s survived a century of service, choose stripping methods that lift paint without cutting into the timber.
For Historic preservation, start by testing a small bay: mist the surface, then apply a pH-neutral, low-odor paste stripper and cover with waxed paper to slow evaporation. Let it dwell until the layers wrinkle, then wipe away with rags, not abrasion.
Use warm water and a soft brush to neutralize residues, and change rinse water often so you don’t redeposit sludge into open grain.
Where paint is brittle, try Modern techniques like infrared heat at low settings; keep the lamp moving to avoid scorching and loosening joints.
Work in short sections, and stop at sound, well-keyed paint.
Use Profile-Safe Tools
Although chemical and heat methods can loosen the build-up, you’ll only keep crisp lamb’s-tongue stops, ovolo beads, and meeting-rail quirks if you switch to profile-safe hand tools for the lift.
Choose a sharp carbide pull scraper with interchangeable radiused blades, then keep it honed so it shears paint instead of ploughing timber. Work with the grain, taking short strokes and low angle pulls; let the edge do the cutting, not pressure.
For mouldings, use cabinet scrapers you’ve burnished to a fine hook, and shape small gooseneck scrapers to match each curve.
In corners, pick paint with a pointed awl and a narrow chisel.
You’ll preserve Decorative finishes and maintain Historical authenticity by lifting layers cleanly, not sanding them away.
Protect Edges And Details
Profile-safe scrapers keep the moulding true, but you can still ruin a sash by rounding its edges while you strip. Work to the arris, not over it: stop your stroke at the corner and change direction.
Mask sharp lines with a thin card shim or stainless straightedge, especially on ovolo and lamb’s-tongue profiles. Keep blades dead square, freshly burnished, and pull rather than push near beads and glazing bars.
Use low heat in short passes, then lift softened paint in layers instead of digging. Around mortises, parting beads, and meeting rails, switch to a hooked pick and stiff bristle brush.
Remove Decorative hardware first, label it, and protect screw holes. Preserving crisp profiles supports Historical accuracy.
Repair Rot and Tighten Loose Timber Joints
Before you strip paint or chase smoother operation, inspect the sash rails, stiles, and meeting-rail joints for soft spots, dark staining, and hairline gaps that signal rot or movement. Probe with an awl; sound timber should resist and ring. Mark any punky areas and square them back to clean fibers with a sharp chisel.
Consolidate shallow decay with a compatible consolidant, then rebuild missing sections using a dutchman patch in matching species, grain, and moisture content for material compatibility. Glue with hide or high-grade exterior PVA as appropriate, clamp, and pin with tapered hardwood pegs.
If joints have opened, draw them tight with sash cramps, re-seat shoulders, and re-wedge tenons. You’ll preserve historical significance and crisp profiles.
Replace Sash Cords and Tune Pulleys/Weights
Once you’ve got the timber sound and the joints pulled tight, turn to the counterbalance system that makes a sash feel “right” in the hand. Pop the pocket covers, drop the weights, and note their stamps and mass so you can match pairs for Historical accuracy.
Cut new waxed cotton sash cord (or braided pre-stretched, if the building’s later), using careful Material sourcing from traditional suppliers. Thread over the pulley, tie a proper figure-eight to the weight, then set the cord length so the sash meets the head without the weights bottoming out.
Pull the pulley wheels, de-grease, and check for wobble. Dress the axle, oil lightly, and replace cracked pulleys with like-for-like brass or iron. Rehang, test travel, and fine-tune weight balance.
Reglaze and Seal Sash Windows to Stop Leaks
With the sash now running true on fresh cords and smooth pulleys, you can tackle the other common cause of rattles and draughts: failed glazing and tired seals.
Ease out loose putty with a glazing chisel, lift the sprigs, and remove the pane intact if you can—Historic preservation favors saving wavy cylinder glass.
Brush the rebate clean, treat bare timber with linseed oil, then bed the glass in a thin putty fillet.
Press the pane home, pin with new sprigs, and knife a neat, sightline bevel that sheds water.
Let the putty firm, then run a fine bead of linseed putty or compatible sealant at hairline gaps.
Keep profiles crisp; avoid bulky modern replacements that upset reveals and drainage.
Draught-Proof, Then Prime and Paint for Durability
After you’ve cured the glazing and confirmed the sashes meet the staff and parting beads cleanly, cut in discreet draught-proofing at the contact points rather than smearing on caulk. Rout a narrow groove and press in brush pile or a thin carrier strip so the seal works without forcing the meeting rails. Keep clearances even, then wax pulleys and check that cords run true before you refit the stops.
Next, prime all bare timber, including end grain and any spliced repairs. Use an oil-based or high-quality alkyd primer that suits old growth resin, then spot-prime putty lines once they’ve skinned. Lay on two topcoats, lightly de-nibbing between, and avoid paint bridging sash-to-frame.
You’ll preserve Decorative finishes while maintaining Historical accuracy and longevity.
Frequently Asked Questions
How Do I Match Original Sash Window Hardware and Period-Appropriate Fittings?
Match original sash window hardware and period-appropriate fittings by documenting what’s there first: photograph, measure hole spacing, screw gauge, and backplate outlines.
You’ll get accurate Hardware matching when you compare these details to catalog reprints and salvage-yard stock from the same era.
Specify material and finish—bronze, brass, or iron—and choose slotted screws.
If you must replace parts, keep profiles, patina, and fixing points consistent with existing joinery.
Do I Need Listed Building Consent or Permits Before Restoring Historic Windows?
Yes—you’ll often need listed building consent or local permits before you restore historic windows, and skipping them can cause a paperwork storm of epic proportions.
If your property is listed or in a conservation area, you must check with your local planning authority.
They’ll expect Historical authenticity: retain sashes, glazing bars, and profiles.
Use Preservation techniques like splice repairs, linseed paint, and reversible draught-proofing, and document every alteration carefully.
What Are the Typical Restoration Costs and Timelines for Sash Windows?
You’ll typically pay £800–£2,500 per sash for careful overhaul, or £2,500–£5,500 for full rebuild with new cords, parting beads, and spliced timber.
Expect 1–2 days per window for overhaul, 1–3 weeks for workshop repairs plus fitting.
Your timeline stretches if you need bespoke glazing bars or paint curing.
Add draught-proofing for energy efficiency, and choose seasoned softwood or oak for material durability.
How Can I Improve Thermal Performance Without Changing the Window’s Appearance?
On a blustery January site visit, I felt a candle flame lean at the meeting rail—your cue to boost warmth invisibly.
You’ll add discreet window insulation with brush seals in the staff beads, plus draft proofing at the parting bead and sash stiles.
Reseat loose putty, repair glazing rebates, and fit thin, reversible secondary glazing inside the reveal.
You keep original glass, profiles, and sightlines intact.
When Should I Hire a Specialist Versus Doing Sash Restoration DIY?
Hire a specialist when you’re dealing with structural rot, distorted frames, missing glazing bars, or complex counterweight and pulley repairs—you can’t fake period accuracy.
You should also call one if you need listed-building compliance or to match Decorative finishes precisely.
Do it DIY if you’re only stripping paint, easing sashes, replacing cords, and fitting discreet draught seals, using Modern materials sparingly.
You’ll protect joinery and crisp sightlines.
Conclusion
You’ve taken windows that rattled and leaked and turned them into sash that glide, seal, and still look right for the period. Where thick paint once softened crisp ovolo lines, careful stripping leaves sharp profiles again. Where rot threatened the rails, sound splices and tight joints restore strength. Fresh cords balance the weights; new glazing putty beds the glass. Now draught-proofing stops whistles, and primer and paint lock out weather without burying the craftsmanship.
About the Author