Start by mapping how you move through the bungalow, then align the main axis parallel to the window wall so daylight reaches deeper. Confirm load paths, joist directions, and any chimney roles before you remove partitions, and involve an engineer to size LVL/steel supports and plan approvals. Keep 900 mm clear around islands and tables, and use floating furniture, rugs, and lined cabinetry to zone and control noise. Next, you’ll see how rooflights, glazed slots, and system upgrades complete it.
Key Takeaways
- Map movement patterns and align key sightlines parallel to window walls to push daylight deeper into the plan.
- Confirm load-bearing walls, joist directions, and bracing lines early, and involve a structural engineer before any wall removal.
- Use an island or peninsula plus floating furniture to define kitchen, dining, and snug zones without rebuilding walls.
- Build in acoustics from the start with rugs, absorbent ceilings, and lined cabinetry to prevent noise issues in open-plan spaces.
- Add rooflights, widen openings, and update heating, electrics, and insulation to suit the new open plan and avoid overheating.
Plan an Open-Plan Bungalow Layout That Flows
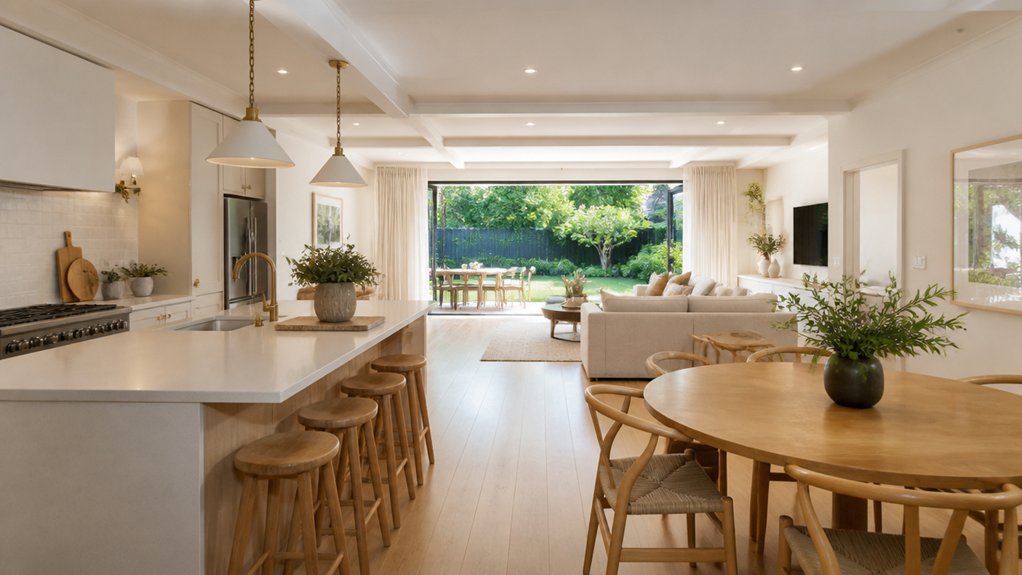
If you map your bungalow’s daily movement patterns before you move any walls, you can build an open-plan layout that feels intuitive rather than exposed. Trace routes from entry to kitchen, dining, and lounge, then align openings to preserve clear sightlines without creating a corridor effect.
Set primary axes parallel to window walls to pull daylight deep into the plan, and keep circulation at least 900 mm wide around islands and tables.
Use Furniture placement to define zones: float a sofa to form a living “edge,” anchor dining under a pendant, and keep storage on internal walls to reduce visual clutter.
Add acoustic solutions early: specify absorbent ceilings, rugs, and lined cabinetry to control reverberation between hard surfaces.
Check Load-Bearing Walls and Building Approval Early
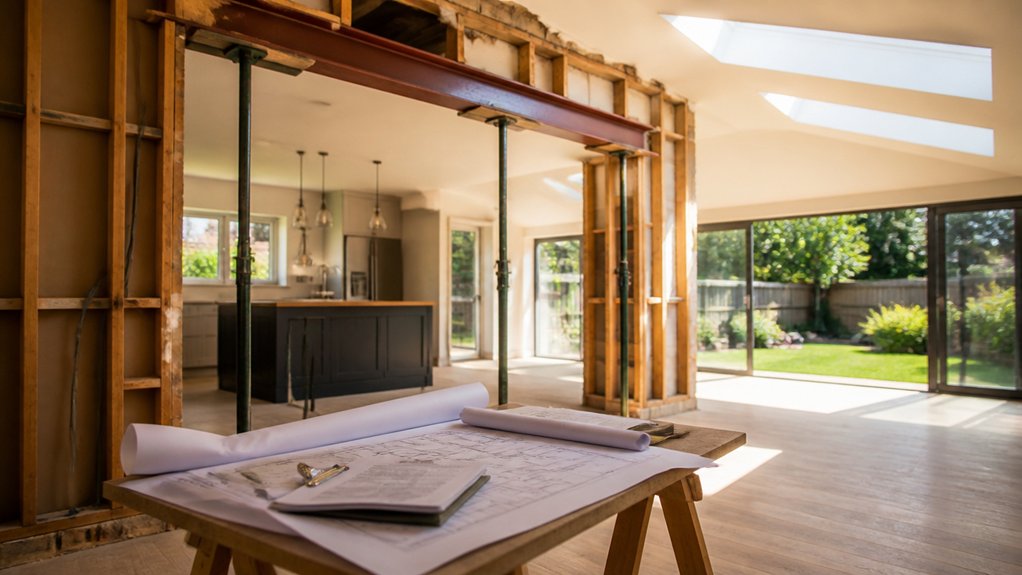
Once you’ve sketched the circulation and daylight axes, confirm what you can actually open up by identifying every load-bearing wall, beam, and bracing line before you commit to an open-plan scheme.
Read the roof and floor spans: note joist directions, bearing points, and any ridge, purlin, or collar tie support that lands on partitions. Map these onto a dimensioned plan and cross-check against cracks, step joints, or doubled studs that often signal structure.
Bring a structural engineer in early to size lintels and posts and to flag stability requirements for lateral loads.
Start building approval conversations at concept stage, aligning your drawings with inspections, fire separation, and energy upgrades, so approvals don’t stall your program or force redesign later.
Decide What to Remove: Walls, Doorways, Chimneys
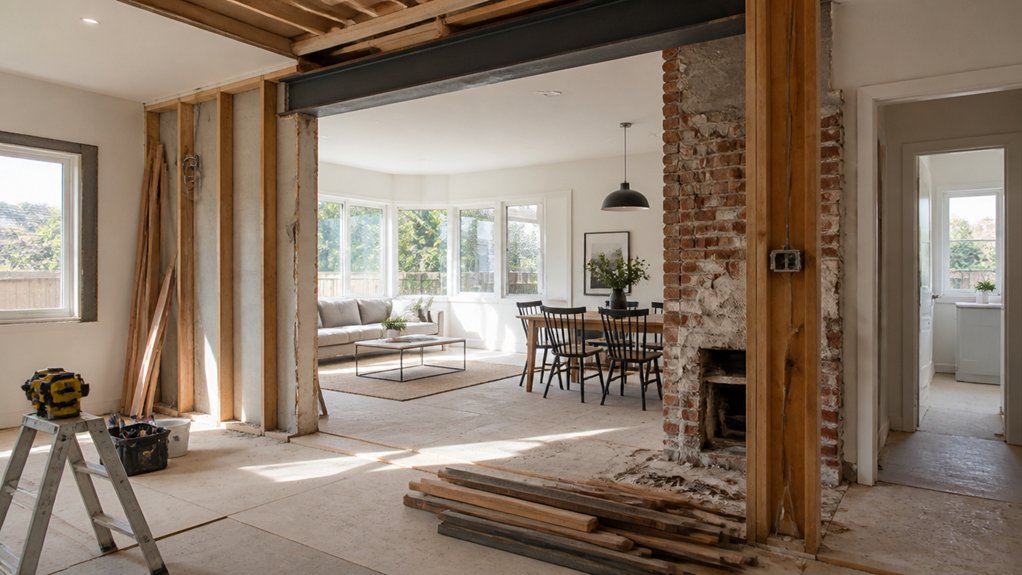
You map each wall, doorway, and chimney against the structural line—joists, beams, and roof loads—so you don’t remove anything that’s carrying weight without a support plan.
You then rework doorways by widening, relocating, or squaring openings to align sightlines and circulation, while keeping headers and jambs correctly sized.
If a chimney interrupts the new volume, you verify whether it’s structural or servicing appliances, then cap, reroute, or remove it with proper support and fire separation.
Assess Structural And Load-Bearing
Before demolition opens up a bungalow’s plan, map the load path from roof and ceiling joists down through studs, beams, chimneys, and foundation walls so you can separate structural elements from mere partitions.
Verify joist direction, bearing points, and any doubled members that signal a hidden beam line.
In the crawlspace or basement, trace posts, girders, and footing locations to confirm Foundation stability and how Load distribution shifts across spans.
Probe wall thickness, top-plate laps, and header sizing at openings to flag load-bearing runs.
If you’re removing a bearing wall, plan temporary shoring and specify the replacement: LVL, steel, or built-up lumber sized for tributary width.
Coordinate with an engineer before you cut.
Rework Doorways And Chimneys
After you’ve confirmed which walls actually carry load, rework the bungalow’s doorways and chimneys as a single circulation problem: identify where narrow cased openings pinch the sightlines, where offset doors force jogs in the path, and where a chimney mass blocks the cleanest run between kitchen, dining, and living zones.
You’ll often gain the most by widening or aligning openings to create a straight visual axis, then sizing headers to suit the remaining framing.
Treat doorway aesthetics as part of the plan: reduce unnecessary trim returns, keep casing profiles consistent, and align jambs with new ceiling planes.
If the chimney stays, plan chimney concealment with shallow cabinetry, a flush gypsum chase, or a built-in bench so the bulk reads intentional while clearances and flue access remain serviceable.
Zone Your Open-Plan Bungalow (Kitchen, Dining, Snug)
Although an open-plan bungalow reads as one continuous volume, it needs deliberate zoning so the kitchen, dining area, and snug each get clear boundaries, sightlines, and acoustic control without reintroducing full-height walls.
Anchor the kitchen with a peninsula or island aligned to circulation routes; you’ll create a working “wall” that screens prep mess from the table. Use furniture placement to set edges: float the dining table under a pendant, then back it with a sideboard to form a service line.
Define the snug by turning a sofa perpendicular to the main axis and adding a low media unit to stop views at seated height. Reinforce zones through color schemes and material shifts—tile to timber, matte to wipe-clean—while keeping ceiling level continuous.
Add rugs and slatted screens for absorption and privacy.
Add Daylight: Skylights, Rooflights, Wider Openings
When you pull a bungalow into open plan, you can’t rely on perimeter windows alone, so introduce top light and widen key openings to push daylight deep into the plan. Start with skylight placement: align units over circulation spines, island work zones, and the junction between kitchen and dining to erase dark thresholds. Keep heads clear of truss webs and set reveals splayed to spread light laterally.
Choose rooflight types to match pitch and access: fixed flat glass for clean ceilings, vented units for purge, and low-profile conservation styles where planning’s sensitive. Combine paired rooflights to create an even wash rather than hotspots.
At walls, widen internal openings and use glazed screens or high-level slots to borrow light while retaining furnitureable edges and sightlines.
Make Heating, Electrics, and Insulation Suit Open Plan
Because open plan removes the thermal and acoustic breaks that once “zoned” the bungalow, you’ve got to redesign heating distribution, electrical routes, and the insulation/airtightness layer as one coordinated system.
Model heat loss for the enlarged volume, then decide if underfloor heating, low-profile radiators, or a hybrid suits your floor build-up and response time. Run UFH manifolds near the new hub, keep loop lengths balanced, and add room stats for solar-gain swings.
Re-plan electrical wiring around new beam lines and ceiling voids: group circuits by function, allow for island/peninsula feeds, and pre-position data, extractor, and lighting drivers.
Upgrade insulation continuously through roof slopes and soffits, tape airtightness at junctions, and specify acoustic mineral wool where services penetrate. Validate with commissioning and thermal imaging.
Avoid the Biggest Open-Plan Bungalow Renovation Mistakes
If you knock out walls and “let light flow” without a coordinated layout and performance brief, you’ll lock in problems that are hard to undo later: a kitchen island that blocks circulation, glazing that overheats the main volume, steelwork that drops head height in key sightlines, and services that end up boxed in with no access.
Start with a scaled furniture plan and 900–1100mm clear routes between thresholds, island, and dining. Model solar gain and specify shading, low-g, and opening lights for purge ventilation, otherwise Open plan pitfalls turn into summer discomfort.
Coordinate beam depths, ceiling build-ups, and duct runs before ordering steels; set a datum so you don’t create step changes. Zone acoustics with absorbent ceilings and soft finishes, or you’ll amplify clatter.
Finally, keep service voids inspectable and document as-builts to avoid renovation pitfalls later.
Frequently Asked Questions
How Much Does an Open-Plan Bungalow Renovation Typically Cost per Square Metre?
You’ll typically pay £1,500–£3,000 per m² for an open-plan bungalow renovation, depending on structural openings, services rerouting, and finish level. If you add steel beams, costs skew higher.
You’ll allocate budget for Interior lighting layouts (downlights, pendants, circuit zoning) and flooring options (engineered timber, LVT, polished concrete), plus insulation upgrades, plastering, and kitchen integration.
Site access, waste removal, and contingency can add 10–15%.
How Long Does a Typical Bungalow Open-Plan Renovation Take From Start to Finish?
You’re usually looking at 12–20 weeks start to finish, yet a “simple” knock-through can feel slower than a full refit.
You’ll spend 2–4 weeks on design, surveys, approvals.
6–10 weeks on structural works, services, and wall removals.
2–4 weeks on finishes.
Interior lighting rough-in and final placement can add a week.
Flooring options (engineered timber, LVT, tile) affect drying, leveling, and sequencing.
Do I Need to Move Out During Structural Works, and for How Long?
You’ll usually need to move out during major structural works, typically 1–4 weeks, longer if you’re removing load-bearing walls or rebuilding floors. Temporary relocation reduces risk from dust, vibration, open cavities, and intermittent utility shutdowns.
If contractors must prop ceilings, cut through slabs, or expose services, you can’t safely occupy the footprint. Renovation permits may also require inspections that pause access.
Plan re-entry after structure, services, and weather-tightness.
Will Open-Plan Changes Affect My Home Insurance or Mortgage Conditions?
Yes—open-plan changes can affect both your policy and your loan terms. Like removing a keystone from an arch, you’re altering load paths, fire compartmentation, and escape routes.
Tell your insurer before demolition; Insurance implications may include higher premiums, exclusions, or required engineer certificates and completion sign-off.
Inform your lender too; mortgage adjustments can trigger revaluation, retention, or consent-to-alter clauses, especially when you remove structural walls or reroute services.
How Can I Reduce Renovation Noise, Dust, and Disruption to Neighbours?
You’ll cut neighbour impact by scheduling loud works mid‑day, limiting hammering zones, and sealing work areas.
Use soundproofing techniques: temporary acoustic blankets on party walls, rubber isolation pads under tools, and closed‑door corridors.
Apply dust control measures: plastic zip‑wall partitions, taped floor protection, negative‑pressure extraction with HEPA scrubbers, and wet‑cutting where feasible.
Keep skips and deliveries off shared access, and send weekly notices with timings.
Conclusion
You don’t need a huge footprint to get a bright, open-plan bungalow—you need a clear circulation line and disciplined zoning. Once you’ve confirmed load paths and approvals, you can selectively remove partitions and widen key openings without losing structure. If you’re worried an open plan will feel cold or echoey, you’ll fix it with layered insulation, underfloor heating, and acoustic finishes. Add rooflights over the spine, and the plan will read lighter, longer, calmer.
About the Author