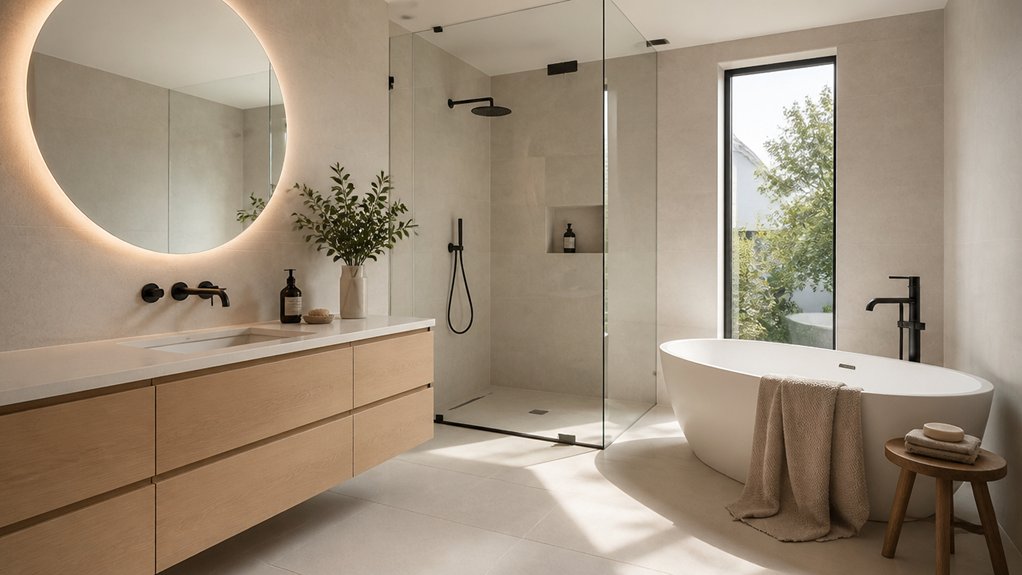
Like a boutique hotel refresh, you can make your bathroom feel brand new by tightening your palette to crisp whites, warm greiges, or soft greens and pairing it with matte black or brushed nickel. You’ll get the biggest impact by regrouting, swapping hardware, and upgrading to layered lighting that’s flattering at the mirror. Add wall-hung storage and a larger mirror to open the room up—then decide what to change first…
Key Takeaways
- Set a realistic budget with 10–15% contingency, and prioritize fixes like leaks, ventilation, and storage before aesthetic upgrades.
- Refresh walls with modern paint tones (white, greige, soft green) and crisp trim to instantly brighten and update the room.
- Upgrade fixtures and hardware in one consistent finish to create a cohesive, high-end look without a full remodel.
- Revive tile by deep-cleaning, re-grouting small sections, replacing silicone caulk, and sealing grout for a near-new surface.
- Add layered lighting and smarter storage—dimmable ceiling light, mirror task lighting, recessed niches, and floating shelves—to boost function and ambiance.
Bathroom Design Ideas: Set a Budget and Priority List
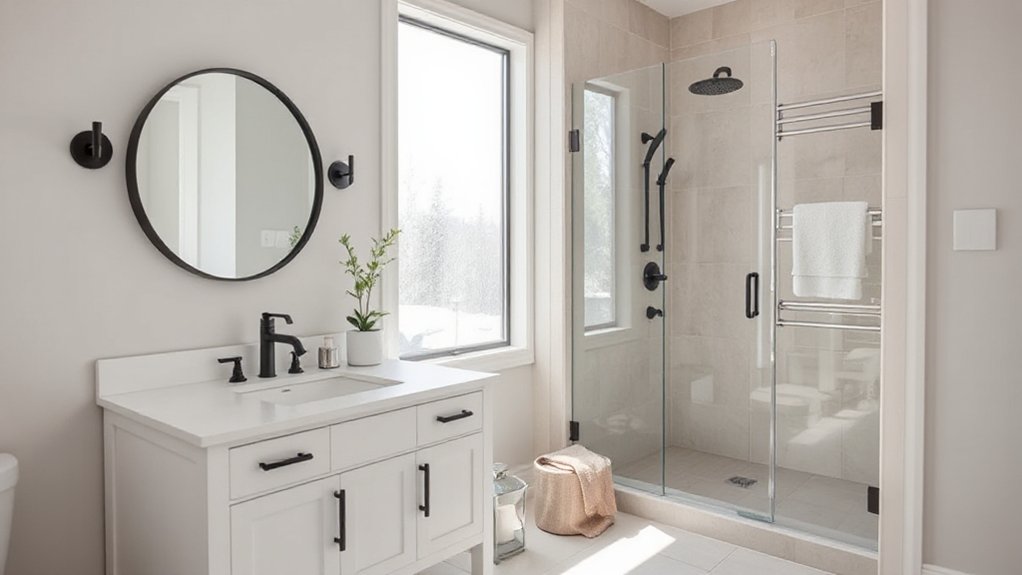
Before you fall for a sculptural tub or statement tile, set a clear budget and a tight priority list so your bathroom redesign stays on-trend without blowing up costs. Start with Budget planning: total spend, a 10–15% contingency, and a firm “no-go” line for overruns.
Then move to Priority setting by ranking needs (leaks, ventilation, storage) above wants (arched mirrors, fluted fronts, brass accents). Measure every inch and assign dollars to space-efficient moves like recessed niches, slimmer vanities, and wall-mounted hardware that frees visual clutter.
Price out labor-heavy choices early—layout changes, waterproofing, electrical—so your mood board matches reality. Keep a running list, update it weekly, and approve substitutions only if they protect your top three priorities.
Bathroom Design Ideas: Biggest Upgrades for the Least Money
You’ll get the biggest visual upgrade for the least money by rejuvenating paint and color—think crisp whites, warm greiges, or moody greens that instantly modernize a small space.
Then swap fixtures and hardware: a matte-black or brushed-nickel faucet, matching towel bar, and sleek cabinet pulls make the whole room look intentionally designed.
Keep the finishes consistent and the silhouettes simple, and your bathroom will feel updated without a full remodel.
Paint And Color Refresh
Even if you don’t change a single fixture, a paint-and-color refresh can make your bathroom look newer, brighter, and more intentional for the lowest spend. Start with color psychology: soft warm whites and greiges read clean; pale sages calm; inky navy or charcoal adds boutique drama in small doses. Keep ceilings crisp to lift height, and paint trim a shade lighter for a tailored edge.
Prioritize paint durability so steam, splashes, and daily wipe-downs don’t dull the finish. Choose a bathroom-rated, mildew-resistant formula in satin or eggshell for walls, and semi-gloss for areas near the sink.
Prep fast but right: degrease, patch, sand, then prime stains. Finish by echoing your wall color in towels or art for cohesion.
Swap Fixtures And Hardware
Want the fastest “new bathroom” feeling without touching tile or plumbing? Swap fixtures and hardware. Replace a dated faucet with a matte black, brushed brass, or polished nickel option that matches your mirror frame.
Upgrade the showerhead to a slim rainfall or handheld combo for spa function in the same footprint.
Trade builder-grade towel bars for streamlined hooks to save wall space and reduce visual clutter.
Add Vintage fixtures selectively—like a cross-handle tap or exposed-bulb sconce—to introduce character without overwhelming a small room.
Finish with Artistic hardware: sculptural cabinet pulls, knurled knobs, or mixed-metal backplates.
Keep your palette to two metals max, align finishes across the room, and you’ll get a cohesive, high-end refresh fast.
Bathroom Design Ideas: Refresh Paint, Tile, and Grout Fast
You can transform your bathroom fast with a crisp paint update—stick to moisture-resistant satin or semi-gloss and choose modern neutrals or muted color pops for instant polish.
You’ll get even more impact by revitalizing tile with a deep clean, targeted touch-up on chips, and a fresh bead of caulk where lines look tired.
For grout, you can brighten it in minutes with a stain pen or recolorant, then seal it to lock in that just-installed look.
Quick Paint Refresh Tips
Because paint delivers the biggest visual upgrade for the least time and money, a quick bathroom refresh starts with smart prep and the right finish. Degloss, patch, and caulk tight seams, then clean with a residue-free degreaser so humidity won’t lift your work.
Choose a bath-rated satin or soft-sheen for wipeability without spotlighting texture. Use color psychology: airy off-whites expand small baths, muted sages calm, and inky navy adds boutique drama when paired with bright mirrors and chrome.
Keep it space-efficient by painting only the vanity wall or ceiling for a modern “color dip” effect. For crisp edges, tape after priming, then cut in with an angled brush and roll with a 3/8-inch nap.
Try paint techniques like micro-stripes or a thin limewash-style glaze for depth.
Fast Tile And Grout Fixes
While tile feels permanent, a few targeted fixes can make it look newly installed without a full demo. Start by deep-cleaning with an oxygen bleach paste, then hit stubborn haze with a microfiber buff so the sheen reads modern, not grimy.
If your grout’s stained or cracked, re-grout small sections and color-match with a grout pen for a crisp grid that photographs well. Lock it in with Grout sealing; you’ll repel moisture, prevent darkening, and keep lines bright longer.
Next, update Tile texture without replacing anything: swap glossy shine for a honed look using a polishing pad, or add peel-and-stick tile decals to create a high-end pattern moment.
Finally, refresh silicone caulk in matching tones for seamless edges and fewer visual breaks.
Bathroom Design Ideas: Choose Finishes (Chrome, Brass, Matte Black)
If you want a bathroom that looks intentional and up-to-date, start by locking in one primary finish—chrome, brass, or matte black—and carry it through your faucet, shower trim, cabinet hardware, and mirror frame.
Chrome reads crisp and timeless, and it’s strong on Finish durability in hard-water homes. Brushed brass brings warmth and a boutique-hotel vibe; choose PVD-coated options so fingerprints and spotting don’t dull the look. Matte black feels modern and graphic, but pick a reputable coating to avoid scratches around handles and drain stops.
Keep your mix tight: if you add a secondary metal, limit it to one small accent, like a towel bar.
Plan Finish maintenance with your cleaner—non-abrasive only.
Bathroom Design Ideas: Add Layered Lighting That Flatters
To make your bathroom look polished in photos and feel comfortable in real life, build lighting in layers instead of relying on a single overhead fixture. Start with soft ambient light: a low-profile ceiling LED or slim flush mount on a dimmer keeps the room evenly bright without glare.
Next, add task lighting at the mirror. Install vertical sconces on both sides, or a backlit mirror, so your face gets even, flattering illumination—no shadows under eyes or chin. Choose 2700–3000K bulbs and high CRI (90+) for true skin tones.
Finish with accent light: toe-kick LEDs, a niche light, or a small spotlight on art for a boutique feel. This layered lighting approach upgrades small bathrooms fast while staying space-efficient.
Bathroom Design Ideas: Update Faucets, Showerheads, and Hardware
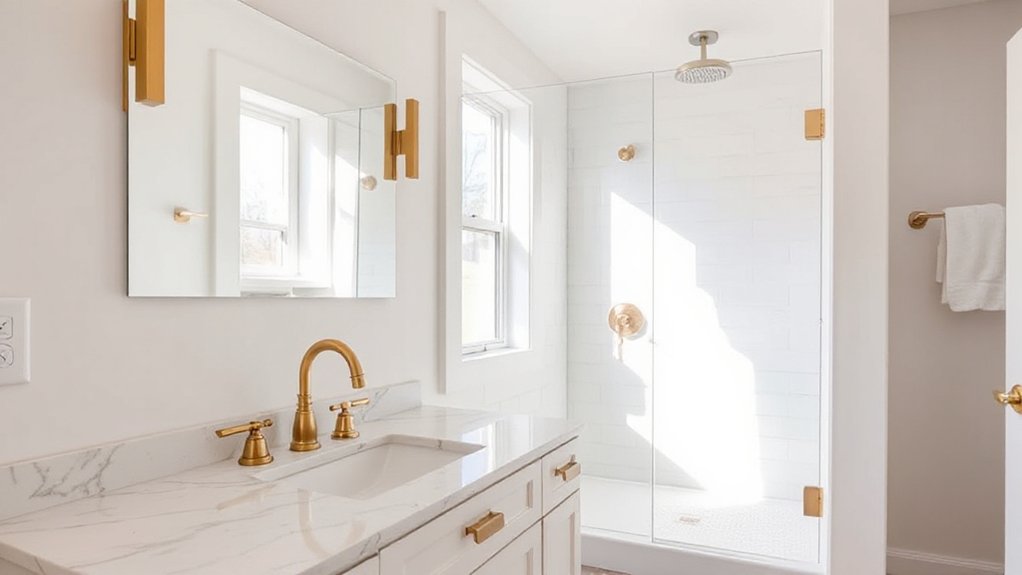
After you’ve nailed flattering layered lighting, refresh the room’s look fast by updating faucets, showerheads, and hardware. You’ll modernize instantly with on-trend finishes like brushed nickel, matte black, or champagne bronze.
Then level up daily comfort with features like rain spray, pressure-boost, and hand-shower options.
Finish strong by swapping in a coordinated hardware set—handles, towel bars, and hooks—to keep every detail clean, cohesive, and space-smart.
Choose Modern Faucet Finishes
While tile and paint set the backdrop, modern faucet finishes deliver the “new bathroom” moment with minimal disruption. Swap dated chrome for matte black to sharpen contrast, or brushed nickel to soften everything under warm bulbs. Champagne bronze reads luxe without shouting, and polished brass adds glow when you want Vintage fixtures vibes without full retro remodeling.
Choose a finish that matches your lifestyle: PVD-coated options resist fingerprints and water spots, especially on high-touch lever handles. If you love Unique finishes, try mixed metals—black faucet with brass drain or nickel hardware—then repeat each tone twice so it looks intentional.
Keep the sheen consistent (all matte or all polished) across sink, tub spout, and accessories for a cohesive, showroom-clean upgrade.
Upgrade Showerhead Features
Why settle for a basic spray when today’s showerheads can make your daily rinse feel custom? Upgrade to a compact rain head for a spa-like sheet of water, or choose a slim handheld to target sore spots and simplify tub cleaning.
Look for magnetic docking so the hose stays tidy and doesn’t crowd a small enclosure. For a sleek, modern profile, pick a low-tilt arm and a thin faceplate that won’t visually shrink your shower.
Eco-friendly showerheads now pair luxury with responsibility, using aeration and pressure-compensation to keep the stream full.
Prioritize Water saving features like pause buttons, flow limiters, and spray selectors that switch from mist to massage without wasting a drop.
Installation stays quick with standard threads.
Swap Coordinated Hardware Sets
How quickly can a bathroom look newly renovated without touching tile? Swap coordinated hardware sets and you’ll get an instant, design-forward refresh.
Replace your faucet, shower trim, towel bars, toilet lever, hooks, and cabinet pulls in one finish so everything reads intentional. Trending now: warm brushed brass, soft black, and polished nickel for a crisp, hotel-like shine.
If you love character, pair Vintage fixtures with modern lines—think cross handles with a sleek spout—or go streamlined with thin lever profiles.
Keep scale consistent: match bar thickness to faucet weight and choose pull lengths that fit drawer widths.
Want a boutique feel? Order Custom hardware in matching knurling or ribbed textures for subtle depth.
Bathroom Design Ideas: Add Storage Without Crowding the Room
Even if your bathroom’s footprint feels tight, you can add serious storage by pushing organization upward and inward instead of outward. Install slim floating shelves above the toilet, and choose recessed niches in the shower for bottles that usually clutter corners.
Upgrade to a medicine cabinet with adjustable dividers, then keep backups in labeled, stackable bins.
For vanity organization, add drawer-in-drawer trays, toe-kick pullouts, and a vertical hair-tool caddy mounted inside a door. Swap a pedestal sink for a wall-hung vanity to free floor space, and pick a model with deep drawers, not doors.
For towel storage, mount a ladder-style rack, use hooks behind the door, and roll towels into a narrow basket that tucks beside the tub.
Bathroom Design Ideas: Use Mirrors to Boost Light and Space
When you place mirrors strategically, you can bounce daylight deeper into the room and make a compact bathroom read twice as open. Prioritize mirror placement across from a window or beside it to maximize light reflection without adding fixtures.
Swap a standard plate for a thin-framed rectangle, an arched top, or a softly rounded “pill” silhouette to hit current trends while keeping the profile sleek.
Go wider than your vanity for a modern, hotel-like span, or choose a tall, narrow mirror to echo vertical lines in your tile. Add an LED backlit edge for even glow and cleaner task lighting, then keep outlets and switches aligned for a crisp sightline.
Finish with anti-fog coating so the shine stays uninterrupted daily.
Bathroom Design Ideas: Make a Small Bathroom Feel Larger
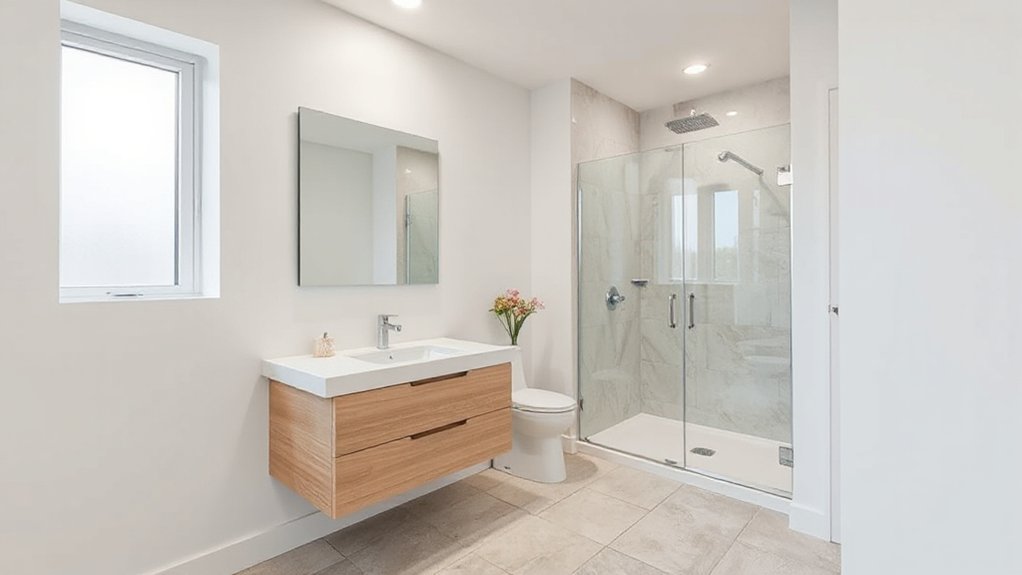
Although square footage stays fixed, you can make a small bathroom feel larger by tightening the palette, clearing the floor, and stretching sightlines. Stick to tone-on-tone tile and paint, then run the same flooring into the shower to erase visual breaks.
Swap a bulky vanity for a wall-hung model and choose a compact, skirted toilet to open your bathroom layout. Use a frameless glass panel instead of a curtain, and mount faucets on the wall to free up counter depth.
Go vertical with recessed niches and a tall medicine cabinet. Upgrade lighting to layered LEDs at the mirror and ceiling.
Finally, add quiet ventilation solutions—sleek grille, humidity sensor, and a short duct run—to keep surfaces crisp and bright.
Bathroom Design Ideas: Style With Textiles, Greenery, and Decor
Once you’ve opened up sightlines and simplified the layout, finish the room with space-smart layers that add warmth without adding clutter. Start with Textile patterns that feel intentional: a narrow runner to elongate the floor, a waffle towel set for texture, and a shower curtain with a subtle stripe to lift the ceiling line. Keep the palette tight—two neutrals plus one accent—so prints read polished, not busy.
Dial in Greenery placement for a fresh, boutique look. Hang a trailing pothos from the ceiling corner, tuck a small fern on a floating shelf, or set an orchid on the vanity for height. Use slim trays to corral soaps, a single sculptural candle, and a lidded jar.
Swap bulky art for one framed print, centered.
Frequently Asked Questions
What Bathroom Upgrades Require Permits or Inspections in My Area?
In your area, you’ll usually need permits and inspections for plumbing relocations, new drains, converting tubs to showers, electrical changes (new circuits, GFCI, lighting), moving walls, adding windows/vents, and any structural work.
If you’re adding heated floors or a new fan, check Building codes first.
Your local Permit process varies, so call the building department or use its online portal, then schedule rough-in and final inspections.
How Long Does a Typical Bathroom Remodel Take From Start to Finish?
You’ll typically finish a bathroom remodel in 3–8 weeks, and it’s funny how the biggest delays often show up the day you pick your Color schemes.
You’ll spend 1–2 weeks on demo, rough plumbing/electrical, and inspections.
Then 1–3 weeks on tile, paint, and cabinetry.
Allow another 1–2 weeks for trim, glass, and Luxury fixtures.
Custom vanities or backordered faucets can stretch timelines.
What Are the Best Ventilation Options to Prevent Moisture and Mold?
You’ll get the best moisture control by installing a quiet, high-CFM exhaust fan vented outdoors, ideally with a humidity sensor and timer.
Choose modern ventilation systems like inline fans for small ceilings, or heat-recovery ventilators if you want efficiency.
Add a window or trickle vent if possible, but don’t rely on it alone.
For mold prevention, run the fan 20–30 minutes after showers and keep grilles clean.
Which Materials Are Safest for Slip-Resistant Bathroom Flooring?
Like a sure-footed mountain goat, you’ll get the safest slip-resistant bathroom flooring with textured porcelain tile, matte-finish ceramic, or luxury vinyl plank with embossed grip.
Prioritize Slip safety by choosing higher DCOF-rated surfaces and smaller tiles with more grout lines.
For Material durability, porcelain wins on water resistance and wear, while vinyl stays warmer, quieter, and budget-smart.
You can also add rubber flooring in kid zones for extra traction.
How Can I Make My Bathroom More Accessible for Aging in Place?
You can make your bathroom accessible for aging in place by prioritizing a zero-threshold shower, wider clearances, and layered lighting with rocker switches.
Add accessible fixtures like a comfort-height toilet, lever faucets, and a handheld shower on a slide bar.
Plan grab bar installation early: anchor into studs, place bars at entry, shower, and toilet, and choose sleek finishes that match hardware.
Use a slim bench and recessed niches to save space.
Conclusion
Now you’ve got a game plan to make your bathroom feel brand new—without wasting space or blowing your budget. Start with your priorities, then target high-impact swaps: fresh paint, revived grout, and updated hardware in matte black, brushed nickel, or warm brass. Layer flattering lighting, add slim storage, and use a mirror to bounce brightness. Want a designer-level finish? Style with plush textiles, greenery, and clean-lined decor—small tweaks, big transformation.
About the Author