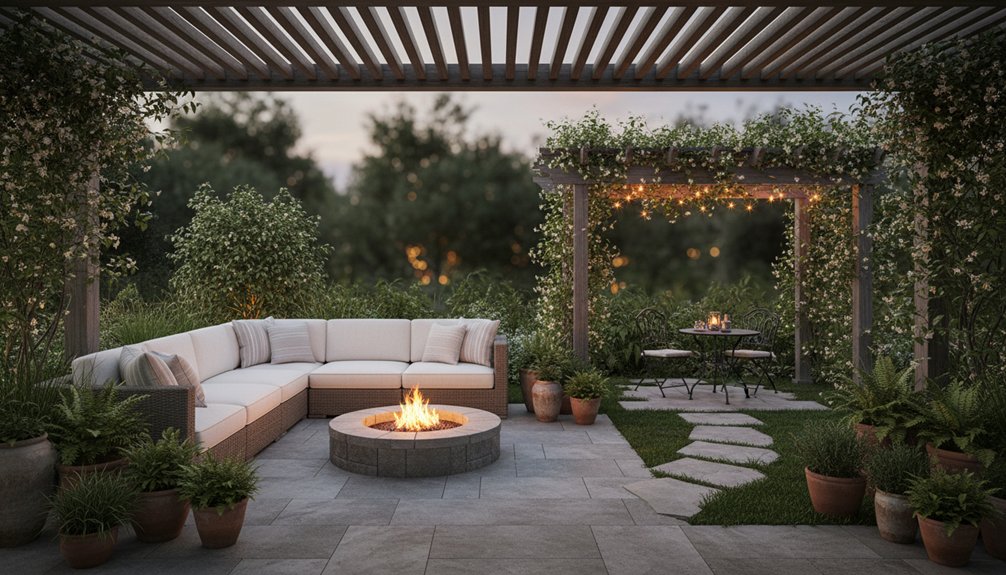
Yes—your patio layout quietly steers your outdoor ambience by shaping how you move, sit, and look. If you’re squeezing past chairs, dodging glare or smoke drift, or avoiding a corner, your flow’s off. Keep main routes 36–42 inches wide, leave 24 inches behind dining chairs, and separate zones with rugs, gravel, or inset decking. Aim seating toward one clear focal point and place shade and lighting to support circulation; there’s more you can tweak.
Key Takeaways
- If you’re squeezing past chairs or rerouting around features, your layout is causing stress and reducing relaxation.
- Patio circulation clearances (36–42 inches main routes, 24–30 inches secondary) quietly set comfort, pace, and social ease.
- Poorly placed pinch points amplify wind, shadows, glare, and smoke drift, making seating feel colder, harsher, or avoided.
- Zoning with rugs, gravel, or inset decking guides behavior, shaping whether the patio feels like one room or multiple inviting “destinations.”
- A visible focal point and correctly scaled furniture steer sightlines and conversation, defining whether the space feels balanced or staged.
Signs Your Patio Flow Isn’t Working
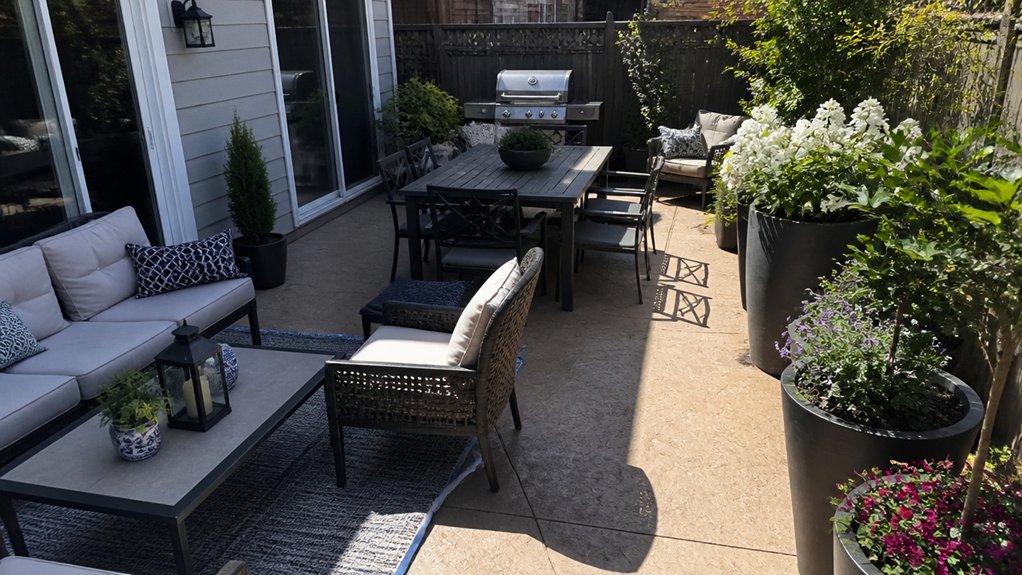
Although a patio can look great in photos, you’ll feel it immediately when the flow doesn’t work: you’re forced to squeeze past chairs, detour around a grill, or step off pavers onto loose gravel just to move between the door, dining zone, and seating area.
You notice pinch points where shadows and wind funnel, making certain corners unused. You keep re-aiming furniture because glare bounces off light stone, or because smoke drifts toward the house.
You track grit inside when edges crumble, joints open, or surfaces hold puddles after rain, signaling weak base prep and low Material durability.
Your Patio aesthetics feel staged, not lived in, when circulation avoids the best view, evening light, or the warmest wall.
Patio Layout Rules of Thumb (Clearances & Gaps)
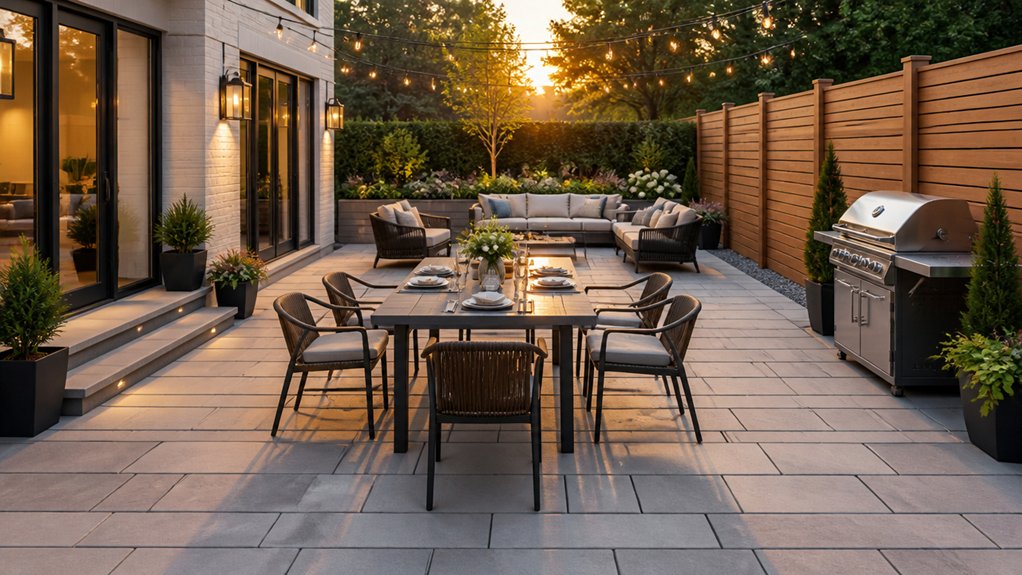
Start by mapping your main walking lines from door to grill to seating, then protect those routes with consistent traffic-flow clearances so people don’t clip chair backs or scrape pavers.
Set furniture spacing gaps that match how pieces move on your surface—wicker slides differently than wrought iron on concrete or composite decking—so seats pull out cleanly and tables stay reachable.
When you tune these clearances and gaps to your patio’s edges, steps, and materials, the whole layout reads calmer and feels easier to use.
Traffic Flow Clearances
Once you place furniture on a patio, the real layout shows up in the walking lanes between pieces, not in the empty square footage. Give main routes a clear 36–42 inches so you can pass with a tray, and keep secondary paths at 24–30 inches where traffic is lighter.
Align these lanes with doors, grill zones, and step edges so you don’t force awkward pivots or heel catches on coping. Let grade changes, planters, and railing posts “read” as boundaries, then carve circulation around them like a boardwalk.
Material selection matters: rough flagstone wants more forgiveness than smooth pavers, especially when wet. Tight, deliberate clearances protect design aesthetics by keeping movement calm, predictable, and quiet.
Furniture Spacing Gaps
Clear walking lanes set the big moves on a patio; furniture gaps handle the close-up comfort where knees, elbows, and chair backs actually live.
In your seating arrangement, leave about 18 inches between a coffee table and sofa edge so you can lean in without bruising shins.
Give dining chairs 24 inches behind the table for pull-back and pass-through; on tight pavers, borrow space from a planting bed edge instead of pinching circulation.
For table spacing between separate groupings, aim for 30–36 inches so conversations stay distinct and cushions don’t bump.
On hot concrete, widen gaps to reduce heat-sticky contact; on gravel, tighten slightly to keep legs stable.
Align gaps with sightlines to the view and the fire feature.
Create Patio Zones for How You Live Outside
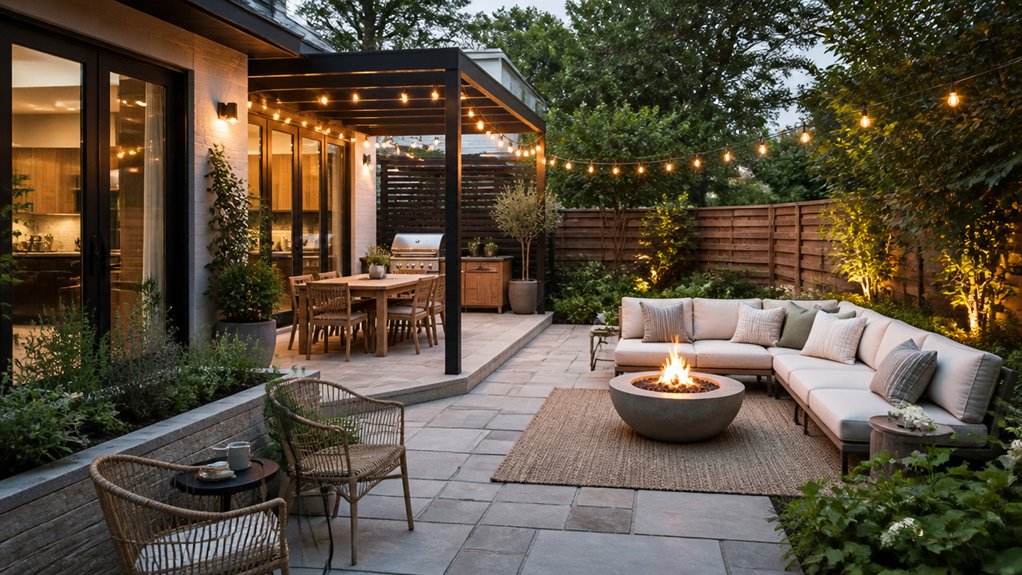
Even if your patio isn’t huge, you can make it work harder by dividing it into distinct zones that match how you actually spend time outside. Start with your sun and shade map: place lounging where afternoon shade falls, and dining where evening light feels warm.
Anchor each zone with a material cue—an outdoor rug on pavers, pea gravel under café chairs, or a timber deck inset for bare feet. Use Creative planting to soften edges and tune microclimates; tall pots can block wind, while low herbs keep views open.
Add Privacy screens where you sit longest, using slatted wood, metal panels, or espaliered vines. Keep sightlines clean so the layout reads calm.
Build Simple Pathways People Naturally Follow
You’ll get smoother patio flow when you map paths to real desire lines—where feet already cut across gravel, turf, or pavers—and then set your route there.
Keep widths clear so two people can pass and chairs don’t pinch the run, choosing materials that read as a continuous strip underfoot.
With a direct line and consistent width, you guide movement without signs or forcing detours.
Desire Lines In Design
Because people instinctively take the shortest, most comfortable route, your patio layout should trace those “desire lines” before you commit to hardscape. Watch where you already walk: from back door to grill, from seating to herb beds, from shade to sun. Mark those tracks with a hose, chalk, or temporary mulch, then live with them for a week.
Let the site edit the line. Bend around a root flare, skirt a low spot that stays damp, and align openings to views, not fences. Choose materials that reinforce the cue: stepping stones to slow you, compacted gravel to invite flow, timber edging to keep crisp margins.
Use Garden art as a waypoint, and let Plant arrangements soften corners without stealing the path.
Clear Route Widths
Where do bottlenecks form when you carry a tray, steer a grill, or walk side-by-side toward the seating? Measure your pinch points first: gates, table corners, planter edges, and the step down from the door.
Then set clear route widths that match real movement—wide enough for two people to pass without turning shoulders, and direct enough that guests won’t cut across mulch or bedding.
Let the site lead you. Align paths with shade lines, wind screens, and the way rain drains off pavers. Use consistent joints and textures so feet read the corridor fast, even at dusk.
Keep pathway symmetry where it helps with orientation, but break it to preserve trees and existing stone. Maintain aesthetic proportions: wider main runs, narrower service spurs to bins.
Choose a Focal Point Everyone Can Face
Even on a small patio, the layout works best when every seat orients toward a single, shared focal point. Choose something that belongs to your site: a fire bowl, a compact dining table, a sculptural planter, or a framed view beyond the railing.
Get focal point placement right by centering it on your primary approach line, then angle chairs so knees and sightlines meet naturally.
Use visual balance to keep the space calm. If your focal element is heavy—stone, concrete, or dark metal—counter it with lighter materials like pale pavers, warm wood, or woven seating.
Keep side surfaces low so they don’t compete. When everyone faces the same anchor, conversation flows, and the patio reads as one coherent room.
Place Lighting and Shade to Support the Layout
How you place shade and lighting should follow the way you move and sit, not fight it. Map your main paths from door to grill to table, then keep posts, cords, and umbrellas out of that flow.
Set shade structures where afternoon sun actually strikes seating, not where they look centered; align canopies with wind corridors and anchor them to surfaces that can take load, like concrete pads or framed decking.
For night, layer ambient illumination along edges and thresholds so steps, shifts, and chair backs read clearly. Aim low, warm fixtures across textured pavers or wood grain to avoid glare and flattening shadows.
Put task light over cooking and serving, and keep string lights high enough that sightlines stay open. Match metals and finishes to nearby railings and hardware.
Layout Tweaks for Small, Medium, and Large Patios
Because your patio’s footprint sets the rules, you’ll get a cleaner flow by scaling the same core zones—circulation, seating, dining, and cooking—up or down instead of forcing full-size furniture into every yard.
On a small patio, keep a straight 36-inch path, use a bistro set, and mount Outdoor art on the wall to free floor area. Tuck Plant arrangements into corner planters or a rail box to soften edges without narrowing circulation.
For a medium patio, float a loveseat on an outdoor rug, align a four-seat table with the door, and run a slim prep cart along the fence in powder-coated steel.
On a large patio, break the slab with pavers or decking insets, angle seating to views, and give the grill its own wind-sheltered bay.
Frequently Asked Questions
What Patio Layout Works Best for High-Wind or Coastal Backyards?
You’ll get the best results with a low-profile, partially enclosed patio: tuck seating into an L-shaped wall or built-in planters on the windward edge, and keep circulation tight to reduce gust funnels.
Choose Wind resistant materials like concrete pavers, stone, or composite decking with concealed fasteners.
Add a pergola with a slatted roof, plus fixed screens.
Finish with Coastal inspired designs—light tones, salt-safe metals, and sturdy outdoor textiles.
How Can I Design a Patio Layout That Accommodates Pets Safely?
You can design a pet-safe patio by zoning movement, choosing durable surfaces, and blocking hazards.
In one small courtyard, you run a 3-foot gravel “zoom lane” beside a smooth paver lounge, keeping paws off hot stone.
Add Pet safe plants in raised metal planters, away from chew paths.
Use fencing options like powder-coated steel panels or tensioned mesh to guard steps, grills, and gates, while maintaining sightlines and airflow.
Do Patio Layouts Affect Drainage or Water Pooling After Heavy Rain?
Yes, your patio layout strongly affects drainage after heavy rain. You control water runoff by setting a 1–2% slope away from the house, shaping edges, and choosing permeable zones.
If you trap low spots with planters, tight joints, or raised borders, you’ll invite pooling issues.
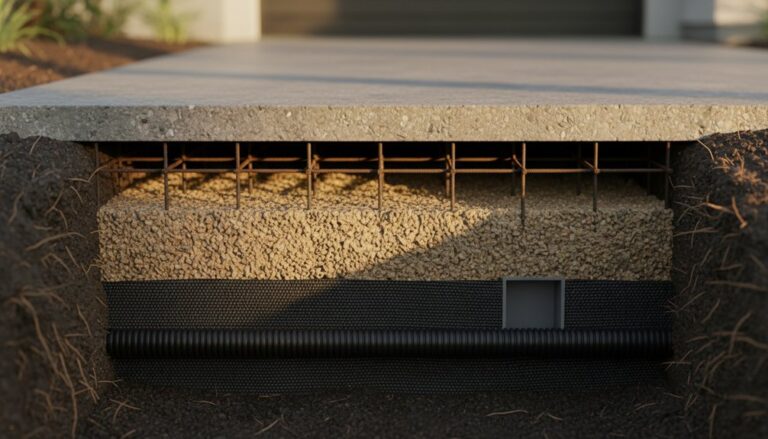
Use pavers on a compacted, graded base, add gravel strips or drains at pinch points, and keep downspouts routed clear.
How Should a Patio Layout Change for Wheelchair or Walker Accessibility?
You’ll redesign your patio by trading tight turns for smooth flow: widen accessible pathways to at least 36 inches, keep slopes gentle, and eliminate thresholds with flush connections.
Use firm, slip-resistant pavers or broom-finished concrete, and lock joints so wheels won’t snag.
Reserve 60-inch turning circles near doors and seating.
Choose wheelchair-friendly furniture with open bases, stable arms, and varied heights.
Place lighting and planters outside travel lines.
What’s the Best Patio Layout for Privacy From Close Neighbors?
You’ll get the most privacy by tucking your seating into the corner farthest from sightlines, then wrapping two sides with staggered privacy screens.
Set screens perpendicular to neighbors’ windows, not parallel, so you block views without feeling boxed in.
Add a low masonry planter or gabion wall as a sound barriers base, then top it with dense evergreens or slatted cedar.
Keep circulation along the open edge.
Conclusion
You’ve checked the clearances, carved out zones, and traced pathways that feel almost inevitable underfoot. You’ve aimed every seat toward a focal point that holds the view, then layered shade and lighting where your patio actually breathes. Now stand at the threshold—pavers cool, deck boards warm, gravel softly shifting—and watch where you hesitate. That pause is your clue. Nudge one chair, widen one gap, shift one lantern… and the whole ambience changes.
About the Author