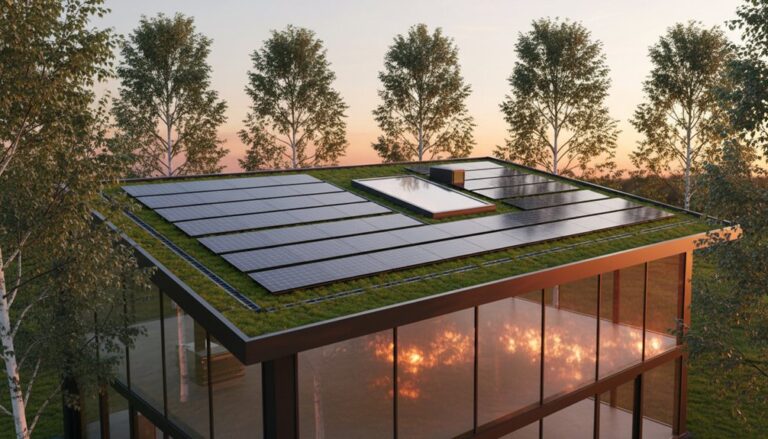
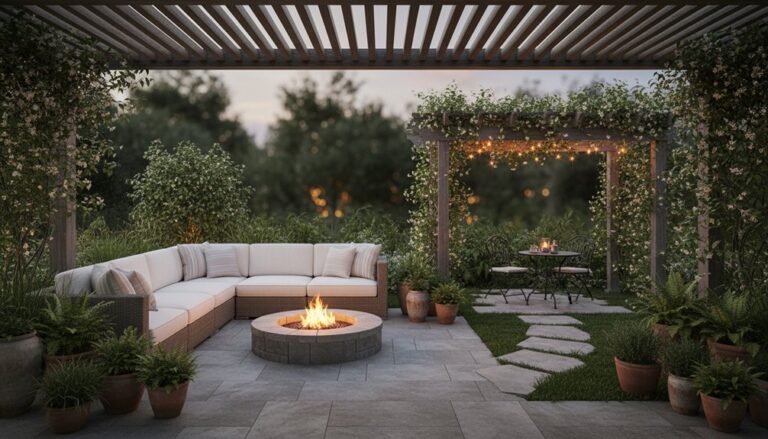
Start by mapping your yard after rain so you can spot puddling, erosion, and sun shifts, then grade soil to move water away from your foundation into planted basins. Install crisp 4–6 inch bed edges and choose permeable pavers or gravel with solid bases for drainage and frost resistance. Layer foundation plantings for height, privacy, and habitat, and group plants by water needs. Add safe 36–48 inch paths, step lighting, and a right-sized fire pit—more smart upgrades follow.
Key Takeaways
- Assess drainage, sun, and slope after rain, then grade soil to route water into planted basins and away from foundations.
- Create layered planting beds with evergreens, shrubs, and perennials matched to light and moisture for year-round interest and privacy.
- Build permeable patios and paths using pavers, gravel, or decomposed granite, sized for traffic flow and safe grades under 5%.
- Add crisp edging, stable bases, and retaining walls with proper drainage to prevent frost heave, soil creep, and hydrostatic pressure.
- Design outdoor living zones with clear circulation, scaled fire pits, and layered lighting to boost comfort, safety, and evening ambiance.
Landscaping and Hardscaping Plan: Goals, Budget, Maintenance
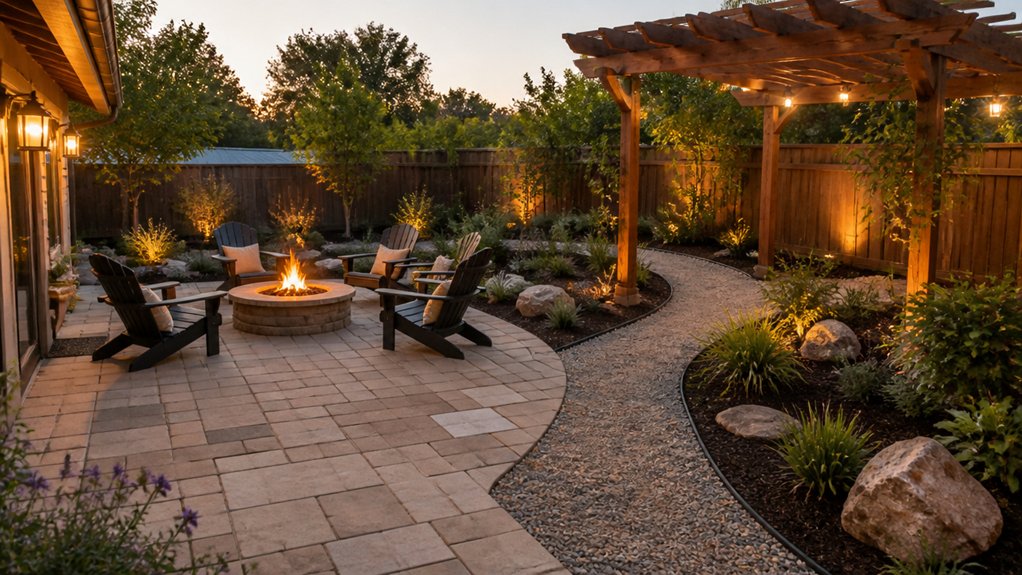
Before you pick plants or pour pavers, map out a landscaping and hardscaping plan that sets clear goals (privacy, drainage control, entertaining space, curb appeal), defines a realistic budget for materials and labor, and locks in a maintenance level you’ll actually keep up with—because the right design depends as much on how the site functions and how you’ll use it as it does on how it looks.
Walk the yard after rain, flag puddling, erosion, and sun patterns, then size patios, paths, and swales to move water safely.
Price phases: base prep, edging, irrigation, lighting, and disposal, not just pavers and plants.
Choose Sustainable practices: permeable surfaces, compost, and efficient drip zones.
Reserve pockets for Wildlife habitats with native layers, water, and cover.
Document weekly, seasonal tasks.
Curb Appeal Landscaping: Beds, Borders, Entry Paths
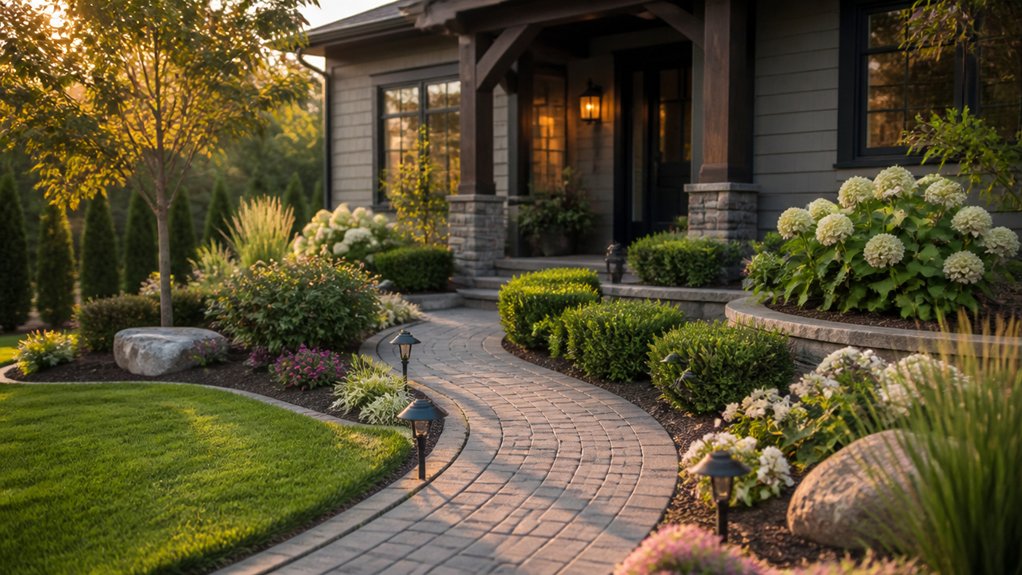
You boost curb appeal fast when you build layered foundation planting that fits your sun, soil, and mature plant sizes to frame the facade without blocking windows.
You sharpen the look (and cut maintenance) by installing defined bed edging that locks in clean lines, holds mulch, and keeps turf from creeping.
You complete the approach with inviting entry pathways that set clear width, safe slope, and durable surfaces so guests move from curb to door with ease.
Layered Foundation Planting
If your foundation beds look flat or cluttered, layered planting fixes the problem by organizing height, texture, and seasonal interest into clear bands. Start at the wall with taller, narrow evergreens or upright shrubs that won’t block windows. Then step down to mid-height flowering shrubs, and finish with low perennials and groundcovers at the front.
Match plants to site conditions: choose shade-tolerant foliage on north exposures, drought-tough varieties on sunny, reflected-heat walls. Build the bed with a gentle slope away from the house and use deep-rooted groundcovers to reduce soil erosion. Group plants with similar moisture needs, then mulch and drip irrigate for water conservation.
Leave access space for vents, spigots, and maintenance.
Defined Bed Edging
Layered planting reads best when the bed has a clean, defined edge that separates mulch and plants from turf, gravel, or an entry path. Start by marking curves with a hose, then cut a crisp spade edge 4–6 inches deep to block grass creep and keep mulch in place.
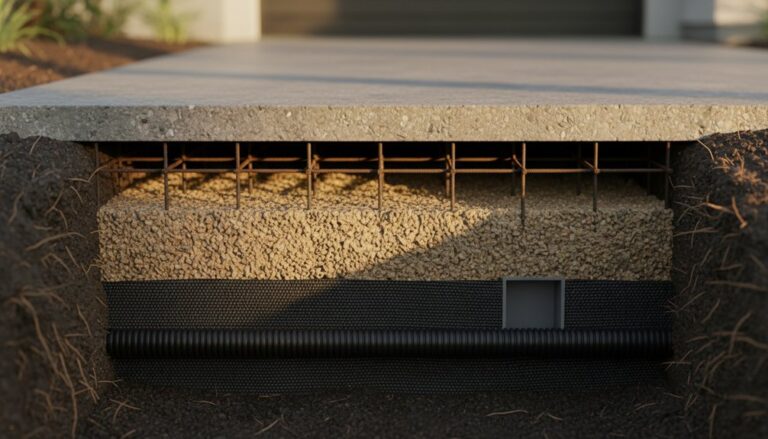
In wet sites, raise the bed slightly and add a compacted gravel base under any hard edging to prevent frost heave and sinking. Choose steel, stone, or pavers where foot traffic or mowers will bump the line; use simple trench edging in quieter areas.
Keep edging 1/2 inch above mulch so runoff doesn’t bury it. A stable border supports drought tolerant planting and guides maintenance in wildlife friendly gardens.
Inviting Entry Pathways
Because the entry path handles daily foot traffic and sets expectations at the curb, it needs a clear line, safe footing, and a width that feels generous—aim for 36–48 inches for comfortable passing and easy package carry.
Match the material to your site: use textured pavers for shade and moss, broom-finished concrete for slopes, and permeable gravel where runoff pools.
Keep grades under 5% when you can, and add a subtle cross-slope for drainage.
Define edges with low steel, brick, or stone so mulch stays put and snow shovels don’t chew up beds.
Light the route with shielded, low-glare fixtures.
Soften the hardscape with Seasonal planting in tight bands, and tuck nectar plants nearby to support Wildlife habitats without blocking sightlines.
Add a landing at the door.
Privacy and Shade Landscaping: Hedges, Trees, Screens

While you can’t move a neighbor’s window, you can reshape what you see and feel outdoors by combining privacy and shade planting with the way your yard actually functions. Start by mapping sightlines from patios, kitchen windows, and seating zones, then place Privacy screens where you need fast blockage without stealing circulation space.
Use layered planting: a dense hedge at eye level, taller evergreens behind for year-round cover, and flowering shrubs to soften the edge.
For comfort, position Shade trees on the west or southwest to cut late-day heat, and keep canopies high over walkways and gathering spots. Choose species sized to your lot, leave clearance from utilities, and cluster plantings to funnel breezes instead of trapping them.
Retaining Walls and Edging for Clean Lines
After you’ve mapped grades and foot traffic, you can use retaining walls and crisp edging to lock soil in place and give every bed, path, and patio a clean, intentional boundary.
Match wall height to slope and soil type, and keep loads light near roots and utilities.
For rock retaining, stagger joints, batter the face slightly, and set the first course below grade for stability.
Add compacted gravel base, drainage stone, and a perforated pipe to relieve hydrostatic pressure, then cap with fabric to stop fines.
Use stone edging to separate mulch from turf, prevent mower scalping, and stop gravel migration.
Aim for consistent reveals, tight radii, and clean terminations so lines read straight from every viewing angle.
Patios, Walkways, and Steps That Flow
You’ll get a cleaner, safer yard when your walkways flow seamlessly into the patio with consistent grades, widths, and materials.
You can shape patio layout flow by aligning paths to doors, seating zones, and sightlines so traffic moves naturally without cutting across use areas.
You’ll keep step design continuity by matching riser heights and tread depths while repeating edge details and finishes from the surrounding hardscape.
Seamless Pathway Transitions
When your patio, walkway, and steps connect with consistent lines, materials, and elevations, the whole landscape feels intentional and easy to navigate. Match paver size and joint spacing as paths leave the slab, then shift textures only where you need traction or a visual cue. Use soldier courses or edging to lock progressions and prevent spreading.
Solve grade changes with broad, low risers, and keep tread depth consistent so you don’t trip. Pitch surfaces 1–2% away from structures, and add a subtle cross-slope on walkways for drainage.
Align steps with door thresholds and handrails where codes require them. Use lighting at every change in plane. Place garden sculptures and water features at nodes or landings, not mid-progression, so circulation stays clear. Your paths will feel calm, safe, and cohesive.
Patio Layout Flow
Although a patio can read as a single “room,” it works best as a sequence of zones that lines up with how you actually move—out the door, toward seating, to the grill, and into the yard.
Set your main circulation line first, keeping it straight where speed matters and gently curved where you want people to slow down.
Size each zone to its use: allow pull-back space behind chairs, a landing pad at the grill, and a clear edge for doors to swing.
Respond to sun and wind by tucking seating near a wall, planting, or pergola.
Aim views down the walkway to a garden sculpture or a small water feature, then keep finishes consistent so passages feel intentional.
Add lighting along edges for nighttime flow.
Step Design Continuity
If your patio and walkway don’t share the same “step language,” the whole yard feels choppy no matter how nice the materials are. Match riser height and tread depth across zones, and keep nosing profiles consistent so your feet learn the rhythm. Align step edges with walkway joints, patio borders, and door thresholds to prevent awkward slivers and trip points.
Let the site dictate transitions: use wider landings on slopes, add a low seat-wall where traffic pauses, and flare the bottom step where paths split. Maintain drainage with a slight pitch and a gravel base so steps don’t heave.
Repeat lighting and handrail details for safety. Frame steps with Garden art or lead them toward Water features to make movement feel intentional.
Low-Maintenance Landscape + Hardscape Combos
Because your yard has to work hard without demanding constant attention, low-maintenance landscape + hardscape combos pair durable surfaces—pavers, gravel, decomposed granite, or poured concrete—with plants that stay tidy and resilient in your specific sun, soil, and drainage conditions.
Start by mapping traffic: set pavers where you walk, use gravel for overflow paths, and stabilize edges with steel or stone to stop migration.
Grade to move water away from foundations and into planted basins; add permeable joints to reduce runoff.
Choose Drought resistant plants that match exposure—full-sun natives, compact shrubs, and deep-rooted grasses—and group them by water need for Xeriscape design.
Top-dress beds with gravel mulch to suppress weeds and reduce evaporation.
Install drip irrigation with a simple filter and pressure regulator.
Outdoor Living Features: Seating, Fire Pits, Lighting
Once you’ve locked in low-maintenance surfaces and plantings, shape the yard around how you’ll actually use it—where you sit, gather, and move after dark. Place outdoor furniture where sun, shade, and views line up: a bench on the breezy edge, a dining set near the kitchen door, and a quiet chair tucked behind screening plants. Keep circulation clear with 36-inch paths and a landing at each threshold.
For fire pit design, match scale to the patio and seat wall radius; leave 6–7 feet from flames to chair backs and set it downwind of doors. Add layered lighting: step lights on grade changes, warm path lights to guide routes, and dimmable string or sconces for faces. Aim fixtures away from neighbors’ windows.
Frequently Asked Questions
Do I Need Permits for Patios, Retaining Walls, or Outdoor Fire Features?
Yes, you often need permits, depending on your local permitting requirements and outdoor regulations. Check your city/county building department before you pour concrete, build a wall, or install a fire feature.
You’ll typically need approval for patios tied to drainage or structural slabs, retaining walls above certain heights or supporting loads, and fire pits with gas lines or close clearances.
If you skip permits, you risk fines, teardown, or insurance issues.
How Can I Improve Drainage to Prevent Pooling Near My Hardscape?
Start by taking the bull by the horns: regrade adjacent soil so water sheds 2% away from your hardscape.
Add drainage solutions like a trench drain at edges, a French drain in low spots, or a dry well tied to downspouts.
Use soil amendments—compost plus sand or expanded shale—to boost infiltration.
Seal joints, reset settled pavers, and keep weep holes clear in walls.
Routinely clean gutters.
What’s the Best Season to Start a Landscaping and Hardscaping Project?
You’ll get the best results starting in early spring or early fall, when temperatures stay moderate and crews can work efficiently.
Use Season planning to sequence grading, drainage fixes, and base prep before installing pavers, walls, or plantings.
Factor in Weather considerations: avoid saturated soils, extreme heat, and freeze-thaw periods that compromise compaction and curing.
Schedule inspections, material lead times, and irrigation adjustments so installation stays on spec.
How Long Will Installation Take for a Typical Backyard Transformation?
A typical backyard transformation takes 2–6 weeks, but you’ll shorten or extend it based on scope and permitting.
You’ll spend 1–3 days on demolition and grading.
3–10 days on patios, walls, or irrigation.
And 3–7 days on Plant selection and installation.
Add 1–3 days for Garden lighting and wiring inspections.
Weather, material lead times, and inspection scheduling can add a week easily.
How Do I Choose a Contractor and Compare Landscaping Bids Fairly?
Choose a contractor by taking the scenic route: verify contractor licensing, insurance, and local references before you compare bids.
Request itemized proposals that match the same scope, materials, allowances, and timeline.
Ask how they handle permits, site access, drainage, and cleanup.
Evaluate Budget considerations by comparing labor rates, equipment fees, contingencies, and payment schedules — not just the total.
Confirm warranty terms and who manages subcontractors.
Choose the clearest plan, not the cheapest.
Conclusion
Wrap your landscaping and hardscaping plan with clear goals, a firm budget, and a maintenance routine you’ll actually follow. Sharpen curb appeal with crisp bed edges, intentional borders, and an entry path that guides guests. Add privacy and shade with layered hedges, trees, or screens. Use retaining walls and edging for clean lines, then connect patios, walkways, and steps so traffic flows. Pair low-maintenance plants with durable surfaces, and finish with seating, lighting, and a fire pit—bringing it all together, lock, stock, and barrel.
About the Author