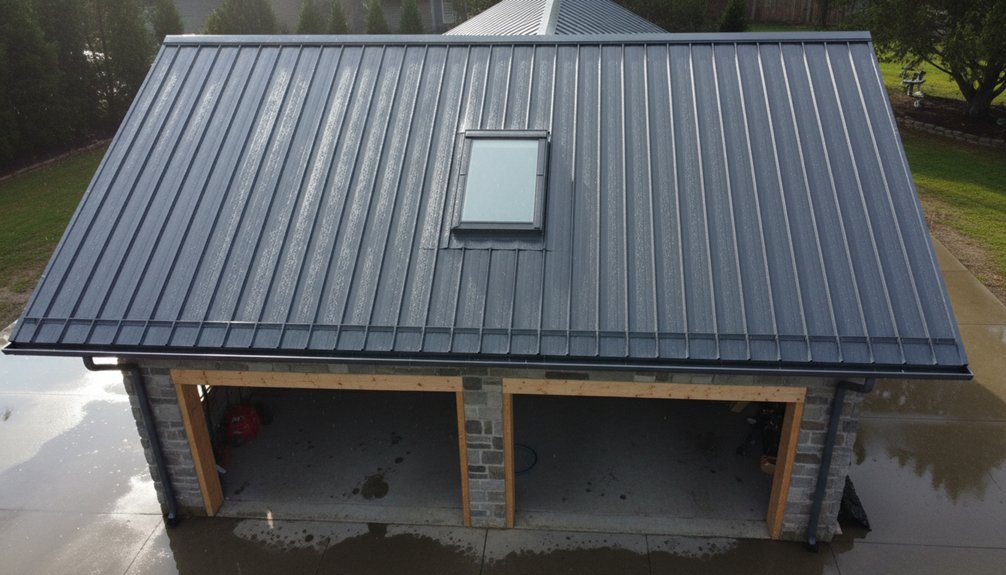
A bespoke garage roof improves weather resistance and longevity because you match your site’s rain, wind, snow, and salt exposure to code-rated assemblies (ASCE 7 loads; ASTM/UL-tested coverings and underlayments). You set the correct pitch for the system, size drainage for calculated runoff, and detail gutters, falls, and outlets to prevent ponding. You flash edges and penetrations with proper laps and upstands, balance ventilation to avoid condensation, and reinforce load paths against uplift and drift. Keep going to see the key checkpoints.
Key Takeaways
- Bespoke design maps local wind, rain, snow, and corrosion risks, aligning the roof assembly with site-specific weather exposure.
- Custom material selection uses ASTM/UL-rated coverings, underlayments, and corrosion-resistant metals to improve water-shedding and durability.
- Optimized pitch, falls, and gutter sizing reduce ponding and ice-dam damage, extending membrane and deck life.
- Tailored flashing, edge detailing, and sealed penetrations cut leak pathways and uplift failures during storms.
- Integrated ventilation and insulation control condensation and heat cycling, reducing mould, rot, and premature aging of roofing components.
Identify Your Climate Risks (Rain, Wind, Snow, Salt)
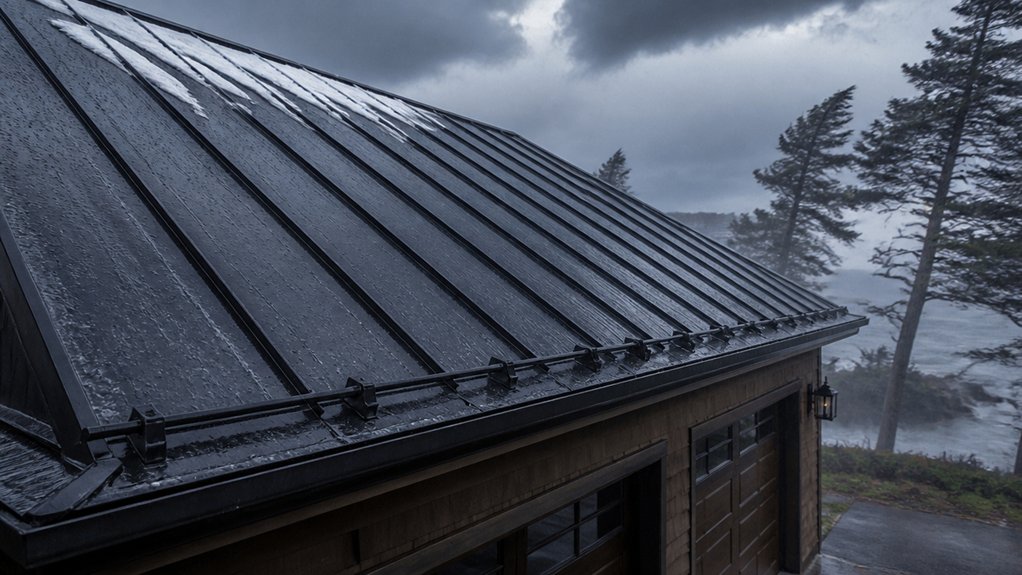
Where does your garage actually take the hardest hits from the weather—straight down as rainfall, sideways as wind-driven rain, as snow load, or as salt-laden air? You should map exposures by orientation, terrain, and nearby obstructions, then verify against local design data.
Use NOAA normals for rainfall intensity, ASCE 7 wind speed and exposure category, and ground snow load per building department tables. Note drift zones at eaves and valleys and check for ice-dam frequency.
In coastal or de-icing corridors, assume chloride deposition and accelerated fastener corrosion. You’ll also align roof edges, gutters, and splashback zones with garden aesthetics without creating capillary traps at trim.
Finally, you’ll evaluate overhangs, penetrations, and access points so garage security doesn’t get compromised by weather-driven deterioration.
Choose Custom Garage Roof Materials by Climate
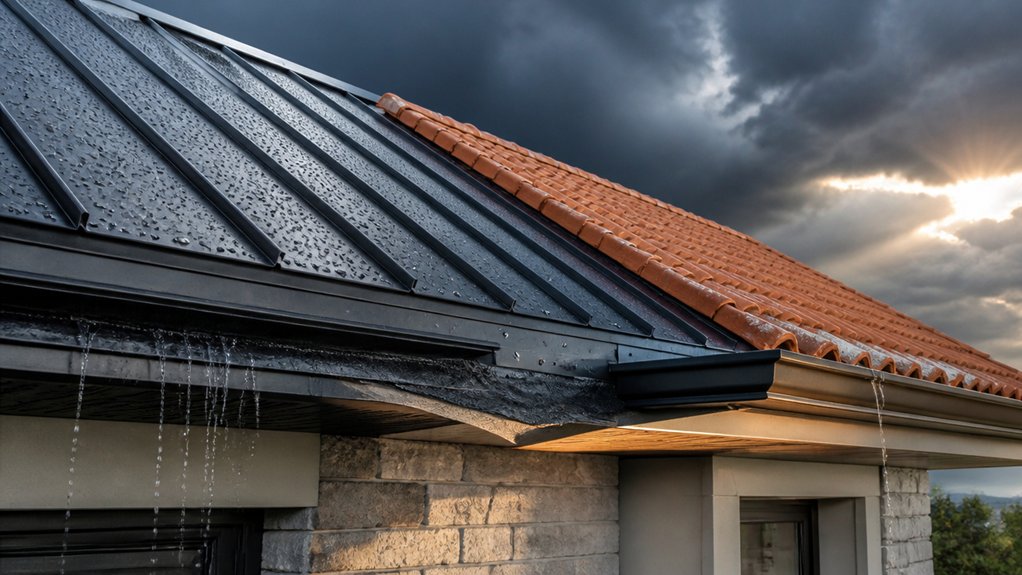
You’ll match your custom garage roof material to local rainfall intensity by prioritizing tested water-shedding assemblies (rated under ASTM/UL protocols) and specifying compliant underlayment and flashing to control bulk water.
In high-precipitation zones, you’ll favor corrosion-resistant metal, fully adhered membranes, or high-performance shingles with validated wind-and-water detailing at eaves, valleys, and penetrations.
In hot climates, you’ll select materials with high solar reflectance and thermal emittance (e.g., CRRC-rated cool roofs) and confirm they meet local code requirements for temperature cycling and fire performance.
Match Roofing To Rainfall
Because rainfall intensity and duration drive most garage roof failure modes, you should select materials and detailing that meet local precipitation design criteria rather than relying on generic “all‑weather” claims.
Use local IDF curves and code-required roof drainage sizing (e.g., primary and overflow per plumbing standards) to prevent ponding, backwater, and seam fatigue.
In high-rain regions, specify steep-slope assemblies or fully adhered membranes with sealed laps, robust flashing, and continuous underlayment at penetrations.
If you choose Decorative shingles, verify wind-driven rain ratings, starter course detailing, and ice-and-water coverage at eaves and valleys where overflow concentrates.
For Solar panel integration, require tested mounting interfaces, gasketed standoffs, and flashed penetrations that maintain the roof’s water-shedding plane under sustained rainfall loads.
Select Materials For Heat
After you size drainage and seam detailing for heavy rain, choose roof materials that control heat gain and thermal cycling, since high surface temperatures can accelerate membrane aging, shingle blistering, and fastener fatigue.
In hot climates, specify a solar reflective surface per CRRC ratings or ASTM E1980, and verify emissivity to reduce nighttime heat retention.
For low-slope roofs, select heat resistant TPO or PVC membranes with reinforced scrims, and require hot-air welded seams with tested peel/shear strength.
For pitched assemblies, use Class A metal panels with high-SRI coatings, or fiberglass shingles with algae-resistant, high-temperature-rated binders.
Detail ventilation to code: balanced intake/exhaust net free area, continuous baffles, and sealed air barriers to limit attic heat soak.
Require UV-stable sealants at penetrations.
Set the Right Roof Pitch for Your Roofing System
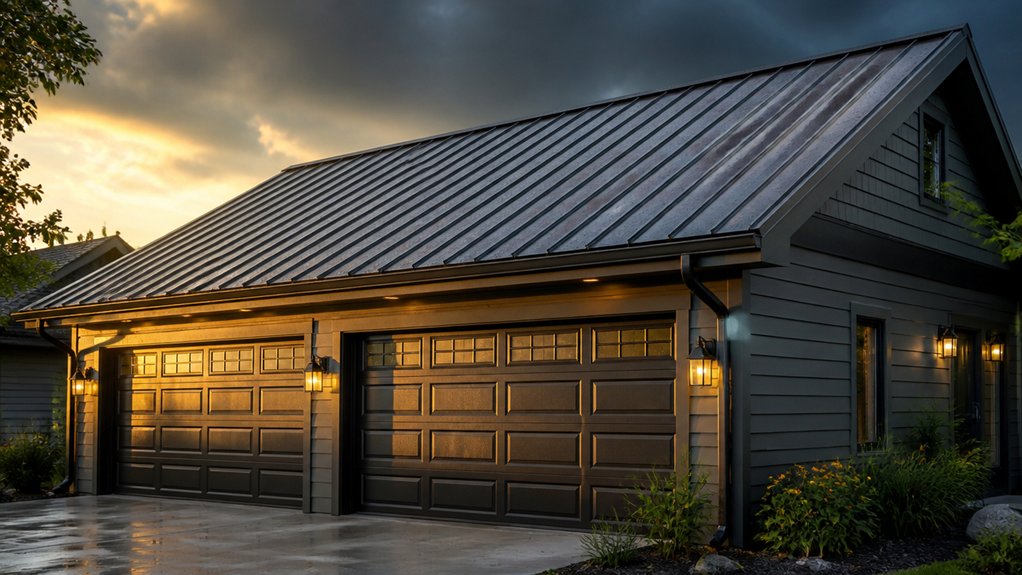
Although your garage roof can look correct at almost any angle, the pitch you set determines whether the system meets manufacturer requirements and handles wind-driven rain without premature wear. Verify the minimum roof pitch for your chosen covering (membranes, metal, shingles) and match it to code-approved underlayment and fastening schedules.
If you under-pitch, you’ll increase capillary back-up and uplift risk at laps and seams, shortening service life. If you over-pitch, you may exceed approved detailing limits for certain membranes and create unnecessary wind exposure.
Confirm rafter/truss geometry so the slope doesn’t compromise structural integrity under snow, maintenance loads, and suction forces. Use span tables or engineered calculations, and set consistent pitch tolerances during framing.
Build Leak-Proof Drainage (Gutters, Falls, Outlets)
When you control how water leaves the roof, you prevent the small, repeatable leaks that show up at eaves, corners, and penetrations.
Design drainage systems from first principles: calculate peak runoff from roof area and local rainfall intensity, then size gutters and downpipes to match.
Build positive falls to outlets (typical 1:80 minimum; aim 1:60 where tolerances are tight) so ponding can’t form and overload seams or fasteners.
Keep outlet spacing short on low-slope roofs, and align valleys and internal channels with the shortest discharge path.
During gutter installation, set consistent bracket centres, maintain continuous fall, and avoid backfalls at joints.
Add leaf guards only if you can still access cleaning and inspection routinely.
Storm-Proof Flashing, Edges, and Penetrations
Where do storm-driven leaks actually start—at the field of the roof, or at the joints you cut into it? They start at perimeters, laps, and penetrations, so you should treat detailing as the primary water barrier, not an accessory.
Specify storm proof flashing with minimum upstands and correct lap sequencing, and set it to shed water over the layer below.
At walls and abutments, you should use continuous counterflashing, sealed terminations, and compatible tapes or sealants per manufacturer system approvals.
Form secure edges with reinforced drip profiles, fixed at prescribed centres, and tie them into the membrane without fishmouths.
For pipes, skylights, and fixings, you should use preformed boots, clamp rings, and compression seals, then test details against uplift and driven rain criteria.
Prevent Condensation With Ventilation and Insulation
To prevent roof-deck condensation, you’ll specify balanced roof ventilation so intake at the eaves matches exhaust at the ridge or high vents, consistent with manufacturer requirements and accepted code practice.
You’ll pair that airflow path with effective thermal insulation sized to the required R-value, installed without compression and with a continuous interior air/vapor control layer where the assembly calls for it.
You’ll keep vents unobstructed with baffles and maintain full insulation coverage at interfaces to reduce thermal bridging and stabilize interior surface temperatures.
Balanced Roof Ventilation
How do you stop a garage roof from “sweating” in cold snaps and wind-driven rain? You balance intake and exhaust so moist air can’t stagnate under the deck. Specify continuous soffit or eaves vents as intake, then match net free area with ridge or high-level tile vents to exhaust; keep the ratio near 50/50 to avoid short-circuiting.
Fit insect mesh and wind baffles to limit driven-rain ingress while maintaining airflow. Maintain a clear ventilation path above the ceiling line and around structural members. Follow manufacturer NFVA tables and align with BS 5250 moisture-control intent.
You can also integrate solar shading at eaves without blocking vents, preserving aesthetic appeal and consistent drying year-round.
Effective Thermal Insulation
Although balanced vents purge moisture, you’ll only stop cold‑snap “sweating” when you pair that airflow with a continuous, correctly detailed insulation layer that keeps the roof deck above dew point.
You should specify Thermal barriers to the required U‑value, seal all joints, and maintain continuity at eaves, ridges, and penetrations to avoid thermal bridging.
Use certified Insulation materials sized to the rafter depth, then add an internal service void so vapour control membranes aren’t punctured.
Tape the VCL to walls and collars, and gasket fixings to meet airtightness targets aligned with BS 5250 moisture guidance.
Keep a clear 50 mm ventilated air path above insulation in cold roofs, or adopt warm‑roof build‑ups with external insulation where appropriate.
This reduces mould risk and extends deck life.
Reinforce the Structure for Wind and Snow Loads
When wind uplift and snow accumulation push your garage roof beyond its design assumptions, the structure needs a continuous, code-aligned load path from the sheathing to the foundation. You’ll achieve Structural reinforcement by specifying rated sheathing fastening schedules, blocked panel edges, and diaphragm nailing patterns per ASCE 7 wind pressures and local amendments.
You should upgrade rafters or trusses for balanced and unbalanced snow loads, verify member sizing to NDS/IBC, and add collar ties or rafter ties to control thrust.
For load distribution, use double top plates, truss clips, and continuous straps to transfer uplift into studs, then into hold-downs and anchor bolts sized for overturning.
You’ll also reduce drift risk by detailing hips/valleys and adding purlins or strongbacks where required by span tables.
Maintenance Checklist to Extend Garage Roof Life
Because your garage roof’s service life depends as much on inspection and minor corrections as it does on design, you should run a documented, seasonal maintenance checklist that targets the primary failure modes—water intrusion, UV/thermal cycling, fastener back-out, and ventilation imbalance—before they propagate into sheathing decay or connector corrosion.
Each spring and fall, clear valleys, gutters, and downspouts; confirm positive drainage. Inspect flashings at eaves, rake, wall transitions or junctions, and penetrations; reseal per manufacturer specs. Verify shingle, metal panel, or membrane laps meet NRCA guidance; replace cracked sealant, split boots, and lifted edges.
Re-torque exposed fasteners to specified seating; replace corroded or backed-out screws with oversized, gasketed types. Check attic intake/exhaust ratios per IRC; correct blocked soffits. Record findings for cost analysis and preserve Garage roof aesthetics.
Frequently Asked Questions
Will a Bespoke Garage Roof Increase Property Value or Curb Appeal?
Yes, a bespoke garage roof can increase your property value and curb appeal by improving perceived build quality and compliance. You’ll boost buyer confidence when you specify durable finishes, consistent flashing details, and code-aligned loading design.
Better Garage insulation reduces heat loss and condensation risk, signaling lower operating costs.
Optimized Roof drainage with correct falls, gutters, and downpipes prevents staining and damp at elevations, keeping façades crisp and maintenance predictable for years.
Do I Need Planning Permission or Building Control Approval for a Custom Roof?
It’s unbelievably essential to confirm permission early: you might need planning permission and/or building control approval for a custom roof.
Under planning regulations, you’ll usually avoid consent if it’s permitted development, but changes to height, pitch, frontage, or use, plus listed buildings or conservation areas, can trigger applications.
For building approvals, structural loading, fire separation, drainage, insulation, and workmanship must meet standards; submit drawings and calculations before work starts.
How Long Does a Bespoke Garage Roof Installation Typically Take?
You’ll typically complete a bespoke garage roof installation in 2–7 working days, depending on span, access, and structural complexity.
Your installation timeline includes teardown, setting rafters/trusses, deck/sheathing, membrane or felt layers, flashings, and final covering.
Material selection affects cure times and detailing (EPDM vs GRP vs tiles).
You’ll add 1–3 days if you need insulation upgrades, drainage changes, or compliance inspections.
Can Solar Panels or a Green Roof Be Integrated Into a Bespoke Garage Roof?
Yes, you can integrate solar panel integration or a planted system into a bespoke garage roof if you design for loads, waterproofing, and access. You’ll specify roof pitch, membrane compatibility, and fixings to meet local building codes and manufacturer requirements.
For PV, you’ll confirm rafter capacity, wind uplift resistance, and cable routes.
For green roof benefits, you’ll add root barrier, drainage layer, filter fleece, and irrigation provisions.
What Warranty Options Are Available for Bespoke Garage Roofing Systems?
You’ll often find the best warranty options show up the same day you finalize your roof spec: manufacturer material warranties, installer workmanship warranties, and combined system warranties.
Warranty coverage typically includes membrane failure, leaks, flashing defects, and fastener corrosion, but excludes poor maintenance or storm abuse.
Warranty duration commonly ranges 10–30 years for materials and 1–10 years for labor.
You should request standards-backed terms (EN/BS/ETA) and documented inspections.
Conclusion
When you spec a bespoke garage roof to your climate, you’re not just “upgrading”—you’re engineering durability. NOAA data show U.S. billion‑dollar weather disasters now average about 20 per year, so you can’t rely on generic detailing. Match membrane or metal gauge to exposure, set code‑aligned pitch and drainage capacity, and seal every edge, flashing, and penetration to manufacturer standards. Add ventilation and insulation to control condensation, and you’ll extend service life while reducing leak risk.
About the Author