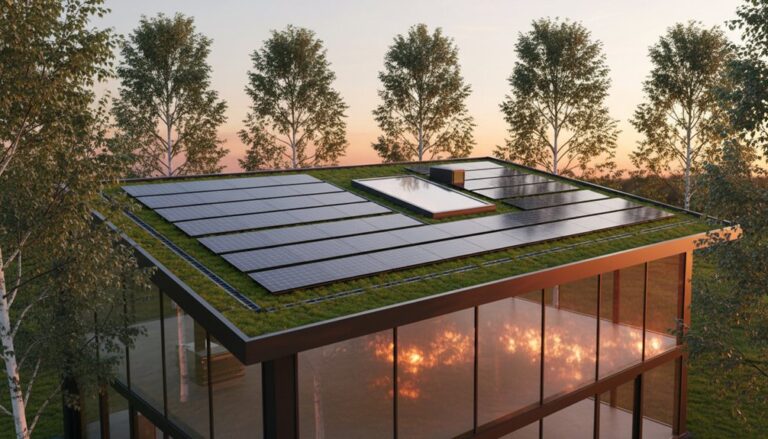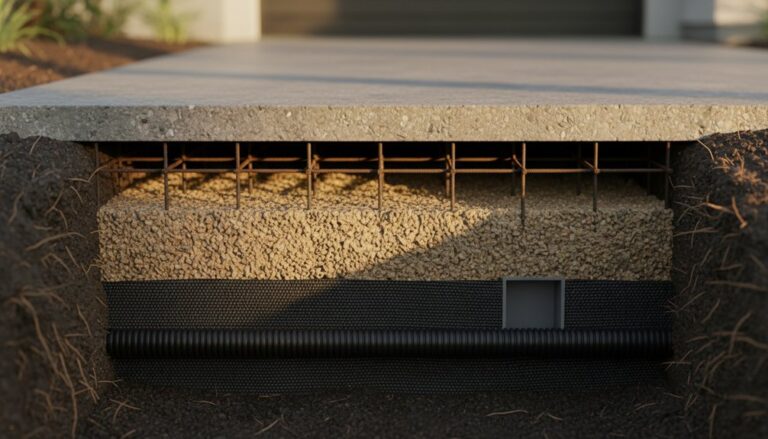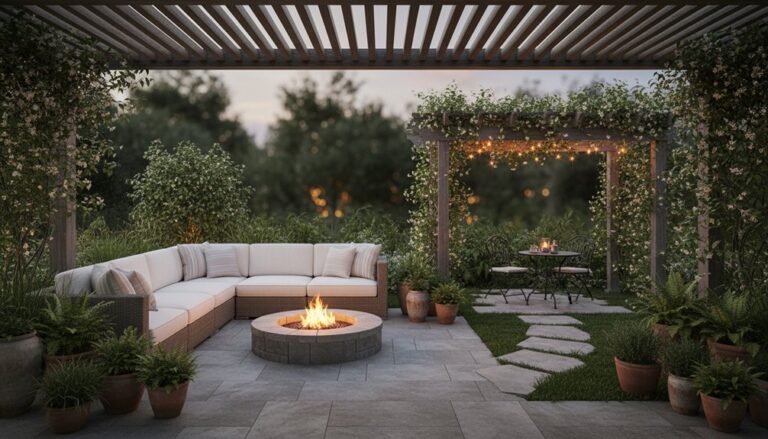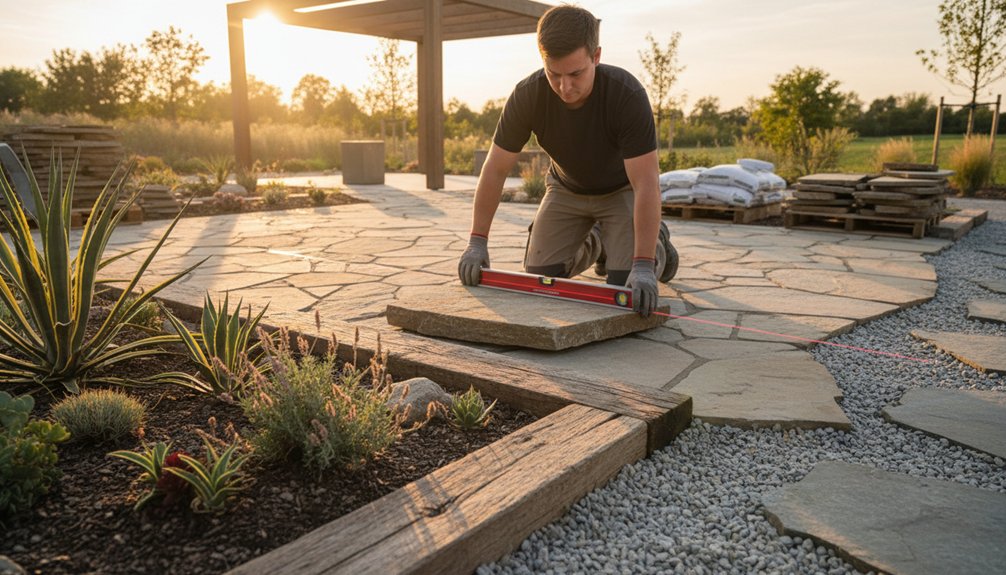
You’ll get the best mix of beauty and ROI when you define a clear style, audit sun, wind, drainage, and views, and set goals like resale appeal or lower upkeep. Map real traffic flow and turn desire lines into direct, comfortable paths with dining and lounge zones. Invest first in durable hardscape, crisp edging, and layered warm lighting. Choose resilient, site-matched plants in repeat drifts, then upgrade visible hardware. Keep going to see how to prioritize each step.
Key Takeaways
- Define a clear outdoor style and ROI goals, aligning materials, plants, and upgrades with architecture and resale appeal.
- Map traffic flow and access points, turning desire lines into direct, durable paths with functional zones for dining, lounging, and work.
- Choose timeless, climate-appropriate materials, repeating cohesive tones and textures while prioritizing proper base prep for longevity.
- Budget by impact: hire pros for grading, drainage, walls, and utilities; DIY demo, hauling, and planting to protect returns.
- Add buyer-visible, low-maintenance finishes like layered lighting, resilient planting drifts, and upgraded hardware to boost usability and curb appeal.
Define Your Style and ROI Goals Upfront
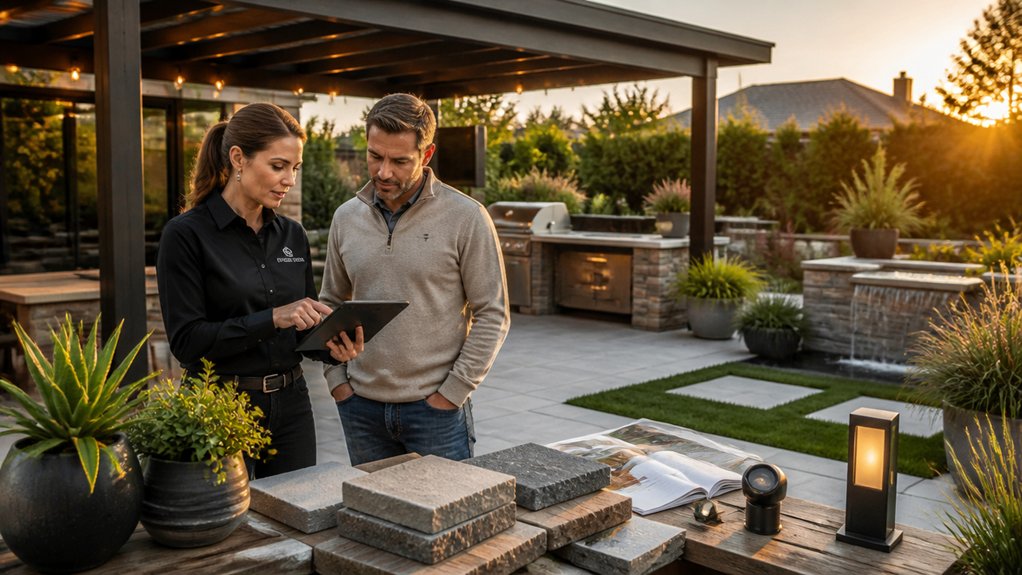
Before you sketch a patio line or pick a paver color, define the look you want and the return you expect from the investment. Start by naming your Personalized aesthetics: modern linear, coastal relaxed, or garden-traditional, then match materials, finishes, and planting palettes to that identity.
Read your site the same way you’d read a room—sun exposure, wind, views, privacy, drainage, and existing architecture should steer scale and texture choices.
Next, set ROI goals: resale appeal, lower maintenance, energy savings, or year-round usability. Use Investment planning to prioritize high-impact, durable upgrades—quality hardscape edges, cohesive lighting, and resilient plantings—before trend-driven extras.
You’ll spend with intent, not impulse, and the design will feel inevitable and valuable.
Map Traffic Flow: Zones, Paths, and Access
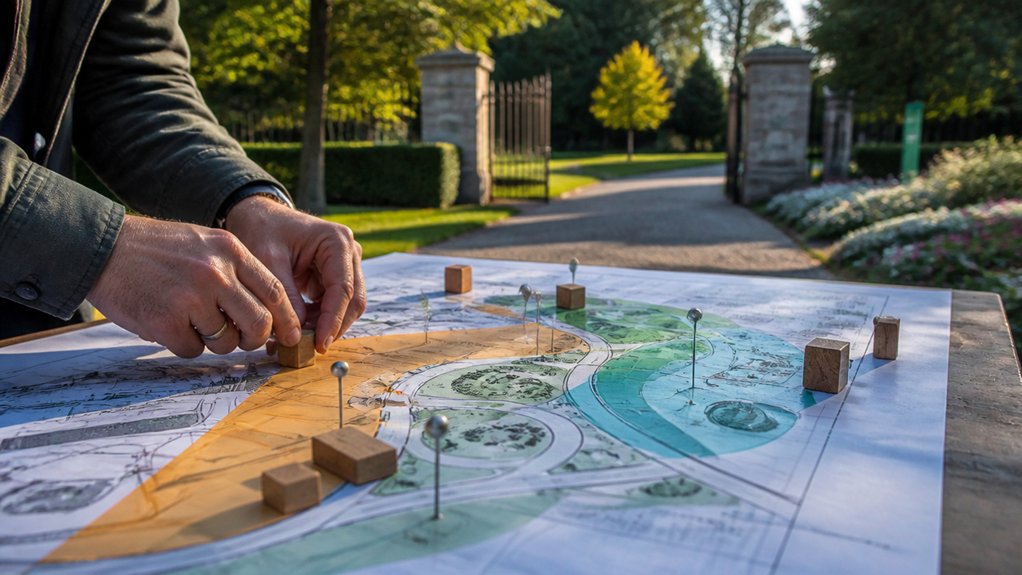
Once you’ve nailed down your style and ROI targets, map how people will actually move through the space so the design performs as well as it looks. Start by tracing daily traffic patterns from the house to the grill, garden, bins, garage, and gate. Treat these as “desire lines” you’ll refine into clear routes, then place pause zones—dining, lounging, play—where movement naturally slows.
Keep high-use paths direct and wide enough for two people, and steer them away from fragile planting beds and tight corners. Identify all access points, including service entries and side yards, and give each a logical connection to the main loop.
Use grade, drainage, and views to guide curves and landings so circulation feels effortless and intentional.
Choose Durable, Timeless Materials (Deck, Patio, Edging)
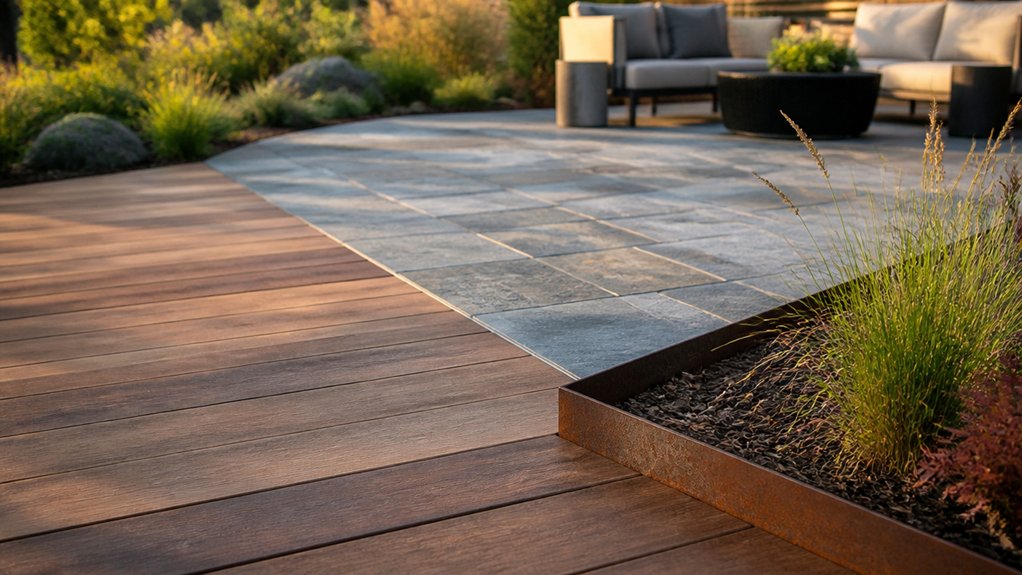
Because outdoor surfaces take the most abuse, you’ll get the best blend of aesthetics and ROI by choosing deck, patio, and edging materials that fit your climate, soil, and maintenance bandwidth—and that won’t look dated in five years.
Start with performance: in freeze-thaw zones, favor dense pavers or poured concrete with proper joints; in hot sun, choose UV-stable composite or rot-resistant hardwoods that won’t splinter.
Let soil and drainage guide edging—steel for crisp lines in stable beds, stone where runoff demands mass and permanence.
Then edit for aesthetic consistency: repeat one dominant tone and one texture across surfaces, and vary only the laying pattern. That restraint reads intentional and boosts Material longevity, while keeping repairs visually seamless over time.
Budget for ROI: What to Splurge vs Save (DIY vs Pro)
If you want outdoor upgrades that look custom *and* pay you back, you’ve got to spend where failure shows and save where labor simply scales. Start with a quick Cost analysis: price the full system, not just surfaces—base prep, drainage, fasteners, and disposal drive callbacks and kill ROI.
Hire pros for grading, retaining walls, masonry layout, and any electrical or gas runs; one mistake telegraphs “cheap” and can threaten safety. Splurge on structural components and weather-critical assemblies: footings, waterproofing, and corrosion-resistant hardware.
DIY the repeatable work: demo, hauling, gravel spreading, staining, or planting beds’ soil prep. Let site conditions steer Material selection—freeze-thaw, shade, slope, and salt exposure—so you’re not replacing materials in two seasons.
Add “Buyer-Visible” Finishes: Lighting, Plants, and Hardware
While your hardscape sets the bones, buyer-visible finishes sell the experience—so treat lighting, plantings, and hardware like the “jewelry” that makes a well-built outdoor space feel intentional and expensive.
Layer lighting accents: path lights for safe circulation, warm downlights to graze stone texture, and a focused spotlight on one sculptural tree. Keep color temperature consistent so the yard reads cohesive from the street and patio.
Choose plant varieties that suit your exposure and soil, then repeat them in drifts to look designed, not random; add one bold specimen for a focal point.
Upgrade touchpoints: a substantial gate latch, matte-black fasteners, matching hose bibs, and a clean address plaque. These details photograph well and justify your asking price.
Design for Low Maintenance in Every Season
Four-season low maintenance starts on paper, not with a weekend of weeding. Map sun, shade, wind, and drainage, then place hardscape where it solves problems—edging to block turf creep, gravel where water pools, and permeable paths to cut mud.
Choose Seasonal planting that matches your microclimates: drought-tolerant perennials in hot zones, evergreens for winter structure, and bulbs for early color without extra labor. Group plants by water needs, and limit varieties so replacements stay simple and affordable. Specify mulch depth, root barriers, and drip irrigation sleeves before you pour anything.
Lock in a Maintenance schedule you’ll actually follow: spring cutback, summer spot-watering, fall leaf management, and winter salt-safe materials. You protect curb appeal and long-term value year-round.
Frequently Asked Questions
What Permits or HOA Approvals Are Needed for Common Outdoor Upgrades?
You’ll usually need city/county permits for decks, patios, fences, retaining walls, pools, major grading, and any electrical work like Outdoor lighting.
HOA approvals often cover exterior colors, fence height, hardscape materials, and Garden landscaping changes.
Start by checking your property’s zoning, easements, and setback rules, then submit a site plan with dimensions, drainage notes, and fixture specs.
Call 811 before digging, and keep permits on-site.
How Do Outdoor Projects Affect Property Taxes and Insurance Premiums?
Brace yourself: your new patio might raise your taxes. Outdoor projects that add permanent, assessable value—decks, hardscapes, major landscape design—can trigger a reassessment, especially with permits.
Insurance premiums can climb if you add liability risks (pools, retaining walls) or costly features. Yet you can sometimes earn discounts with safer outdoor lighting, security, and fire-resistant materials.
Keep improvements site-sensitive and document costs; you’ll argue value, not surprises.
Which Upgrades Increase Appraised Value Most in My Local Market?
In your local market, you’ll typically gain the most appraised value from curb-appeal fundamentals: updated hardscaping, healthy low-maintenance plantings aligned with Landscaping trends, and layered Outdoor lighting that improves safety and night presence.
You’ll also see strong returns from drainage fixes, privacy screening, and functional outdoor rooms sized to your lot.
Match materials to neighborhood comps, keep detailing cohesive, and prioritize durable finishes that photograph well and age gracefully.
What Warranties Should I Expect on Materials and Contractor Workmanship?
Like a safety net under a high-wire garden, you should expect clear warranties in writing.
For materials, ask for manufacturer coverage tied to Material durability—often 10–25 years on decking, pavers, coatings, and fixtures, with prorated terms.
For labor, require Workmanship guarantees of at least 1–2 years, covering installation defects, drainage, settling, and fasteners.
You’ll protect curb appeal, site performance, and resale value.
How Can I Verify a Contractor’s License, References, and Lien History?
Verify a contractor’s license by checking your state licensing board’s online database and confirming status, insurance, and any complaints. Call recent references and visit a finished site to judge detailing and site fit.
Search county records for liens, judgments, and bond claims, then require written lien waivers. Ask for Contractor credentials and project documentation: permits, subcontractor lists, and material invoices.
You’ll protect design intent and budget while reducing risk.
Conclusion
When you blend beauty with ROI, you don’t just build a backyard—you shape an experience buyers can picture owning. You’ve defined your style, directed traffic with clear zones, and chosen materials that age well on your site. You’ve spent where it shows and saved where it won’t, then finished with lighting, layered planting, and crisp hardware. Why design something stunning if it’s hard to maintain? Keep it simple, durable, and seasonal-proof.
About the Author